
After my original post on Josey Baker’s book where I talked about his first recipe, or “lesson 1” bread, I decided that continuing his book as a sort of mini-series might be a good idea. Like I mentioned on that post, Josey’s book is easy to read and is built kind of like a workbook where each recipe builds on the previous one.
His first lesson was about mixing ingredients and showing readers how flexible baking can really be. If you’re in a hurry do the mixing and waiting in warmth and if you want to slow things down put the dough in the fridge until you’re ready. When it’s all said and done you end up with a nice bread that doesn’t taste artisenal, but looks impressive.
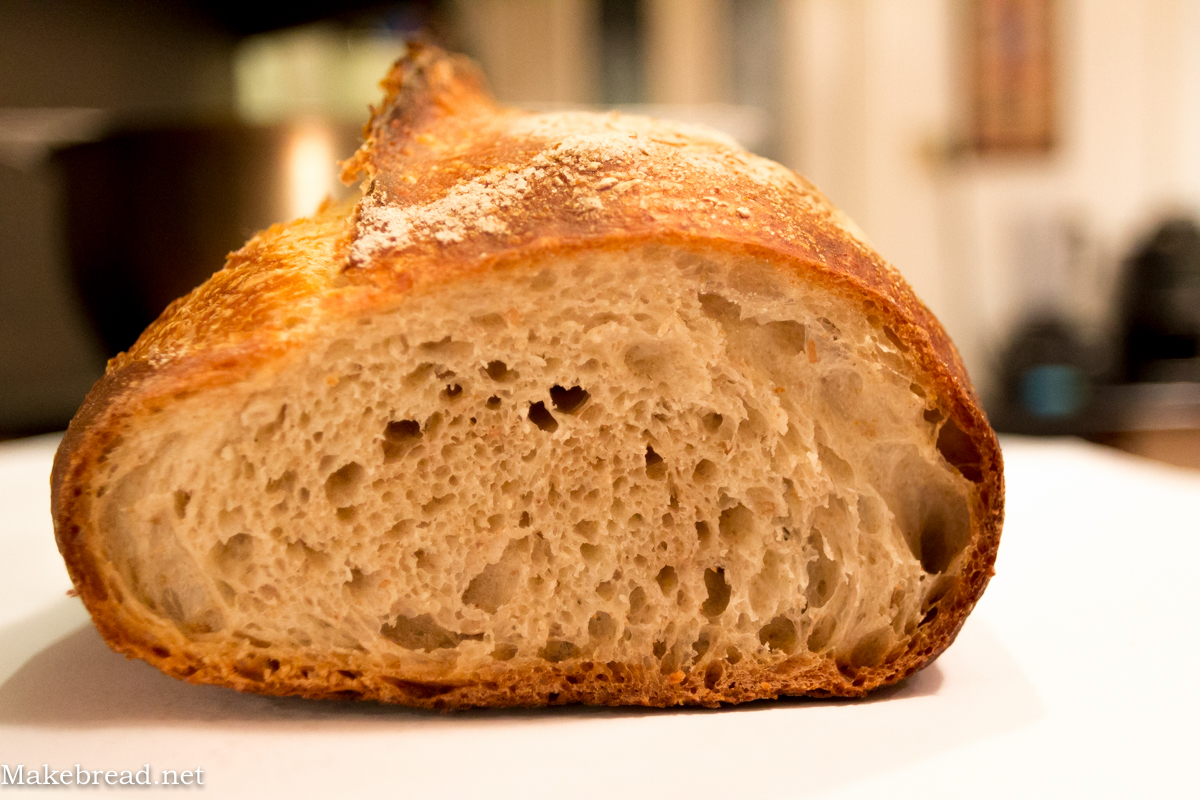
This second loaf takes lesson one to the next level by adding a pre-ferment. A pre-ferment is really the base for this loaf. It’s more or less just water with whole wheat, plus a little (I mean little) bit of yeast. The yeast is used to “ferment” that base and you use the base to feed the rest of the loaf, which is made with AP or Bread flour. You get a good nutty taste from the fermented whole wheat and the bread takes on a little bit more complex flavor. You use the same procedure to mix and wait for the loaf as you do in the first lesson, but the use of pre-ferment adds to your baking repertoire.
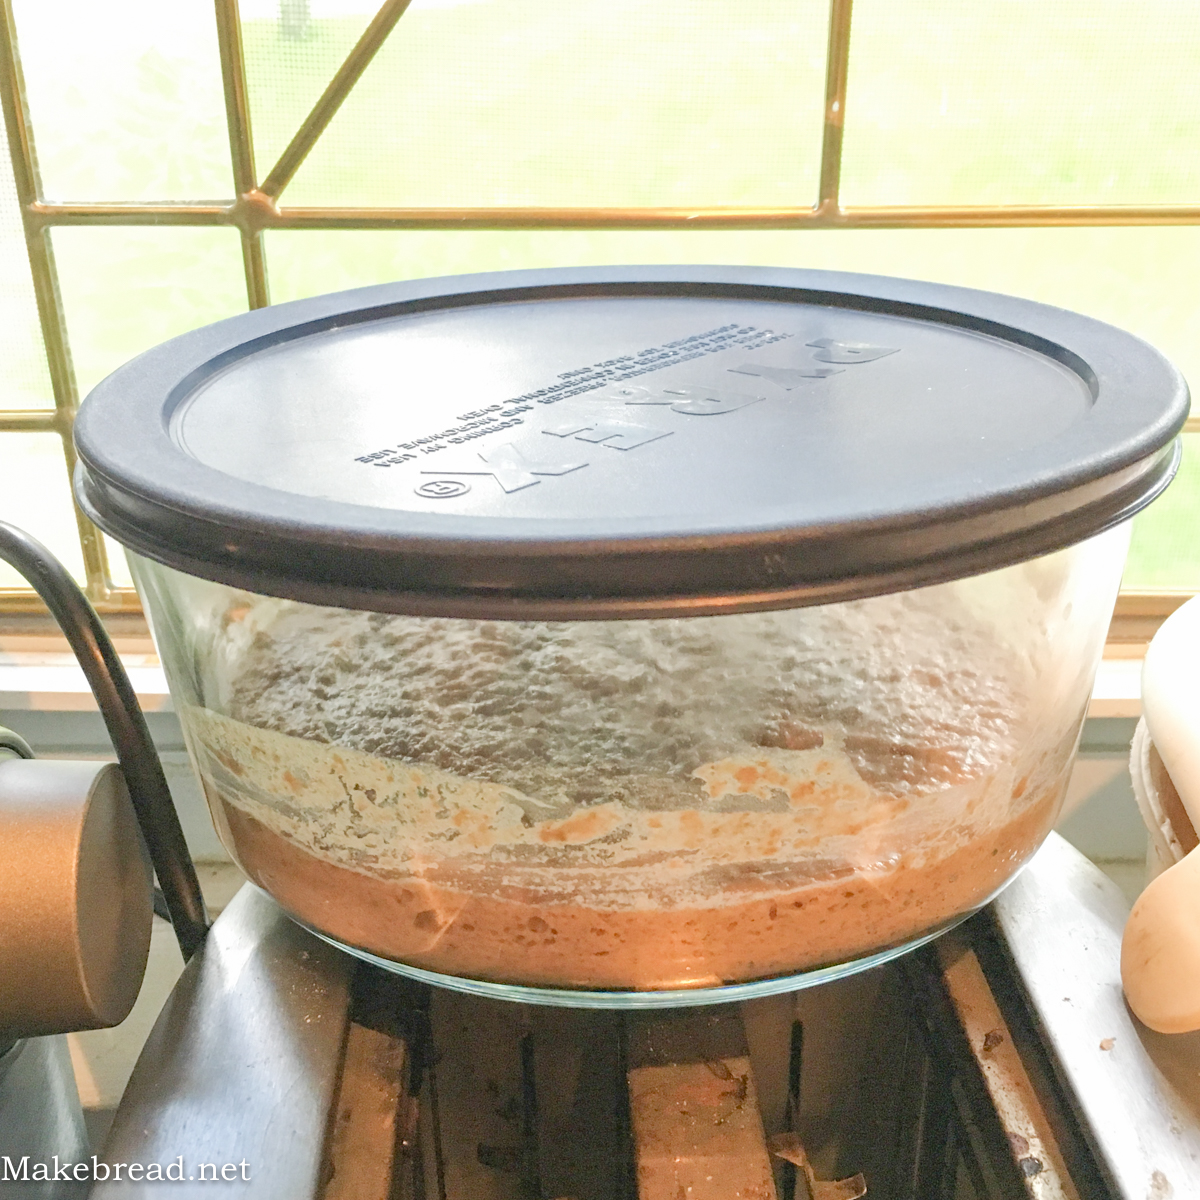
To mix the pre-ferment, combine about 100g of whole wheat flour with 120mL of water in a pyrex. After it’s all combined add a quarter teaspoon of yeast and stir to combine again. Cover the pyrex and let it sit at room temp for about 8-12 hours. That quarter teaspoon of yeast will feed on that entire mass and become your leavening agent for the rest of the loaf. If you need to stretch it out longer, put it in the fridge after 8 hours and then take it back out to finish fermentation. The end result should smell ripe!
Before we continue on to the ingredients and methods, make sure that you have the right tools to help you pull off this nice loaf. These are some of the things I used to get great results:
- Josey Baker Bread: Get Baking
- Rectangular bread proofing basket
- Bread lame
- Mixing bowl for trapping steam
Josey Baker’s lesson 2 bread ingredients
[table id=12 /]
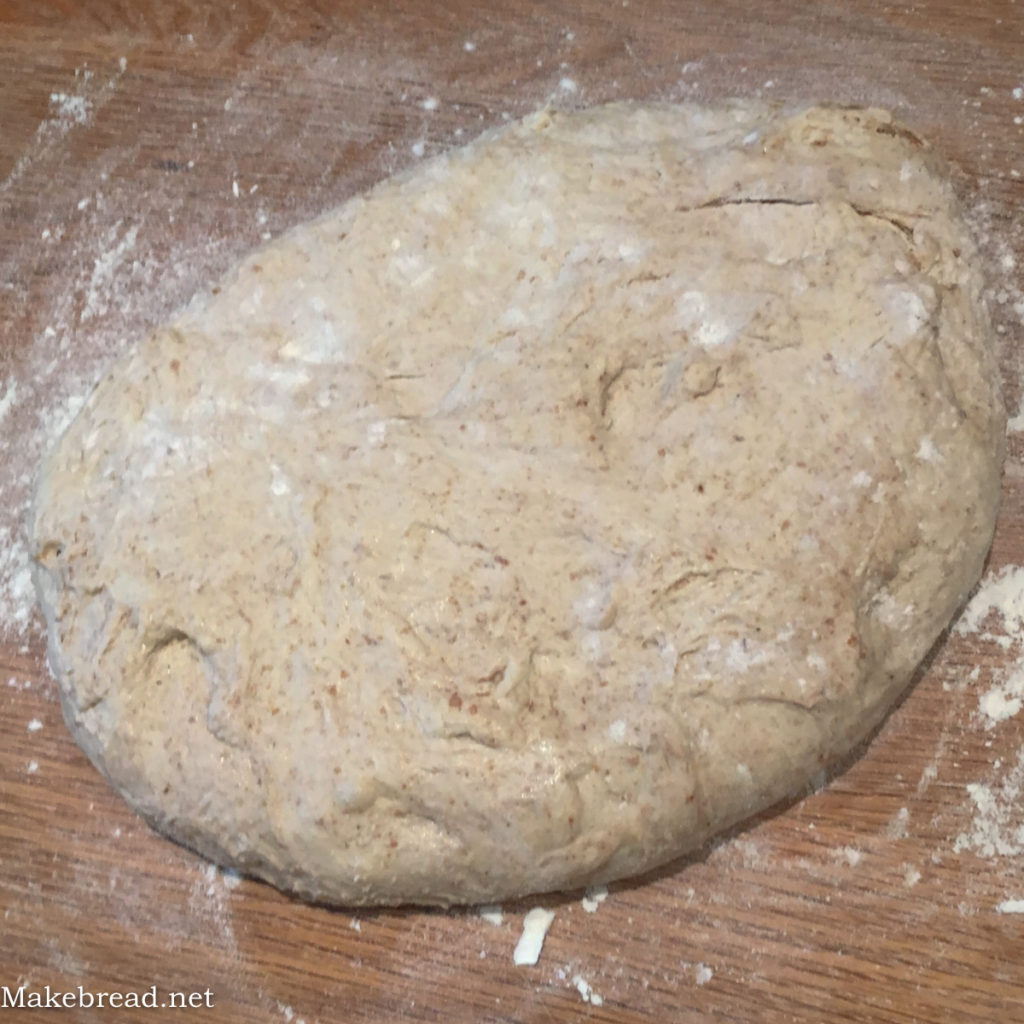
When it’s time to continue, get out a large bowl and add the flour, water, and salt and mix to combine. Then add your pre-ferment and combine again until you have a uniform dough. Cover the dough and let it hang out for about 4-5 hours at room temp. During that time I’d recommend adding a couple of stretch and folds just to build up some strength in your dough.
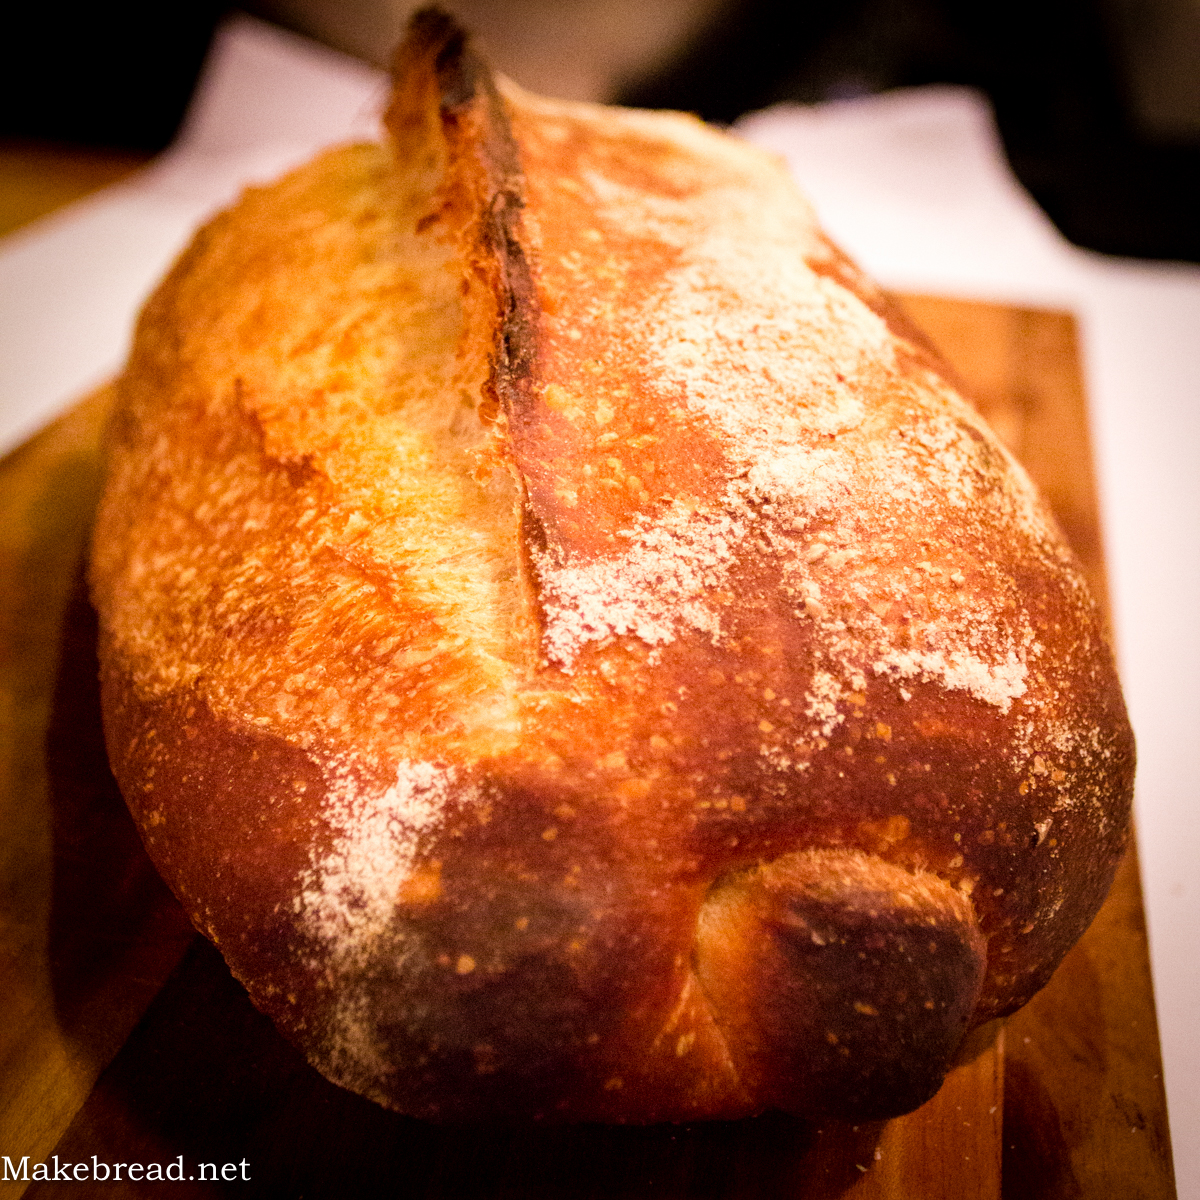
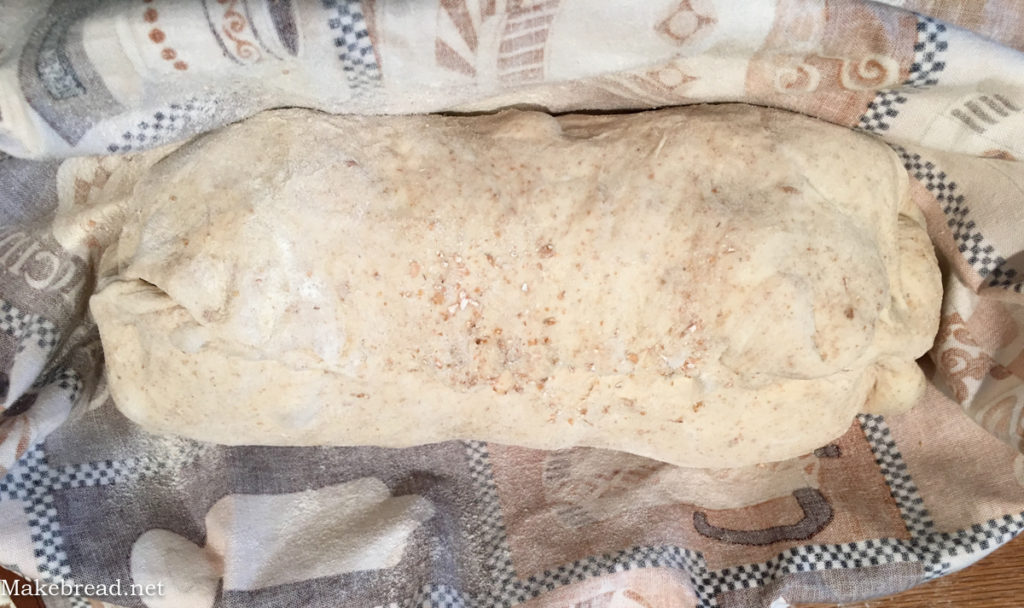
Once your dough has risen nicely, turn it on a lightly floured board and shape. Lesson 2 technically calls for putting it in a bread pan again but I went ahead and did a batard, per lesson 3. If you want to put it in a bread pan, go for it and you’ll end up with a nice sandwich loaf. If you want to shape it in to a batard, put it in a bread proofing basket instead and cover it with a plastic bag. Either way, after it’s in a proofing vessel, let it sit at room temperature for another 3 hours or so.


Pre-heat your oven to 475˚F. If you’re using a baking stone go ahead and put it in there.
Once the bread is ready and the oven is hot, slide the bread in the oven. If you’re not using the pan, put a piece of parchment paper on your ‘peel’ or board, then flip the bread on top. Slash your bread carefully with a knife or lame and then put the bread in the oven. Cover the bread with a bowl or le cloche lid and bake for 20 minutes. After 20 minutes remove the bowl or lid and carefully remove the parchment paper and finish cooking. The bread will be ready in another 15 or 20 minutes!