


Phewww summer is off to a busy start! Here at makebread HQ we’ve been busy camping, having visitors, and making pizza. Making bread has also been on the docket but I was rushed and didn’t take any pictures of those bakes.
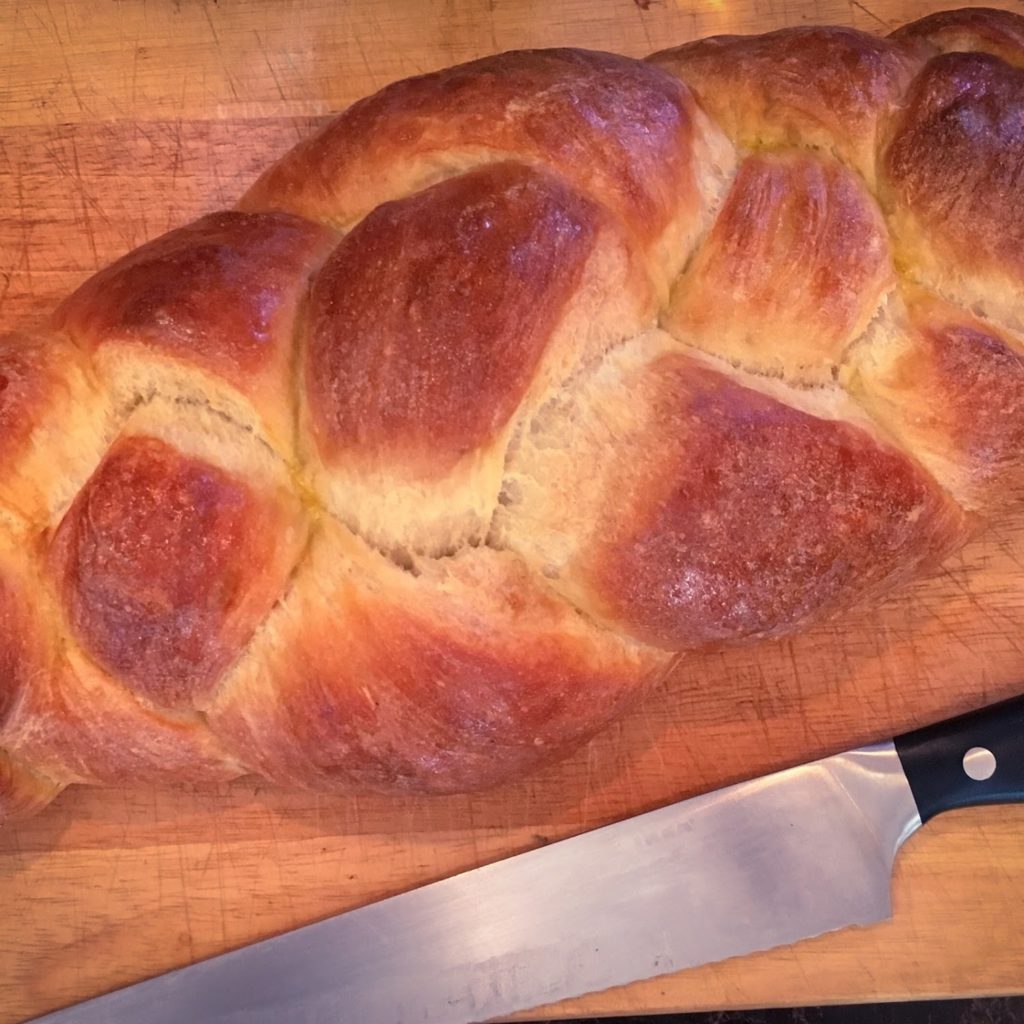
That being said, I wanted to experiment a little bit and revisit an old friend that hasn’t made many appearances on this blog. Say “chello” to my little friend, Challah. Challah bread is a great direction to go if you are looking for something other than straight white bread and or are looking for something slightly softer and sweeter. It pairs wonderfully with jams you’ve made this summer and makes amazing french toast.
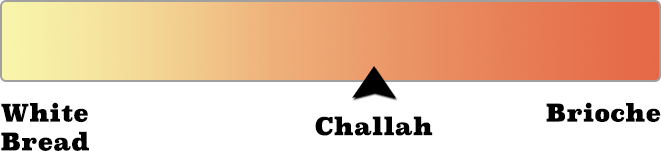
If you’re new to Challah, it lies somewhere between “delicious” and “decadent”. On a scale from not-brioche to brioche, it tips more towards being a brioche since it includes egg and sugar. This is probably the only site where you’ll see challah rated on a scale between white bread and brioche, but liek I said it falls somewhere past the halfway point since it is a sweet-ish dough with eggs. For your enjoyment, here’s the chart of where I think challah falls on the scale of “brioche or not brioche”:

A little background on the challah bread first, though. Challah is a pretty special bread in that it is a traditional Jewish loaf eaten on the Sabbath or other important holidays. It’s usually braided (or plaited) and has as many strands as you can handle. I usually use 3-6 braids and the result is a beautiful loaf that is as versatile as it is delicious. From french toast to buttered bread, and many things outside that line, the Challah is a winner all around.
Making a challah is surprisingly easy and fun too. Just mix the ingredients together, wait, divide, braid, wash, and bake. The dough is super silky and very easy to handle.
Some people are creative and stuff and top their challahs with amazing things, but I’ll leave that for another time.
Ingredients
[table id=13 /]
Video Instruction

Process
- In a large bowl, combine the flour, water and the yeast. Let it rest for 10 minutes.
- Add the egg, sugar, and salt and knead by hand until the dough is smooth and well combined, about 7 minutes.
- Cover the bowl with plastic wrap and let the dough rise for about 90 minutes to 2 hours.
- Once nicely risen, weigh out equal portions for your strands. The one I made had 4 strands and each ball ended up weighing about 210g.
- Let the balls relax for about 15 minutes, lightly covered with a towel.
- Roll the balls in to your challah strands, about 18 inches long. If your strands shrink after rolling, don’t fret. Just let them rest for 5 minutes and do a second round of stretching. They’ll relax and become more workable.
- I think that a 4 braid challah is really pretty, that’s why I did it. To do a 4 braid challah, watch the video above but basically all you do is pinch the ends together and work from right to left in this pattern: over, under, over. When you get to the end, pinch the ends together again and cover the challah for another hour.
- Preheat the oven to 400˚F.
- When the oven and bread are ready, beat 1 egg with a teaspoon of water and brush the egg whites all over the challah. Make sure to get in the nooks and crannies, as well as the sides so you don’t end up with dry spots.
- After 15 minutes of baking, rotate the loaf so it browns evenly. Cook for another 10-15 minutes.
- Cool and enjoy!
Useful tools
To make this awesome Challah, the following tools were really handy. These are affiliate links and if you buy something through them, this site earns a small percentage to help keep the lights on!