I’ve been hacking around my kitchen for quite some time trying to figure out how to make my loaves look as good as they do at a bakery. At one point, I broke one of our tea kettles on purpose and tried to inject steam in to the oven via high temperature plastic tube in to the oven during the baking process. You can imagine how that went. I also tried using an electric steamer to inject vapor in the oven and the bread. I’ve tried lava rocks in pans, covered bricks, pizza stones, baking steels, baking on the grill, dumping water in the oven throughout baking, and several other hair brained attempts all with very little success. Then one day I tried a bread cloche and was blown away. “Why didn’t I try this before?!” I thought to myself. That was the golden ticket. An “oven inside an oven” where the bread’s own moisture would be used to create the perfect environment for a golden, crispy, crunch, bubbly loaf.
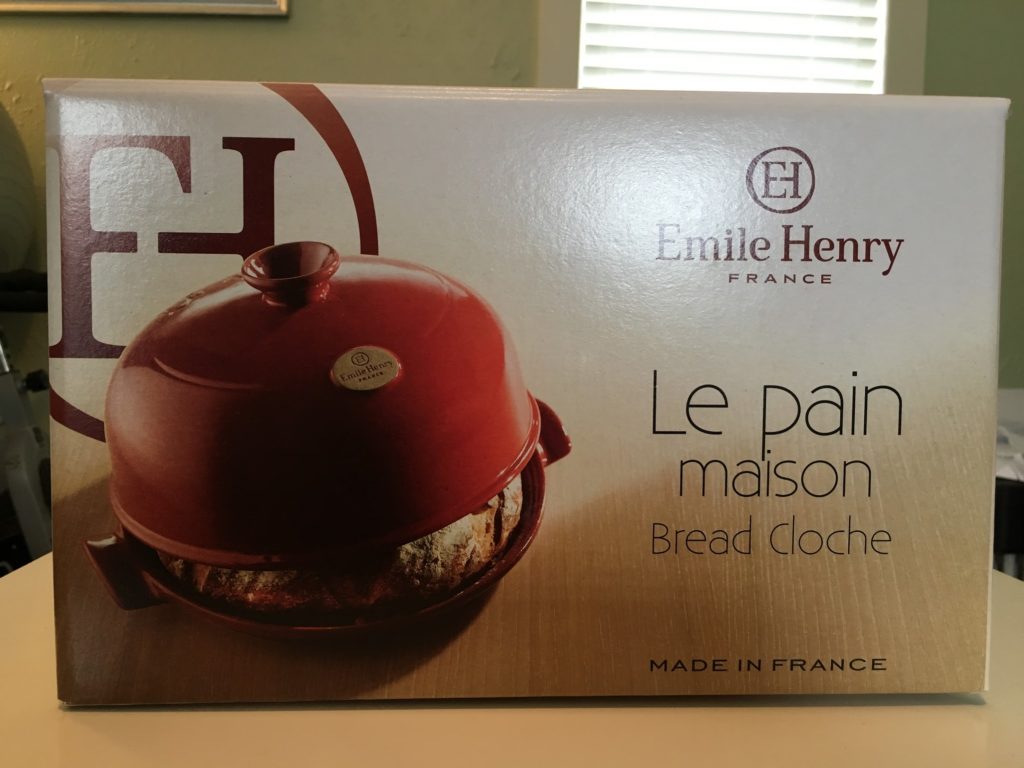
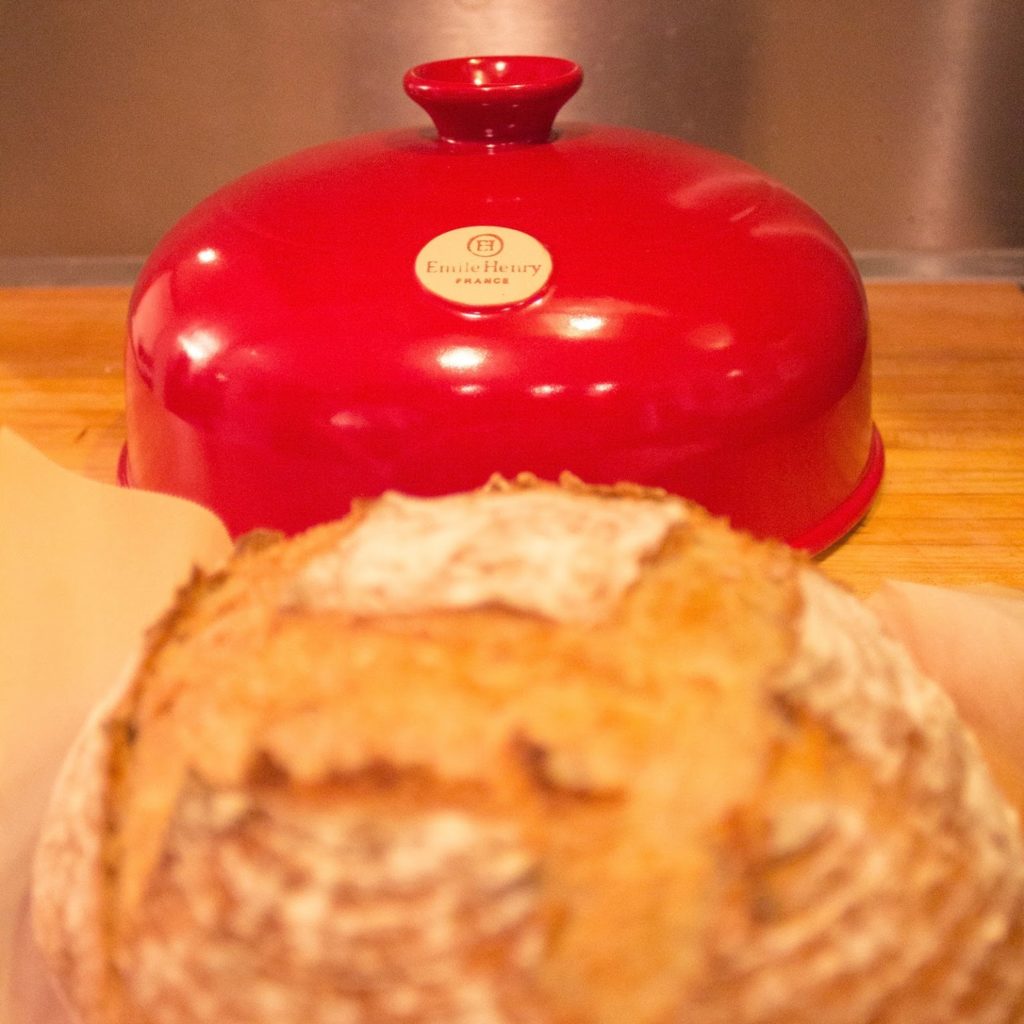
After baking with a cloche almost exclusively for a couple of years, I found the Emile Henry cloche while browsing through Amazon. I decided to reach out to them and they sent me a demo unit that I used for this post.
I’ve used other cloches in the past but this one is a little lighter and much more attractive than my old clay setup. The Emile Henry cloche is made in France and seems to be very well made. It’s “fire engine red” coating is nice to look at and the whole thing is much lighter than I expected. When I first received the box I thought they hadn’t sent me the right thing since it was so light, but it punches way above its weight in the oven.
This would be the perfect gift for bakers!
I used my trusty 30% whole wheat sourdough loaf to put this cloche through its paces and made two loaves.
The recipe is as follows. You need 200g of starter so prepare it the night before. If you don’t want to use a starter but would rather use commercial yeast, add 100mL to the water you add and 100g to the AP flour weight.
[table id=15 /]
- The night before you bake, feed your starter so it’s mature and ready to go on bake day.
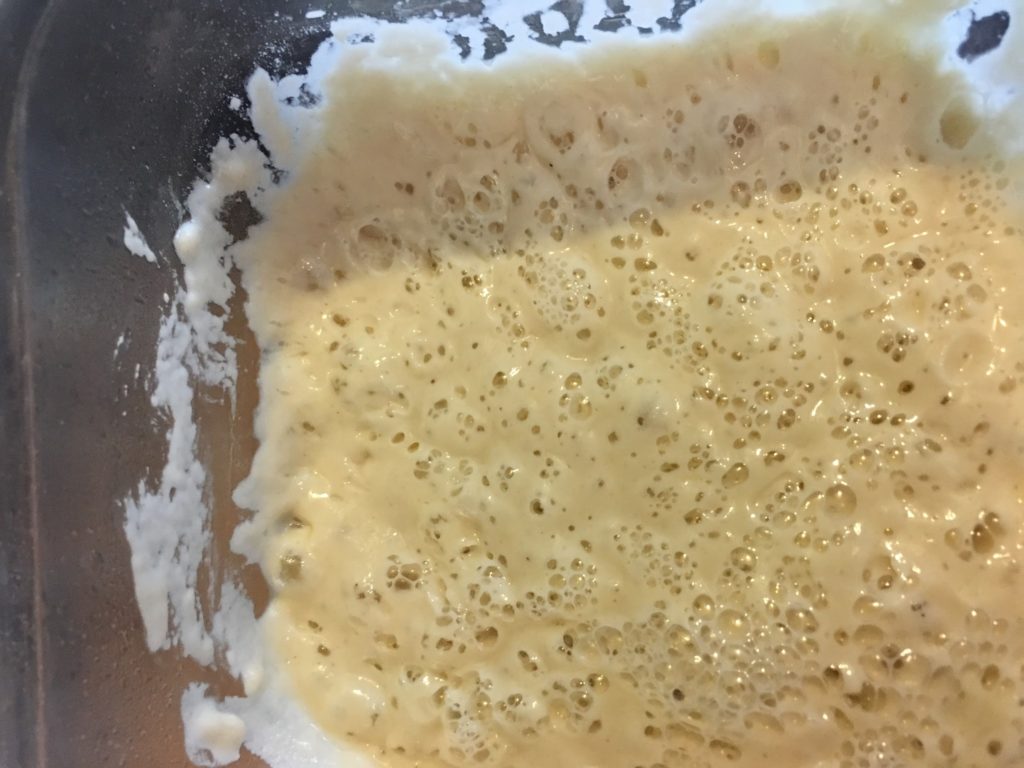
- Mix your flours and gently stir to combine them, and add the starter to it.
- Start incorporating your water and save about 150mL for now.
- Mix the flour and water until you have a dry mass, and add just enough water so that everything comes together. Cover for about 15 minutes and let things relax a bit then add the remainder of your water.
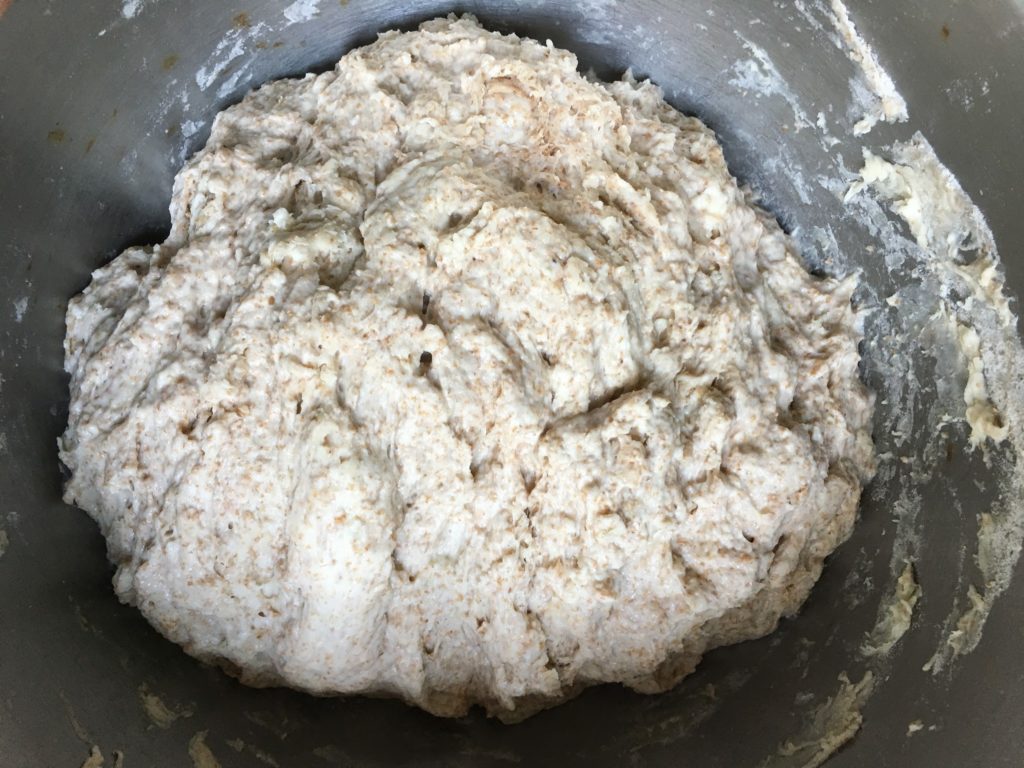
- Knead until things start to come together and then cover again for about half hour to 45 minutes.
- Knead again for just a minute and cover again for half hour.
- Knead again for just a bit and cover again, this time let it remain undisturbed for about 3 hours.
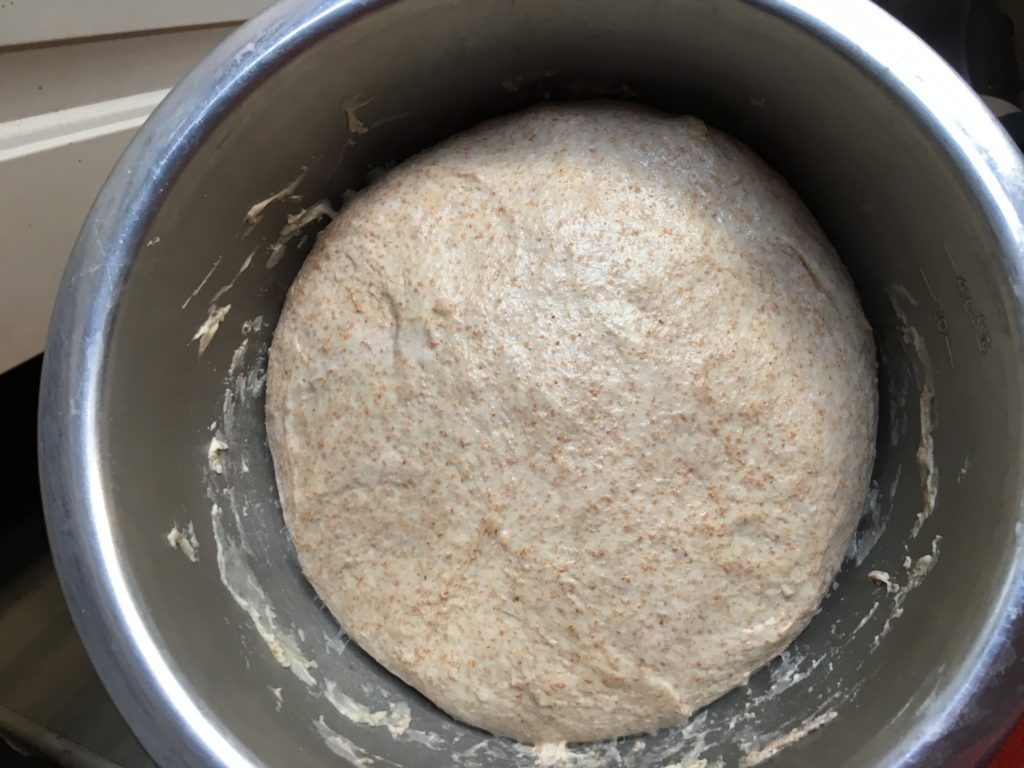
- When it has visibly grown in size and bubbles start to form, dump it out to a lightly floured surface and divide in two.
- Gently pre-shape the dough and let it relax for 10 minutes.
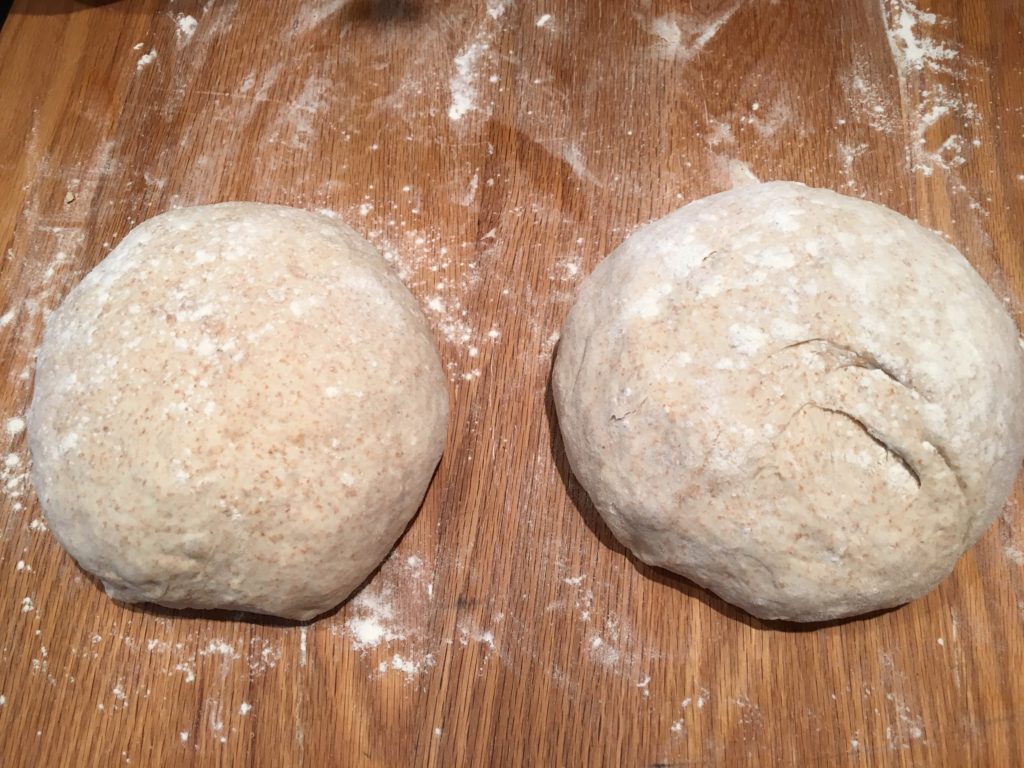
- Shape your dough to its final shape and place in covered proofing baskets for another 1-2 hours.
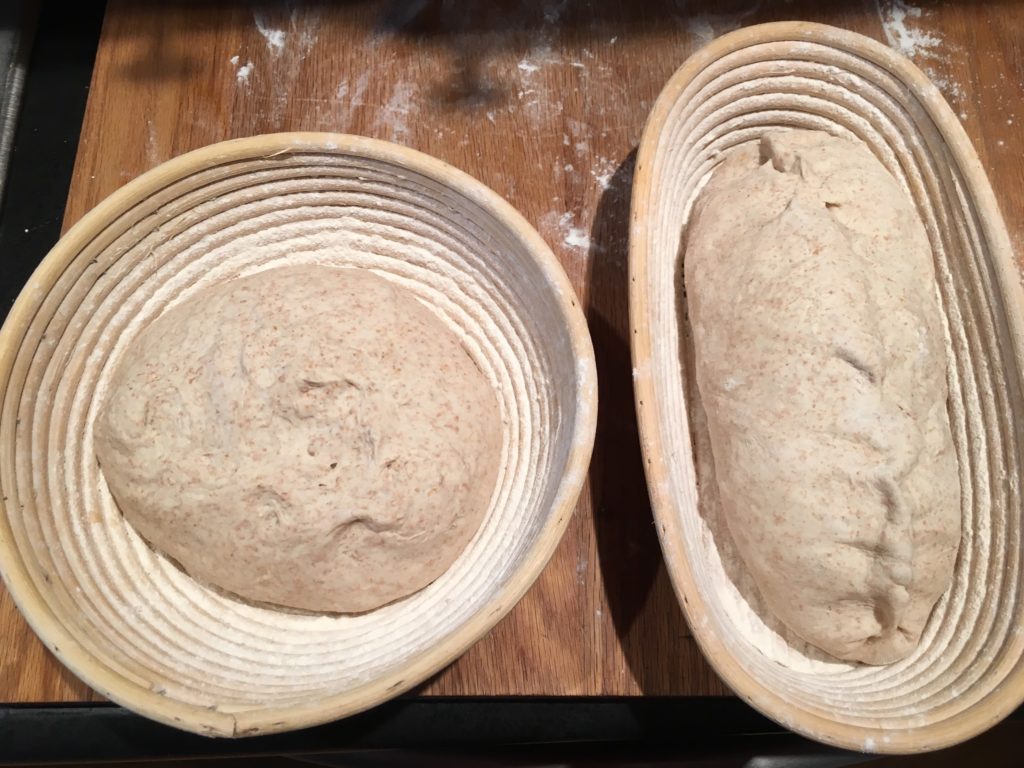
- In the meantime, place your cloche in the oven and pre-heat to 475˚F for 30-45 minutes.
- Gently turn one loaf on to a parchment paper lined peel and score the loaf.
- Carefully load it in to the cloche and cover for 15-20 minutes and bake the remaining 10-15 minutes without a lid.
- Again, carefully remove your loaf from the oven and load up loaf number 2. Repeat the baking process.
- Let the loaves cool before cracking in and devouring!
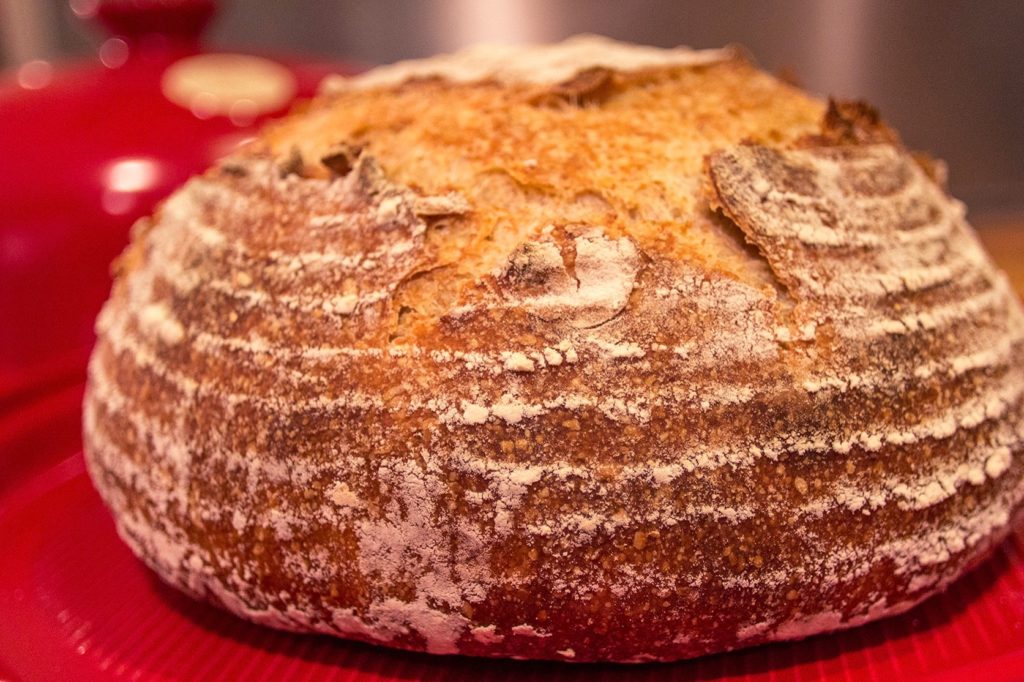
Thanks to the Emile Henry Cloche, this loaf came out crusty and hitting all the right notes. The cloche took approximately half an hour to heat up before I slid the bread in to it.
I’ve made several breads on this cloche and have not yet been disappointed. It traps the steam in the cooking chamber and helps your bread stay moist during the first half of the bake, which aids in oven spring and crust development.
While they sent me this demo unit to review, I’ll be keeping in my regular lineup from here on out!
Leave a Reply