Fall is here and one of my favorite end-of-summer/start-of-fall fruits is the prune plum. I was always a plum fan but what really makes me love them is the fun memories they bring back. One day while visiting family in Seattle’s Madison Park neighborhood I noticed how there were plum trees everywhere! My daughter was 3 at the time and we went out for an evening stroll when all of the sudden, a plum fell right on her head! Oh how we laughed at that! She ate that plum and we picked a few more along our route to be sure. We bonded over plums and I guess I’ve always loved them even more since that day.
Now that season is here again and I bought a huge quantity at our local fruit farm. Try as we might to eat them all, we weren’t able to. We even gave a third to our neighbors and still had some left over after 2 weeks! So, instead of baking a pie (which I really wanted to do!) I decided to make some yeasted water with the plums to try to make bread. I also harvested several seeds and will try to plant plum trees in our yard. If anyone has any insight on planting plum trees from seeds, connect with me via Facebook!
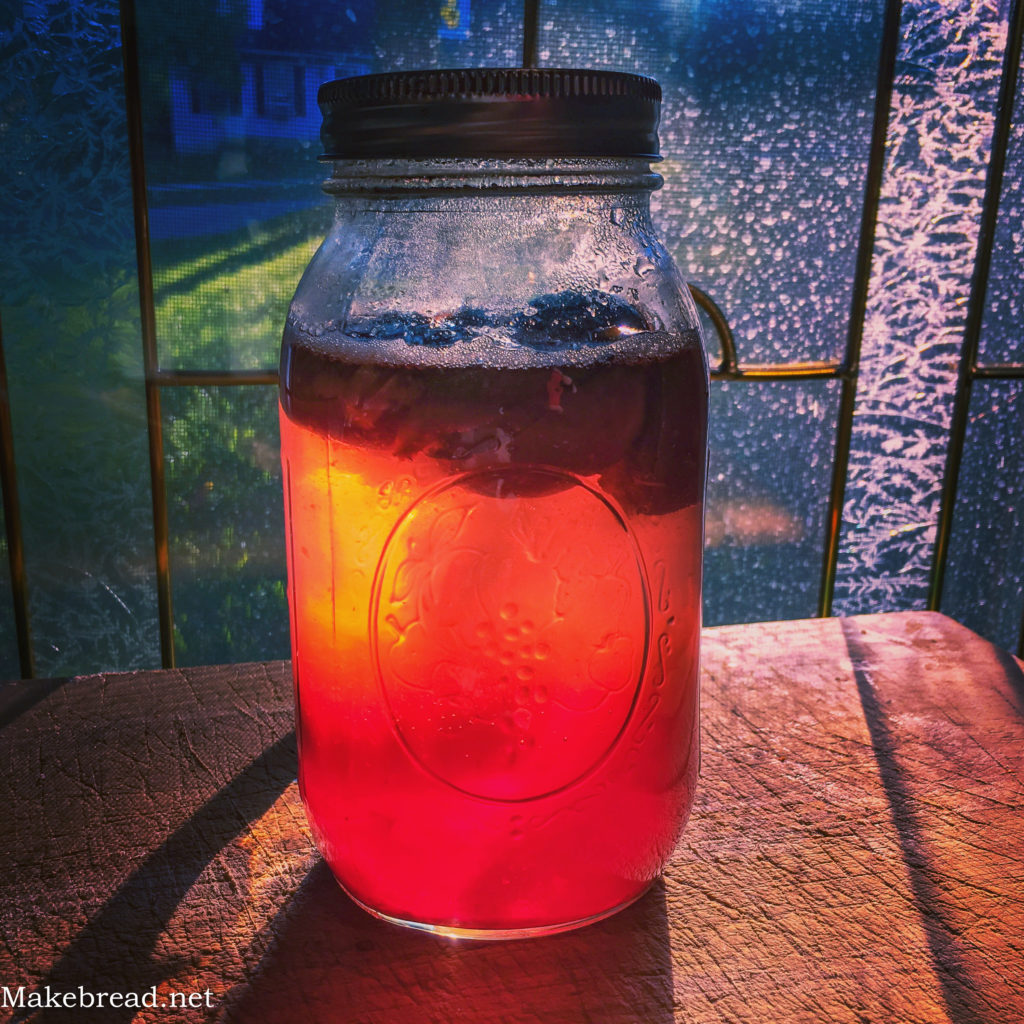
If you’ve never heard of yeasted water, it’s kind of magical. You get a mason jar, fill it with about 2/3 water, and add your fruit of choice to the water. I just pitted about 3 plums and lightly smooshed them in the jar. I then put the lid on tightly and put the jar in a cool darkish place for a week.
[ezcol_1third]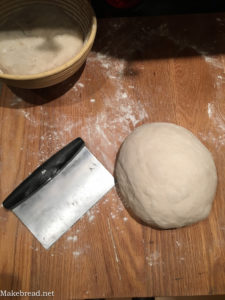 [/ezcol_1third] [ezcol_1third]
 [/ezcol_1third] [ezcol_1third_end]
 [/ezcol_1third_end]
Checking on it every few days I could see the magic start to happen. Bubbles were forming and I took the sniff test each time to make note of the sweet smell and to hear the bubbles fizz. After a week’s time the plums had all floated to the surface and the water had gone from clear to “plum” color – a beautiful dark rose/light purple hue. It also smelled very sweet. I almost took a swig to taste it but decided to save every drop for a double batch of bread.
[ezcol_1half]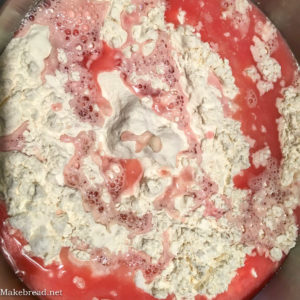 [/ezcol_1half] [ezcol_1half_end]
 [/ezcol_1half_end]
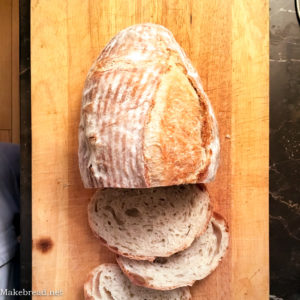
So, “how do you use yeast water to make bread?” you may ask. It’s really quite simple. Instead of adding any yeast, you just use the water. Does it work? You betcha! I got my inspiration from this post about a year ago and tried it, and have used this method a few times since. The tricky part is figuring out how much water to use in order to replace your yeast. Since I didn’t want it to fail I used all of the water and cheated by spiking the bread with just 1 gram of yeast. Turns out I really didn’t need this extra yeast as the dough was super active after a few hours on the bench.
[table id=14 /]
Process
- Weigh the flour and add to a large mixing bowl
- Add the other dry ingredients to the mix
- Add the water to the mix, removing the fruit while doing so. You could probably leave it in but I didn’t want chunks in these breads.
- Mix by hand or mixer until the dough mass just comes together. Cover with a lid and let sit for 30 minutes.
- Mix by hand for another 5 minutes, and cover again for about 30 minutes.
- Do 4 stretch and folds at 30 minute intervals. At the end of this cycle I saw bubbles indicating that the yeast was thriving and helping the bread to rise. My dough was really wonderful to work with at this point.
- Let it sit and rest for about another 90 minutes.
- After the dough has risen nicely, dump it out on a floured surface and divide in two. Pre-shape in to balls and let them rest for 5-10 minutes.
- Shape your dough as desired and place in to proofing baskets.
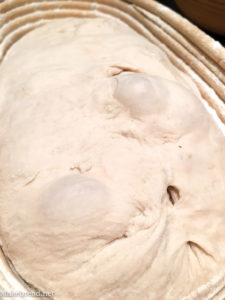
- Final proof for about an hour.
- Put your bread cloche in the oven and pre-heat it to 425˚F.
- Cut off a piece of parchment paper and put it on your baking peel. With oven gloves, carefully slide the bread in to the cloche and cover with the lid.
- Bake with the lid for 15 minutes and remove it.
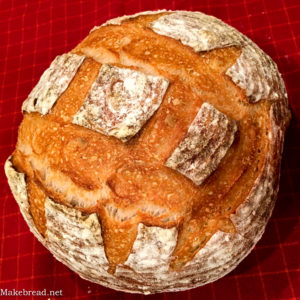
- Bake the bread for another 15-20 minutes and remove once the bread is done.
- Let it cool and enjoy!
Leave a Reply