Baking with Ancient Grains
If you’re like me and love to read about bread and home baking, you probably read other blogs (c’mon, it’s ok to admit it!) and look at those amazing pictures on Instagram too. After seeing a wave of bakers try their hand at Einkorn, I just had to see for myself what all the fuss was all about.
So, naturally, my first instinct was to research what the heck Einkorn was. After a cursory search I read that it is an ancient grain and after looking at some instagram posts I saw that it can be fairly hard to work with because gluten development doesn’t really happen in the way that it does with “modern” breads using bread or other commonly found off-the-shelf type flours for baking like whole wheat and all-purpose.
Digging a little further, I found an article on the website of the Plant Science archives of the Penn State University department of Agriculture. That post told me that it’s a very ancient wheat, approximately 10,000 years old and is an ancestor to our modern wheat. It is indeed an “ancient” wheat! The article even mentions that it contains less toxins and could be better for folks with gluten sensitivities. It also contained a lot of scientific data that I won’t pretend to really understand so I’ll leave that to you to go over there and check it out.
So, after reading about it and seeing delicious loaves of bread resulting from its use, I just had to try some! So I ordered a bag of Einkorn online and a few days later it arrived. In whole wheat form, which I knew was the case but knew that it added a layer of complexity to the project.
… so I put off making this bread for a few months. 🙂
Milling Einkorn at Home
If you have never milled any wheat at home, you’ll quickly realize two things:
- Milling is hard!
and - Milling is messy!
However, it’s very satisfying knowing that you can mill fresh wheat at home with simple tools. It’s actually a very easy process if you think about it. Break down the wheat in to usable flour and discard the rest. Some folks use dedicated wheat mills for to make fresh flour at home, but I have used my old Capresso coffee grinder before and did it again for this bread with good results. The thing to keep in mind is that wheat is VERY hard so you need something with some “oomph” to get the job done. A standard blade grinder is not a great idea nor is a weak grinder with plastic parts because the wheat could break your machine. Since we upgraded our coffee grinder a few years ago I have used the Capresso several times with pretty good results.
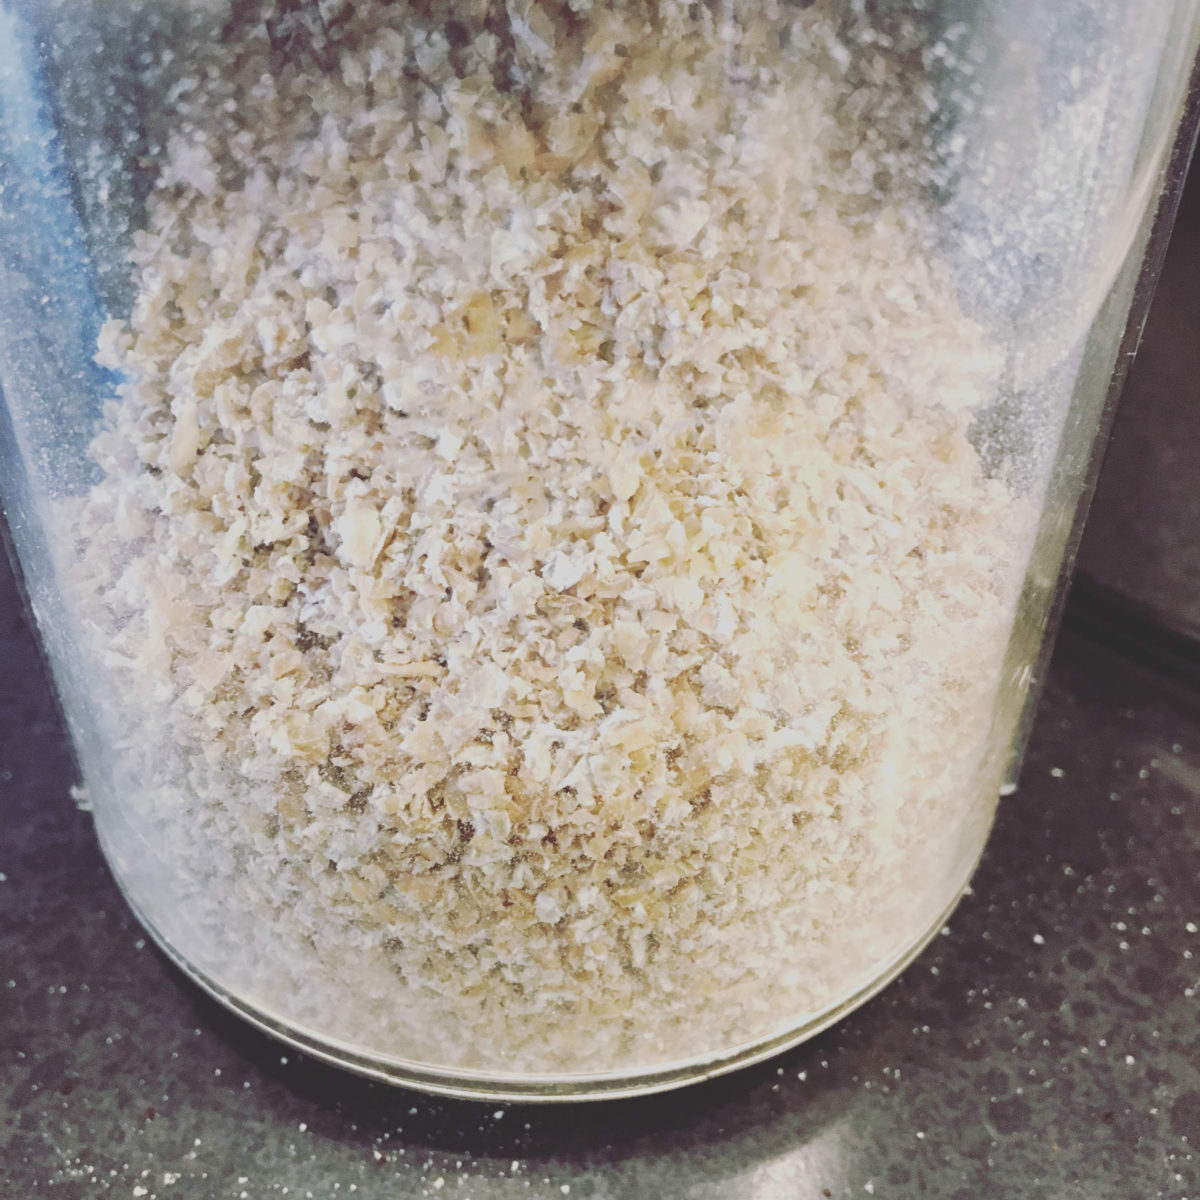
The first step is to put the whole grain in the hopper and set the grinder to it’s most coarse setting. Run the grains through and you’ll end up with something that is not too dissimilar from oat meal. It’ll look flaky and not at all like flour. And that’s ok, it’s supposed to look like that at this point.

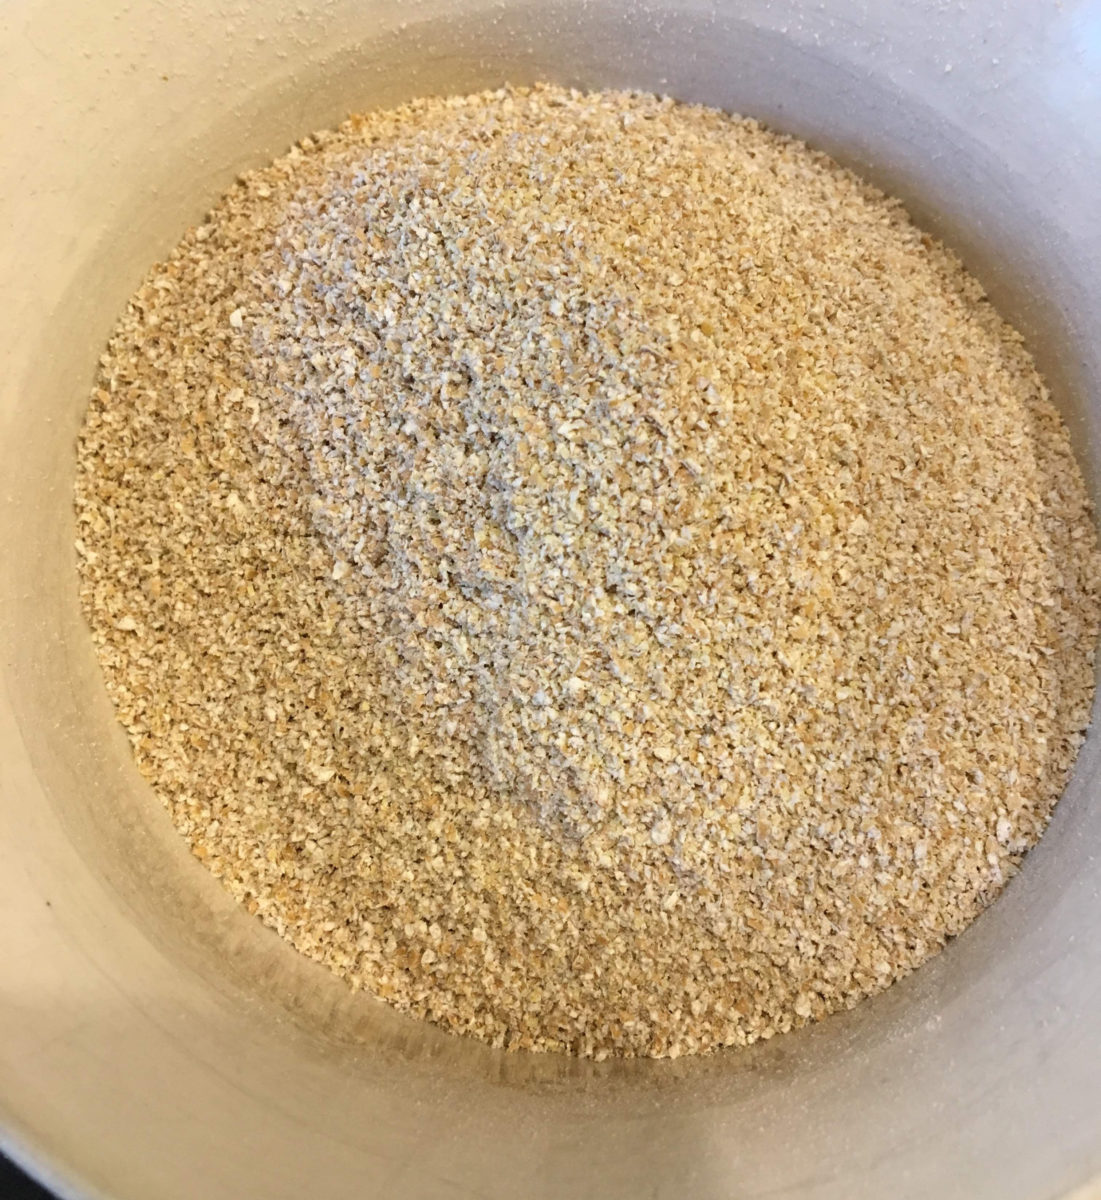
After you go through this first step, put it all back in the hopper and run it through at a medium/coarse setting. I’d say that if your coarse setting is 10 and your finest setting is 0, run it through a second time at a 7. Repeat again at a 4 and then again at a 0.
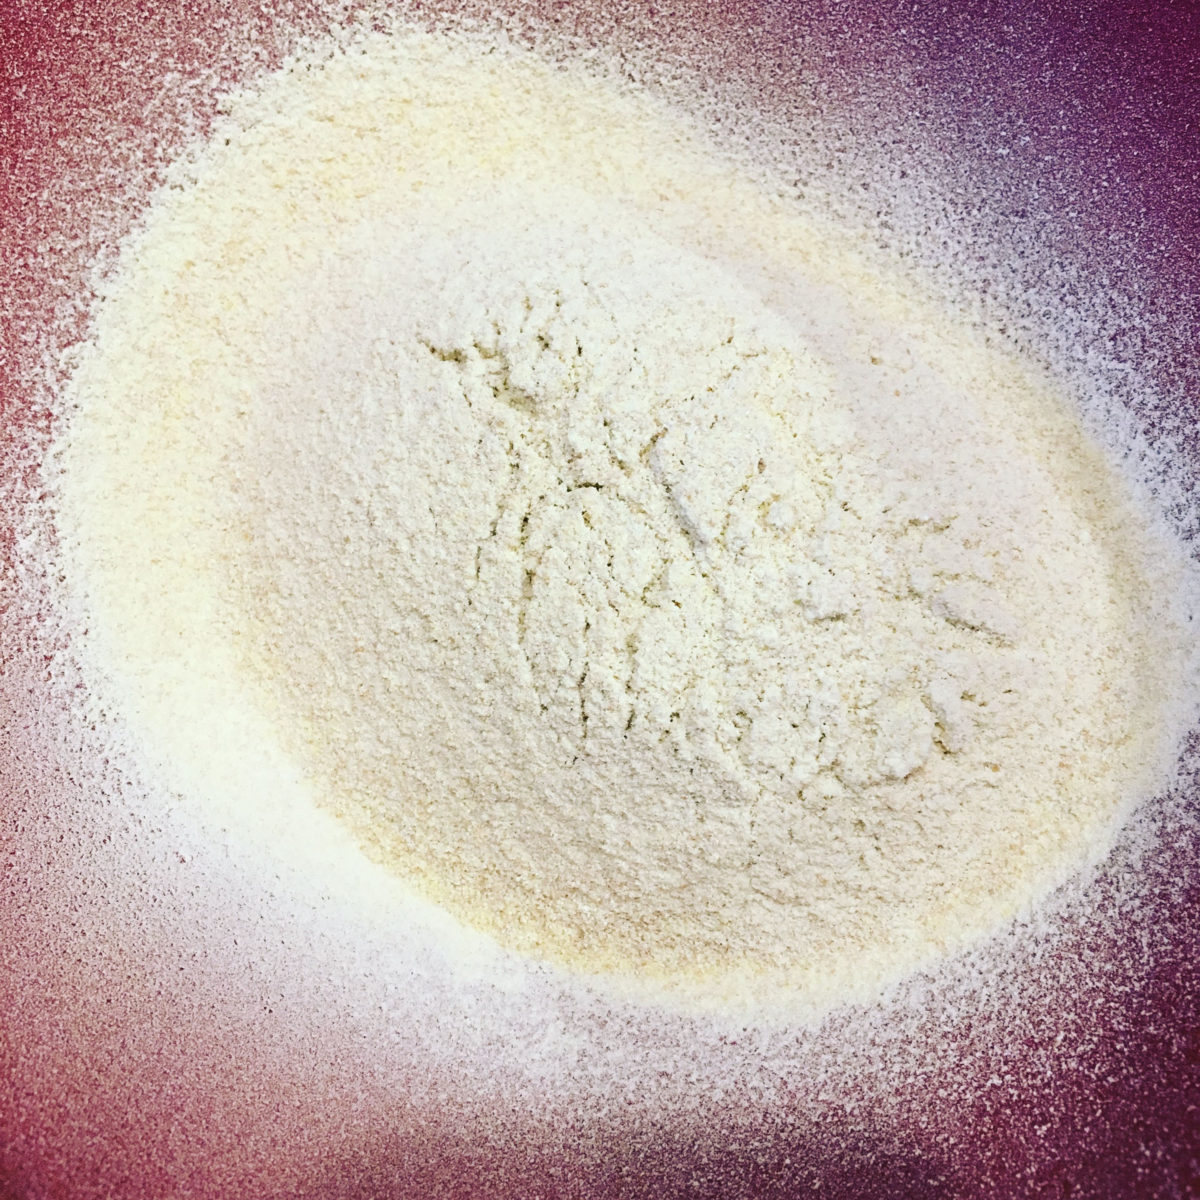
Once you’ve milled it all the way through, put flour a little bit at a time in a fine mesh sieve and sift the flour on to a big bowl. This will take a while and be dusty so be prepared to commit some time to this task. Your end result will be one bowl of fresh flour and one bowl of the discarded chaff.


Baking with Einkorn
Being aware that Einkorn doesn’t have/produce much gluten gives us a heads up that in this recipe, I may have used too much water so adjust your bakes accordingly! Next time I make this bread I will either increase the quantity of whole wheat or decrease the hydration by 5% to see the difference. The dough was a little slack and challenging to shape, but I’m happy with the result. The bread itself was very tasty with a soft chew, so even if you struggle like I did you will end up with a very good tasting einkorn bread at the end.
I didn’t bake a purely 100% Einkorn bread – in fact, I merely dipped my toes in the Einkorn waters and made a roughly 25% Einkorn loaf, with the other parts being 50% AP Flour and 25% Whole Wheat. Here’s the formula I used:
- 800ml Water
- 500g AP Flour
- 250g Einkorn Flour
- 250g Whole Wheat Flour
- 23g Salt
- 10g Yeast
Einkorn Bread Dough
- Mix all the flours together and add all of the water
- With your hands or a wooden spoon, mix the flour and water to get everything wet. You’ll have a shaggy mass at this point but keep working it for just a minute.
- Let it autolyse (a fancy way of saying leave it alone) for at least 45 minutes.
- Add the salt and yeast and knead for 5 to 10 minutes.
- In half hour increments, stretch and fold the dough on to itself to help develop strength in your gluten and to aerate the dough.
- After about 4 or 5 half hour periods, move the dough to a floured work surface, split the dough in 2, and shape to your final shape.
- Place the dough on to proofing baskets and pre-heat your oven to 500˚F.
- After the oven is preheated, move the dough in to the oven and bake for approximately 45 minutes.
Note that I baked my loaves in two different vessels, one an Emile Henry ceramic dome and the other a cast iron pan. Vessels with lids help to create an “oven inside your oven” and stabilizes the temperature at the bread level. It also helps to trap steam in the chamber so that your crusts develop richer colors and an overall crunchier and artisan texture.
Please note that Makebread.net is an Amazon partner and if you buy products via links on this article we will receive a small fee for referring you. This also helps to keep the blog going so don’t be shy! ?
Leave a Reply