If you’re like me and like to look at bread photos for inspiration, you usually have a back log of breads that you drool over and want to try but for some reason or another haven’t yet had a chance to make. Either because you kind of forget about it when it’s time to bake or because the recipe looks more complicated than the energy that you have for the project.
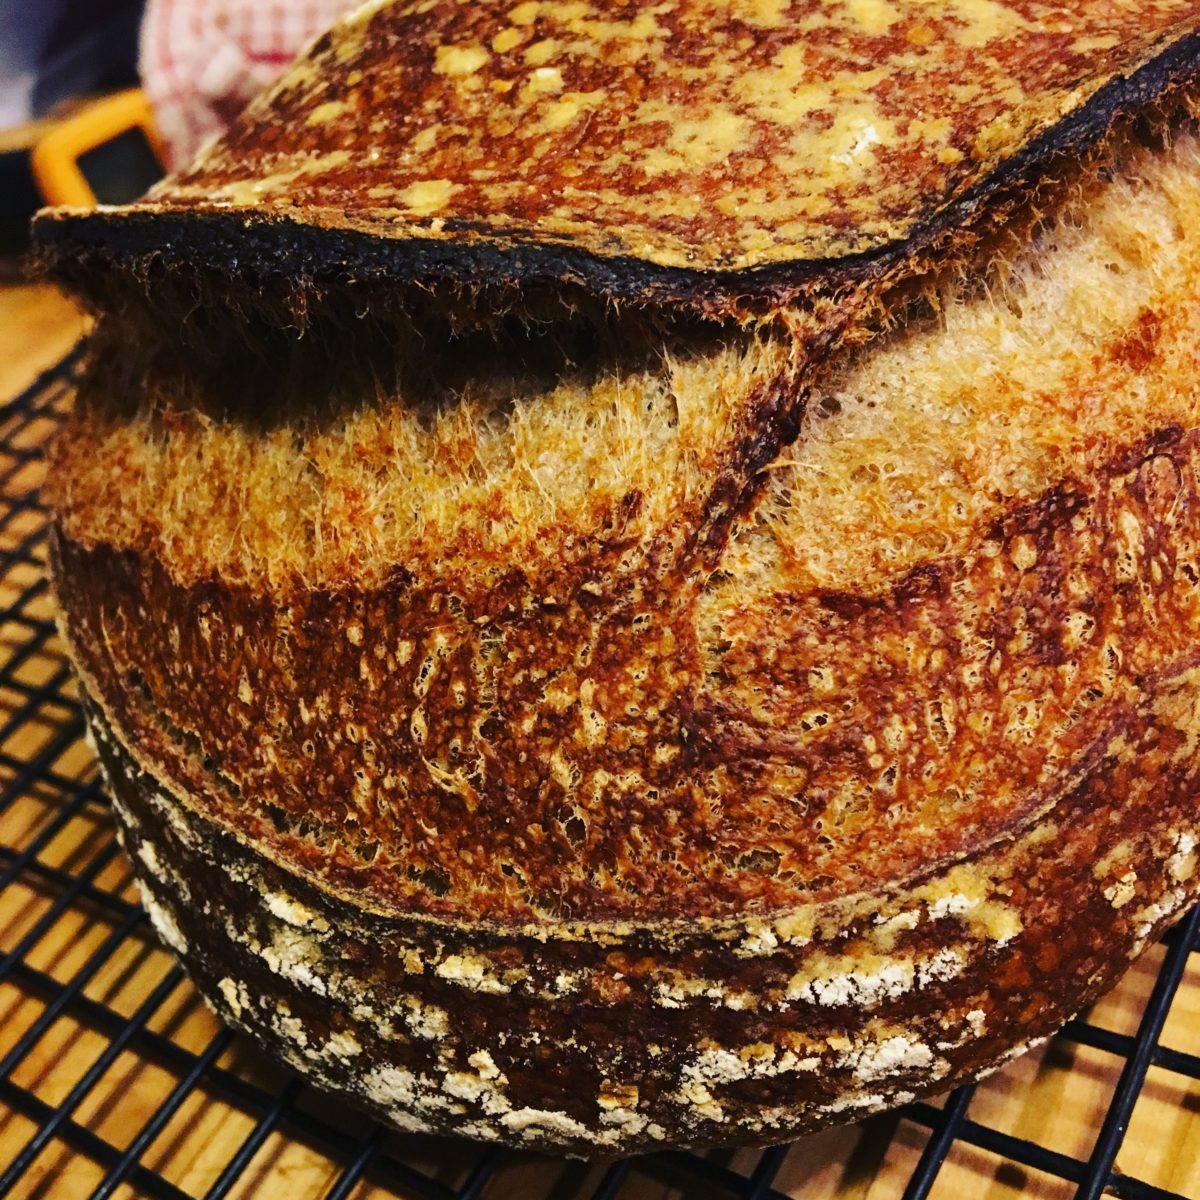
This milk bread is one of those for me. It uses a Japanese method called tangzhong to make the final product extra fluffy because the result of the tangzhong is that you can make a bread which is more moist and therefore extra spongy.
This bread sounds mythical and exotic, doesn’t it? Hokkaido is Japan’s second largest island and its capital is Sapporo, maker of the famous Japanese beer and host to the Olympics of 1972. The Japanese milk bread became quite popular in the 19th century when the government encouraged citizens to use and drink local milk to support the farmers. Creative bakers seized the opportunity and created this now famous bread from Hokkaido that is known for it’s supple texture and fluffy characteristics.
The thing about this particular loaf of bread is how easy and versatile it really is to make. The tangzhong takes about 3 minutes to make and the bread can be made in to a loaf like I made it or you could make it in to rolls and maybe even other exotic shapes. The thing is that it’s really fun to work with and is a super fluffy bread.
The recipe
Hokkaido Milk Bread
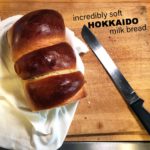
This Japanese milk bread is soft, fluffy, and delicious!
Tangzhong
- 3/4 Cup Milk
- 1/4 Cup Flour
Dough
- 500 Grams King Arthur AP Flour
- 3 Tbsp Sugar
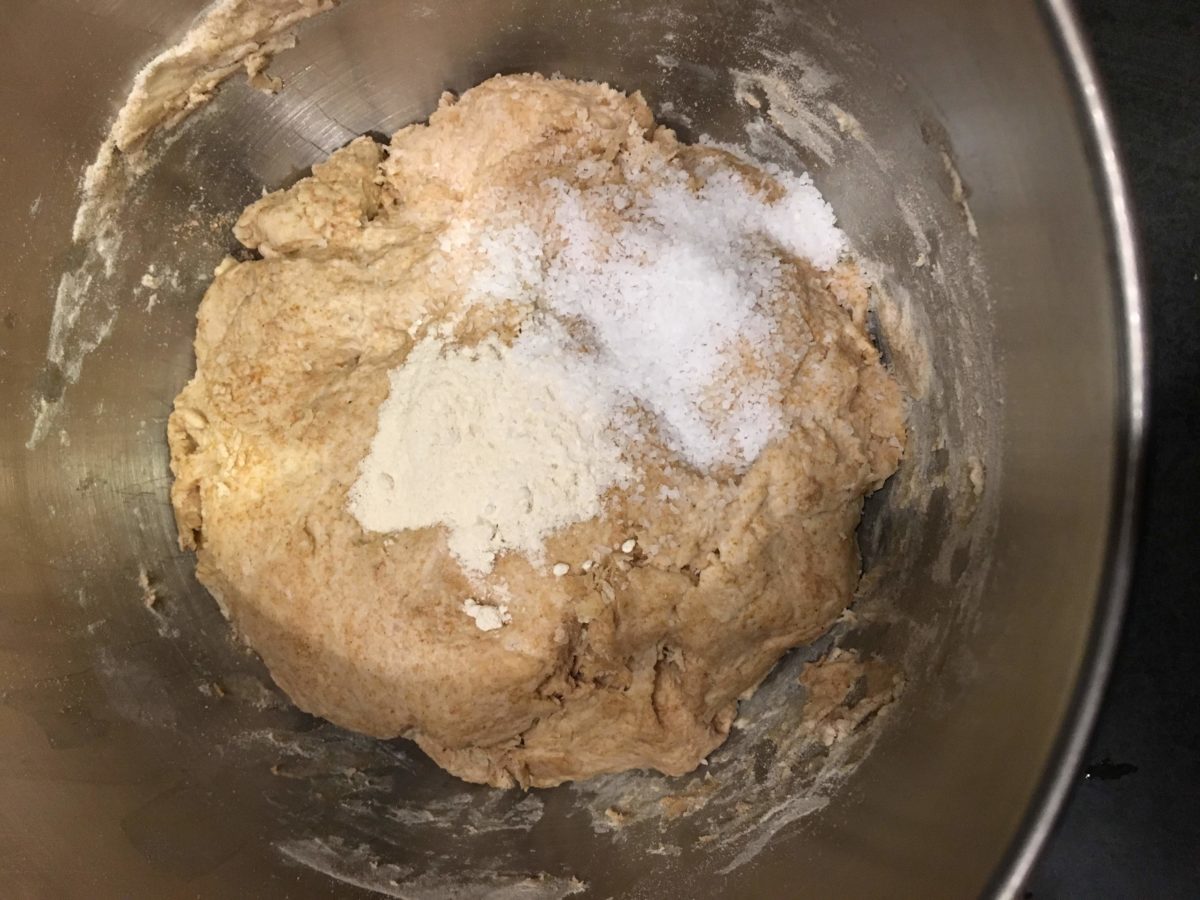
- 1 Tbsp Salt
- 15 Grams Milk Powder
- 1 Tbsp yeast
- 1/2 Stick Butter
- 2 Whole Eggs
- 1/2 Cup Milk
Egg Wash
- 1 Whole Egg
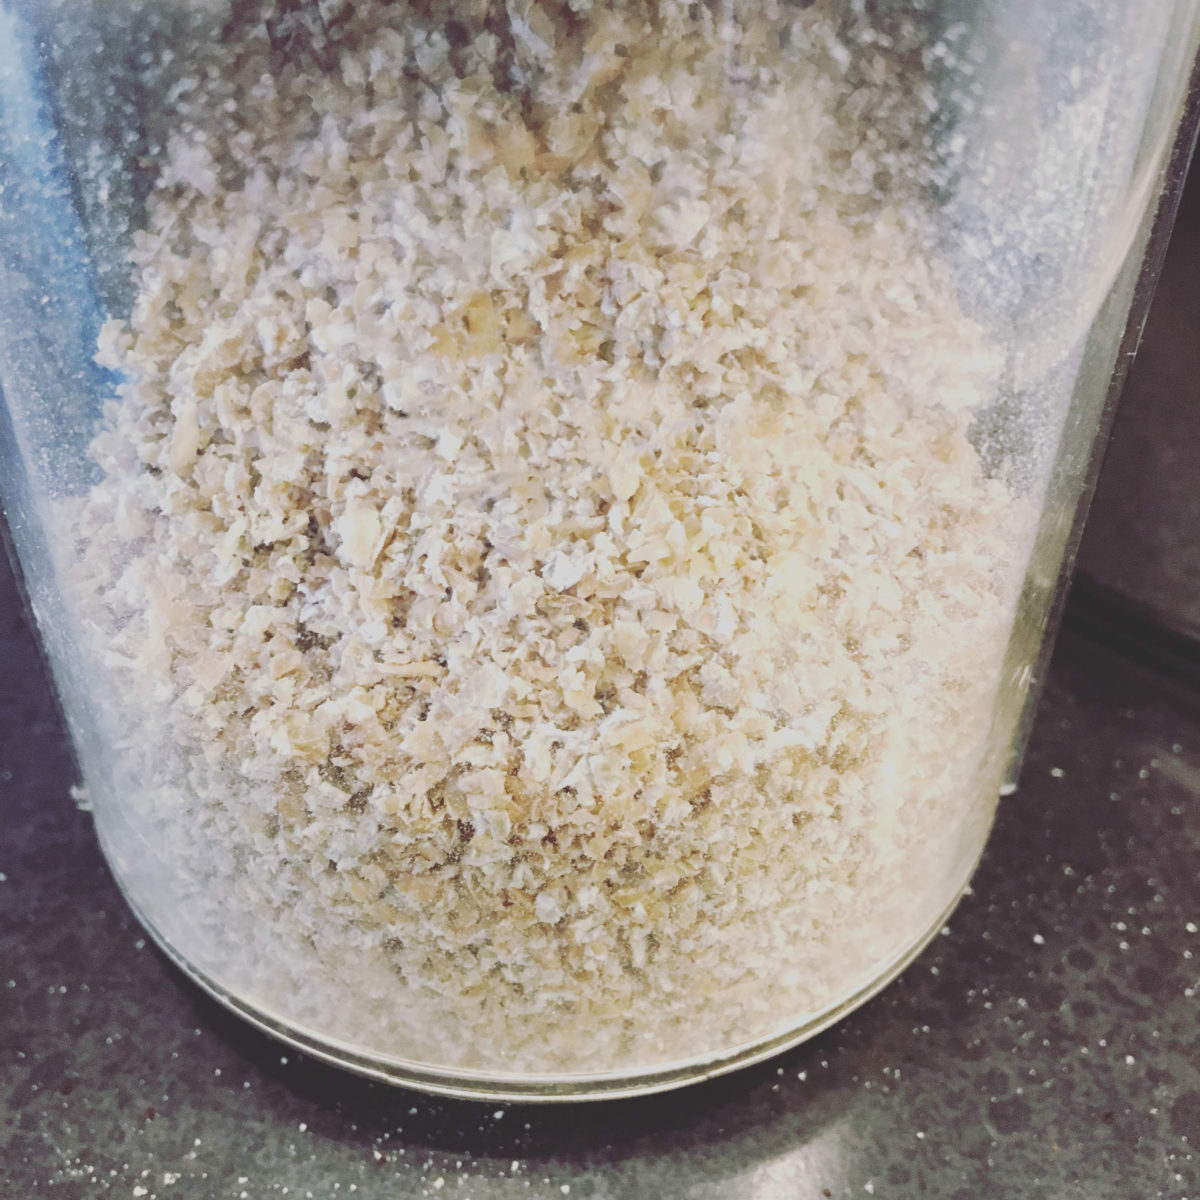
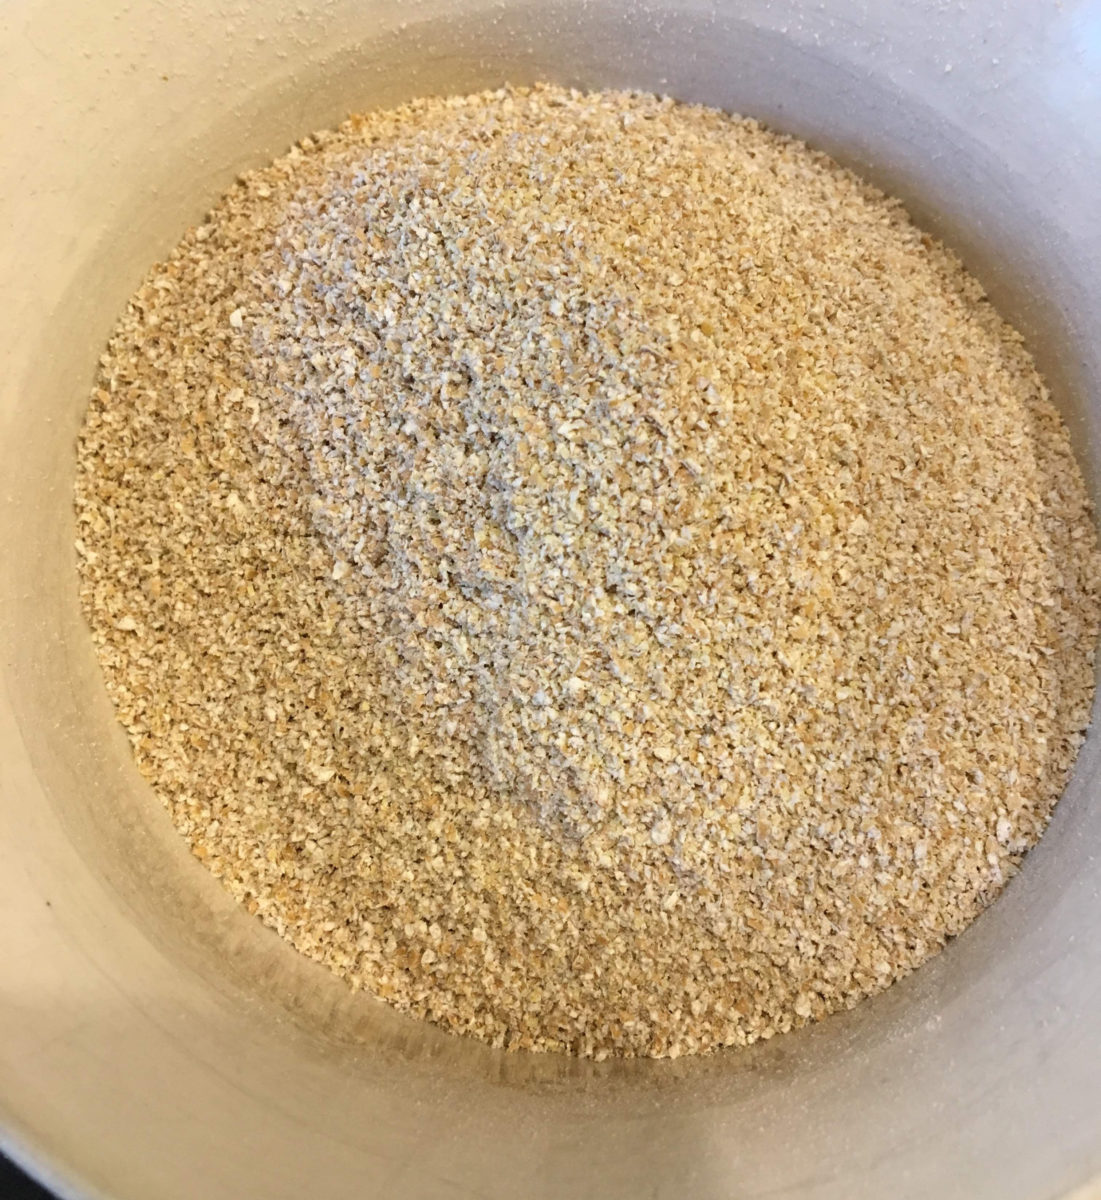
Making the Tangzhong
This step is fairly simple but after you’re done, it’ll need about 15
minutes to cool so now would be a good time to warm up about 1/2 cup of
milk and your yeast to let it wake and bloom.
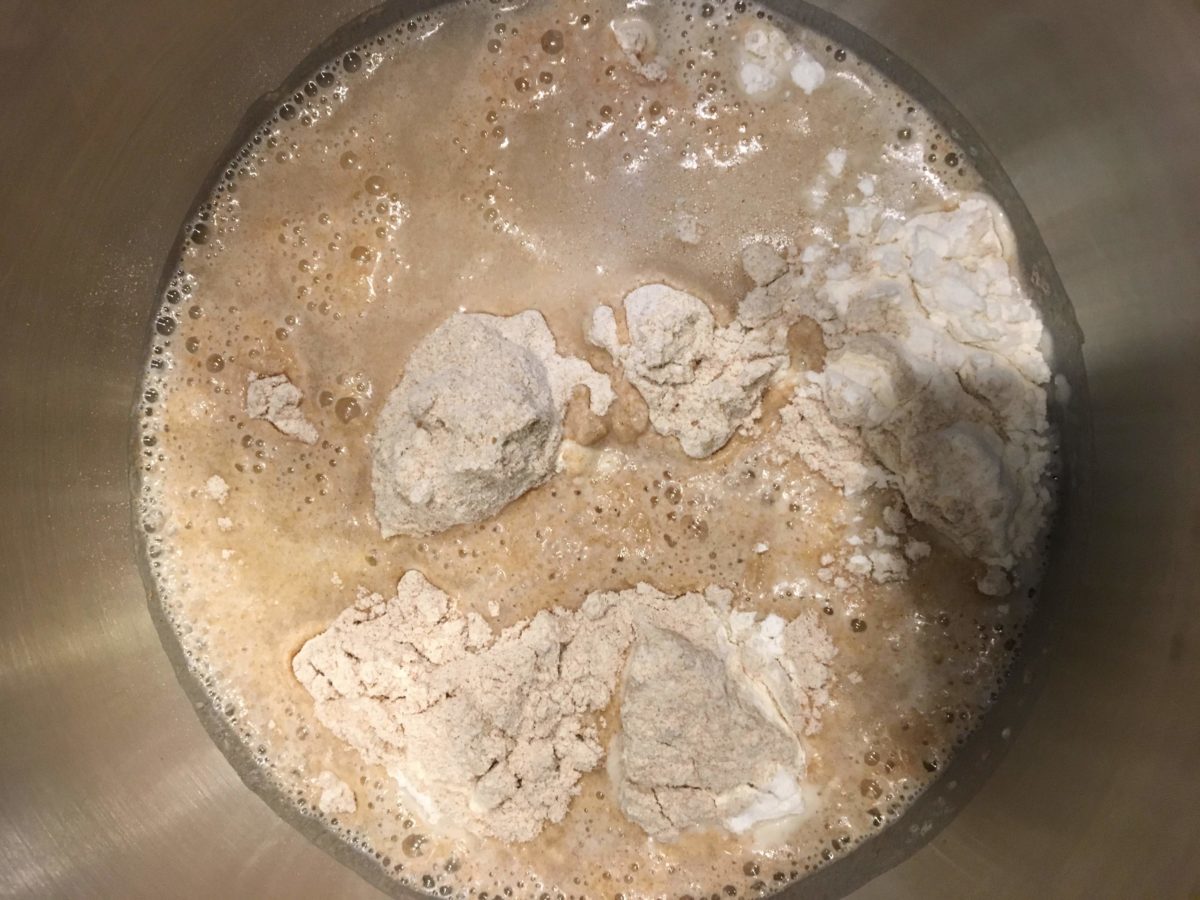
In a pan over medium heat, add milk and flour. Combine until the mixture thickens and becomes gelatinous. Remove from heat and let cool.
The mixture should resemble a roux and should only take a minute or so to get done.
Making the Milk Bread Dough
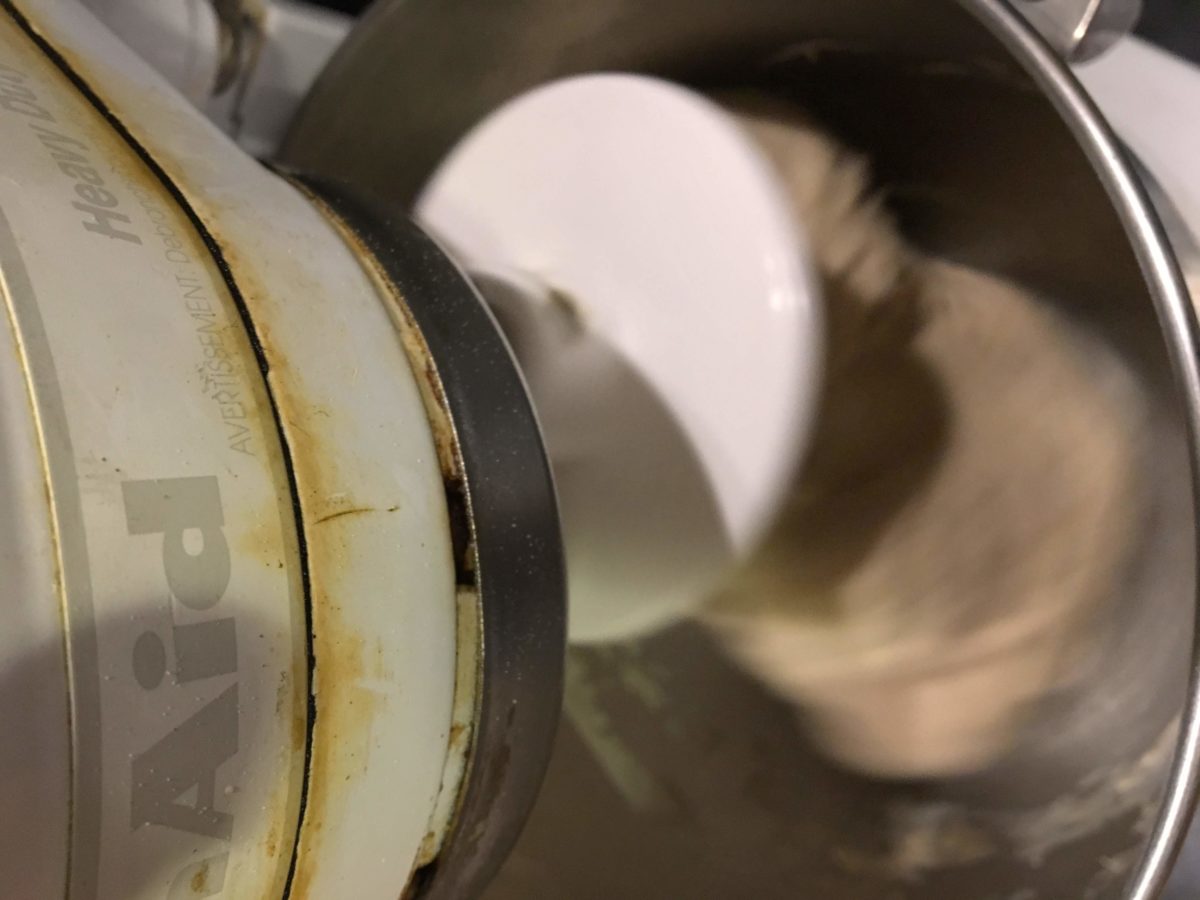
In a stand mixer, cream the butter and sugar.
Add the dry ingredients, then the tangzhong, then the eggs. Mix at low speed until combined and start adding the milk a little at a time until it’s all incorporated.
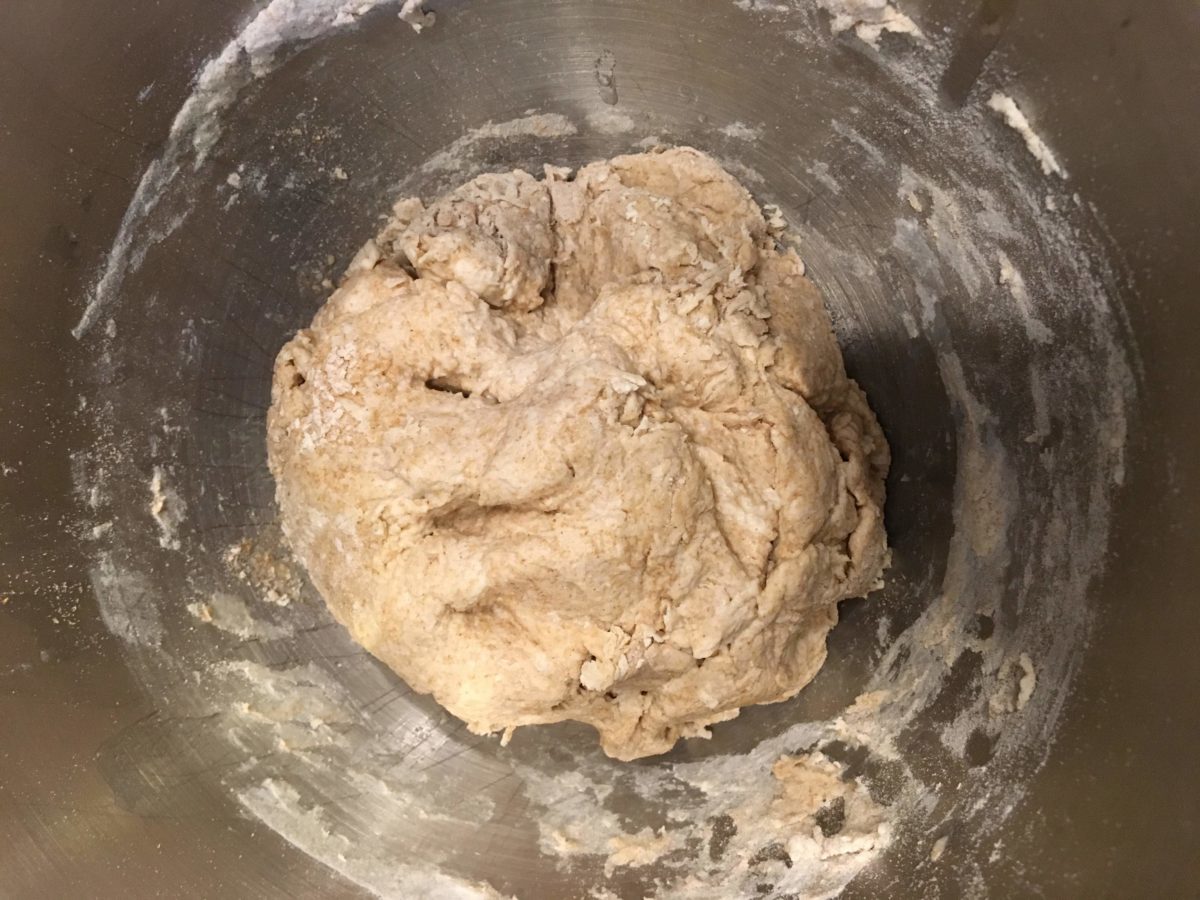
As the dough begins to come together, slowly add the milk a little bit at a time and increase the speed of your mixer to the second speed. The dough should be fairly sticky but should clean the sides of the bowl as it’s being mixed.
I mixed mine for about 15 minutes before it was ready so don’t despair if it looks too wet!
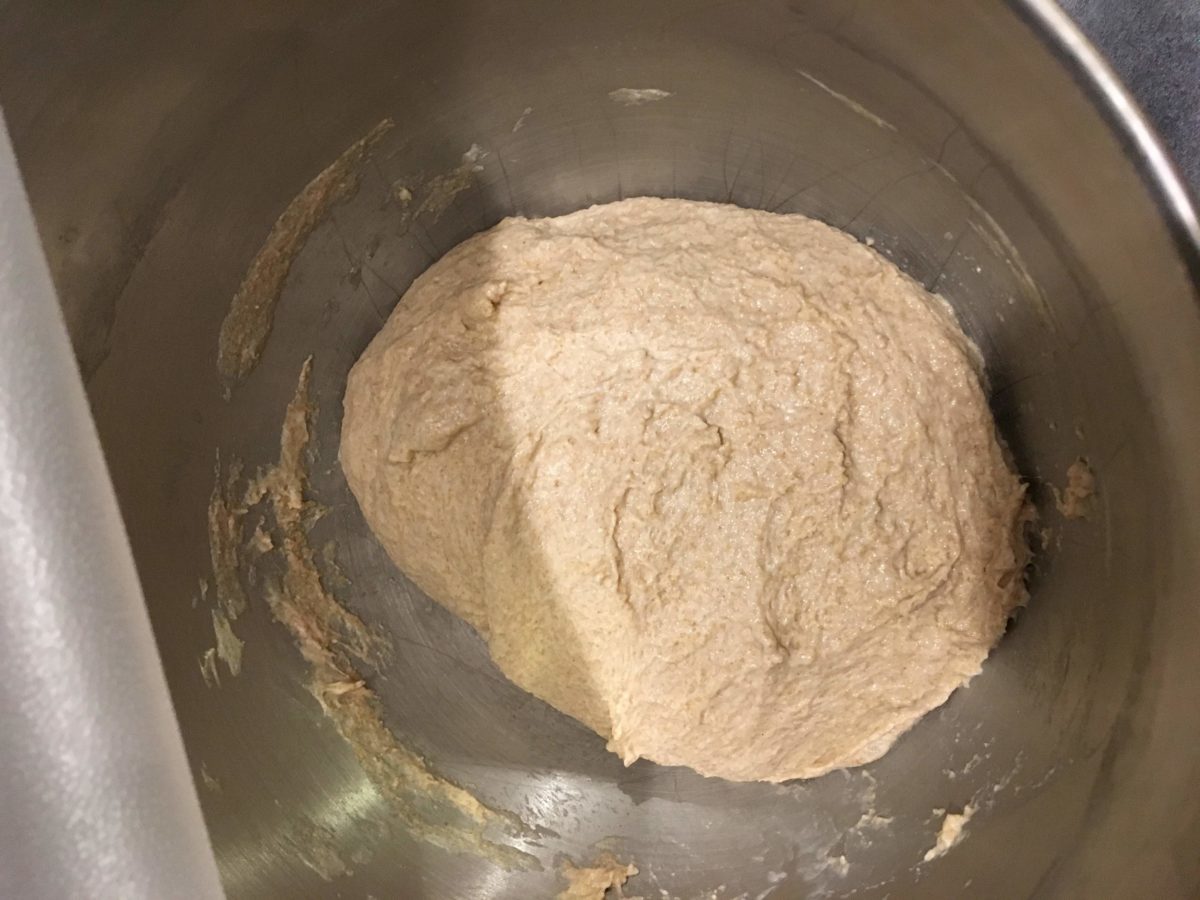
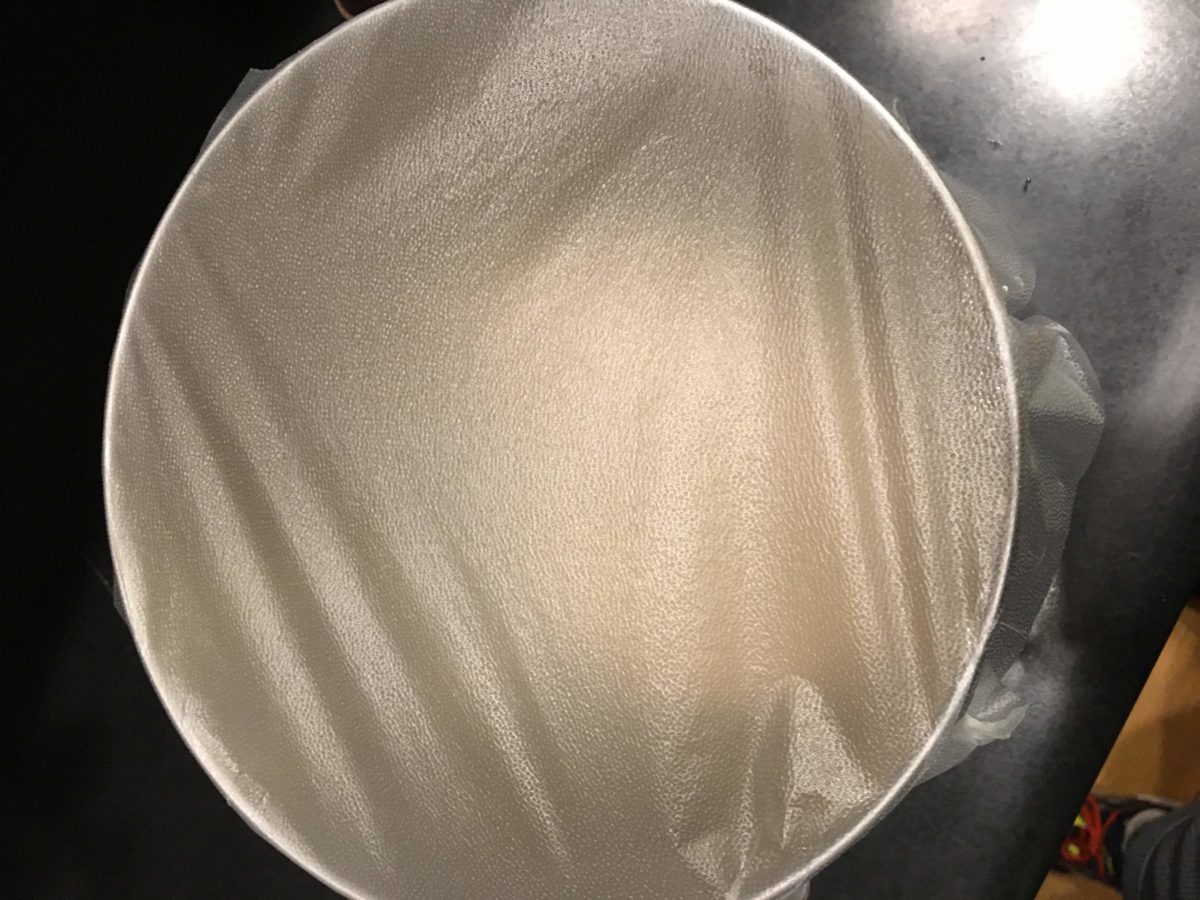
Form the dough in to a ball and cover the bowl of the mixer with plastic to keep the dough moist and prevent a dry skin from developing on the dough.
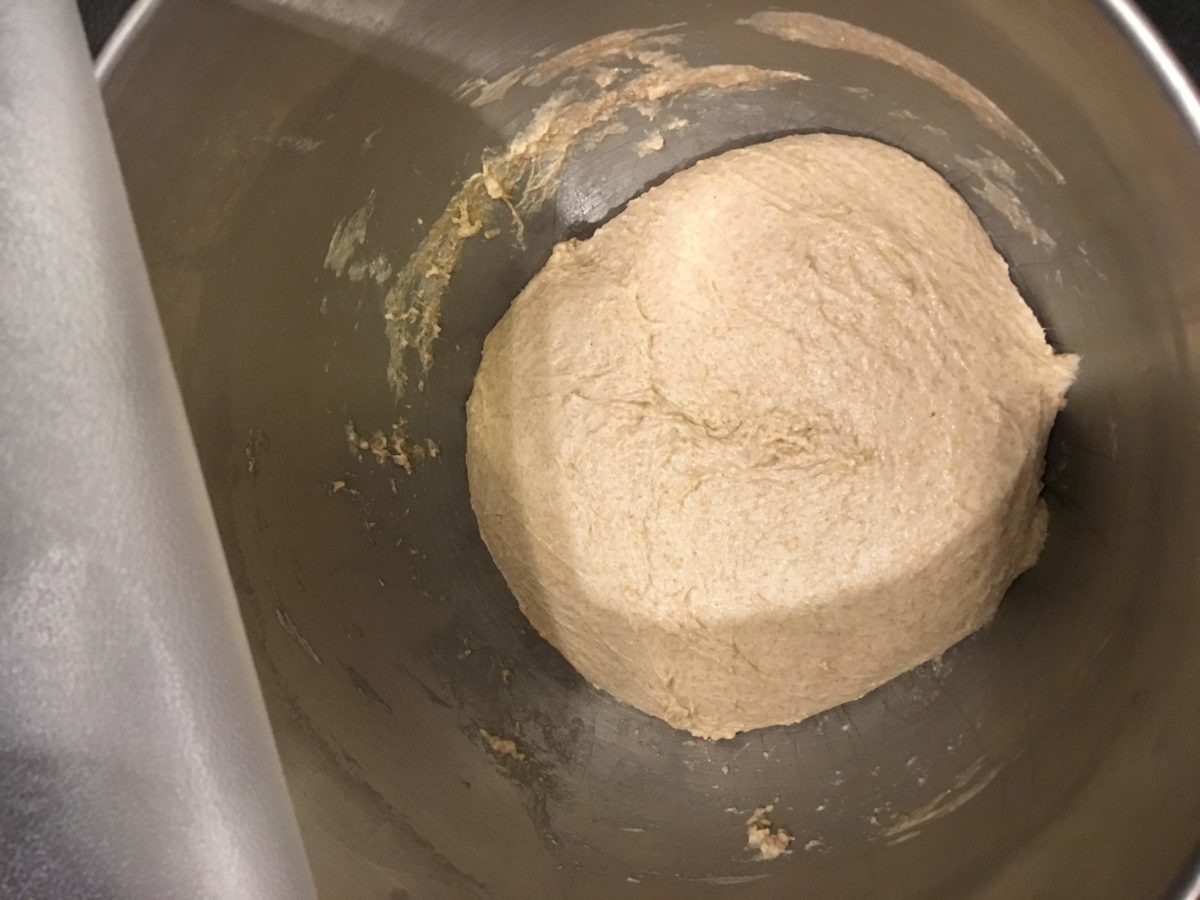
Let it rest for about an hour or so until it doubles in size.
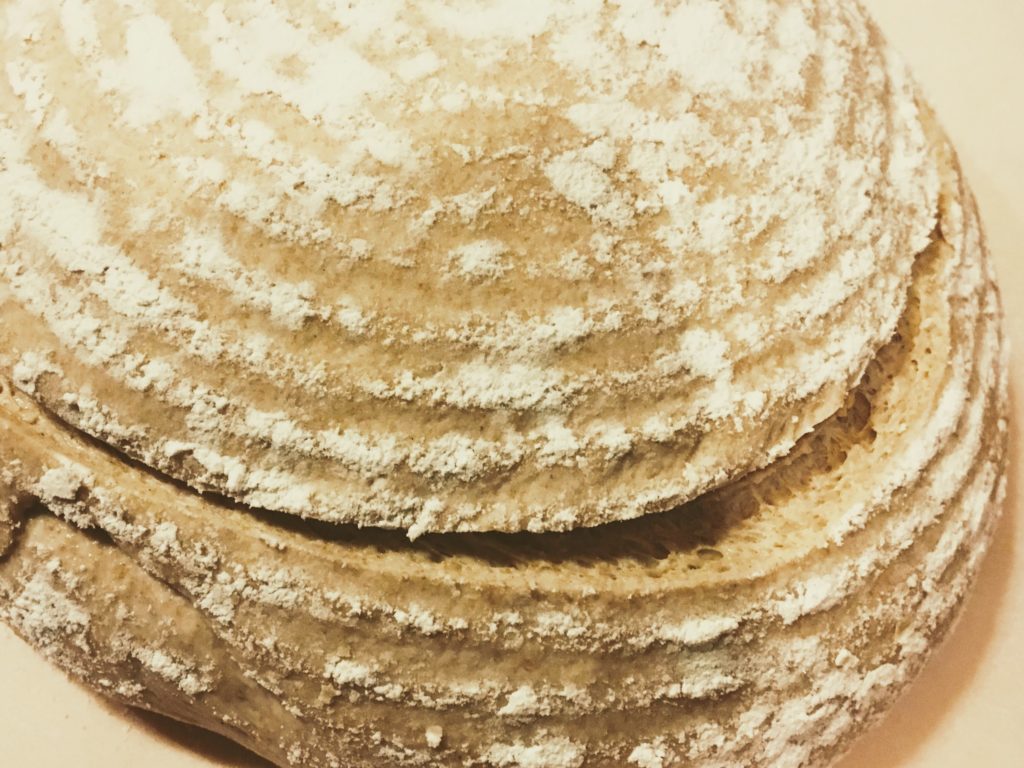
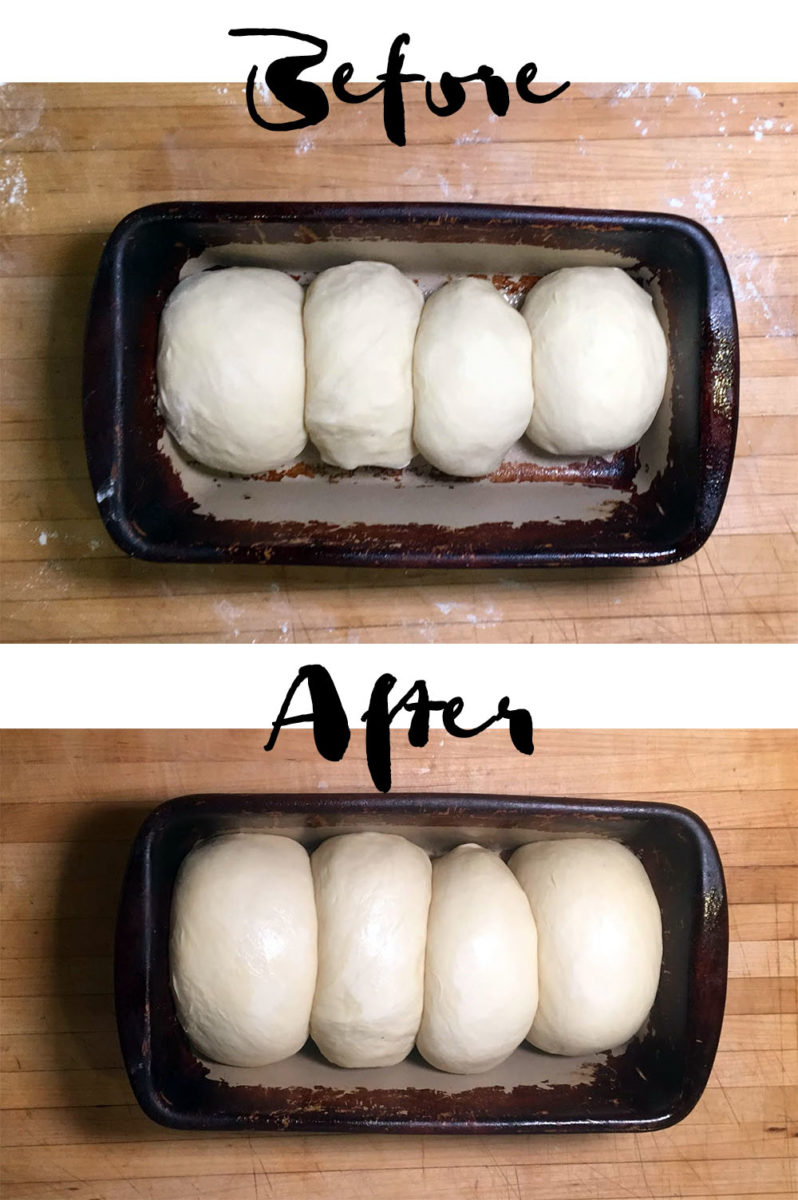
Once doubled, dump it out on to a floured surface and divide the dough in to 4 pieces.
Roll each piece in to a ball and put in a greased baking pan. Cover lightly with plastic for another hour or so until the balls have risen nicely, roughly doubled again.
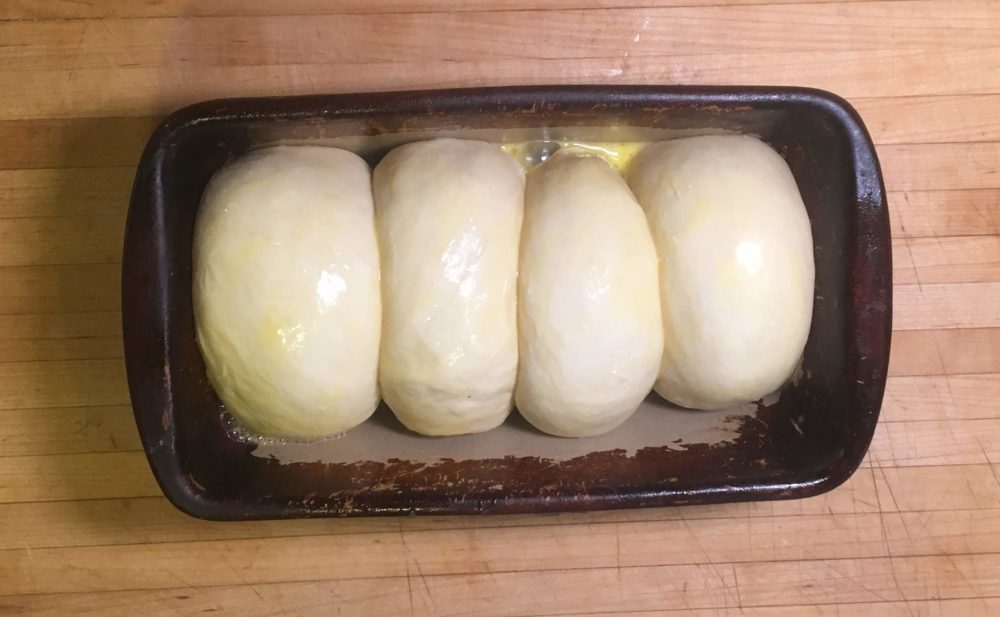
Preheat your oven to 450˚F about halfway through.
Beat the eggs and wash over the dough before putting the loaf in the top rack of the oven to bake.
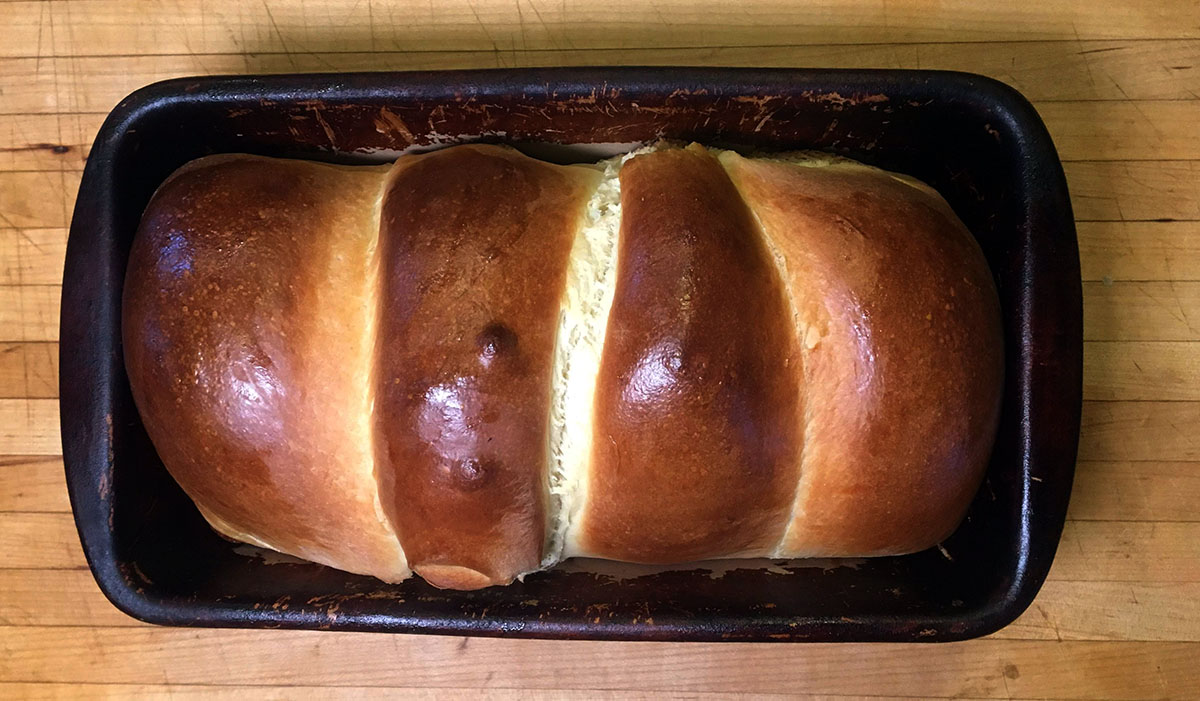
About 15 minutes in, turn the loaf and move to the lower rack.
At this time, lower the temperature to 400˚F.
20 minutes later, remove from the oven and let cool before enjoying!
For your reference, all of the equipment used for making this loaf are listed below. I