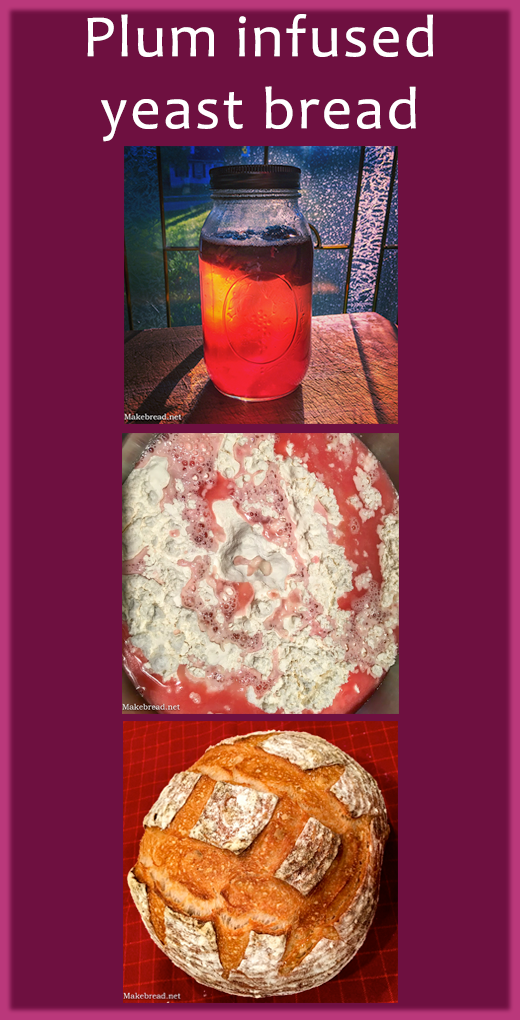
As we race towards the holiday season, we’ve put together our first annual holiday gift shopping guide for the baker in your life. This curated list of baking related gift ideas are sure to hit a home run with the baker in your life. The best part is that you may reap the benefits of these baking gifts in the form of edible treats throughout the year!
[one_half]
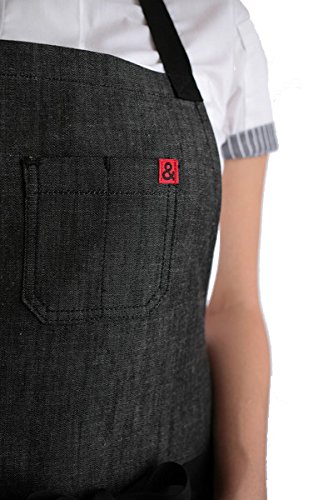
Hedley & Bennet apron, $75
Because every baker needs a nice apron, this one is 100% cotton and has ample pockets for tools and gadgets. It is washable, durable, and stands up to the messiest chefs!
[/one_half]
[one_half_last]
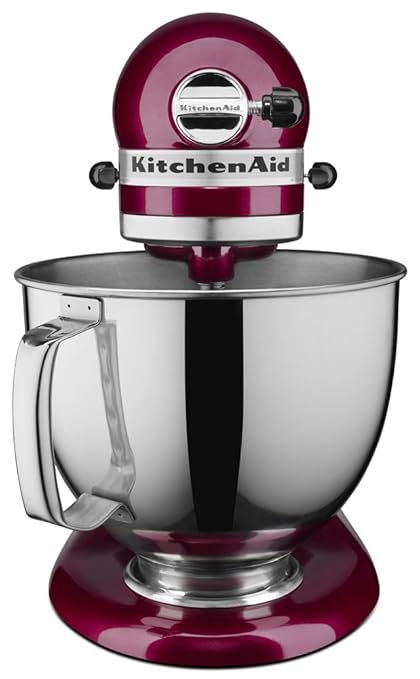
Kitchent Aid Tilt-Head Stand Mixer, $280
An essential arsenal in every baker’s tool kit is the mighty stand mixer. This tilt-head mixer from KitchenAid is powerfull enough to knead tough doughs and gentle enough to whip the fluffiest of meringues. With a 5-Qt. stainless steel bowl , it offers enough capacity to mix dough for 9 dozen cookies or 4 loaves of bread in a single batch.
[/one_half_last]
[one_third padding=”0 28px 0 0″]
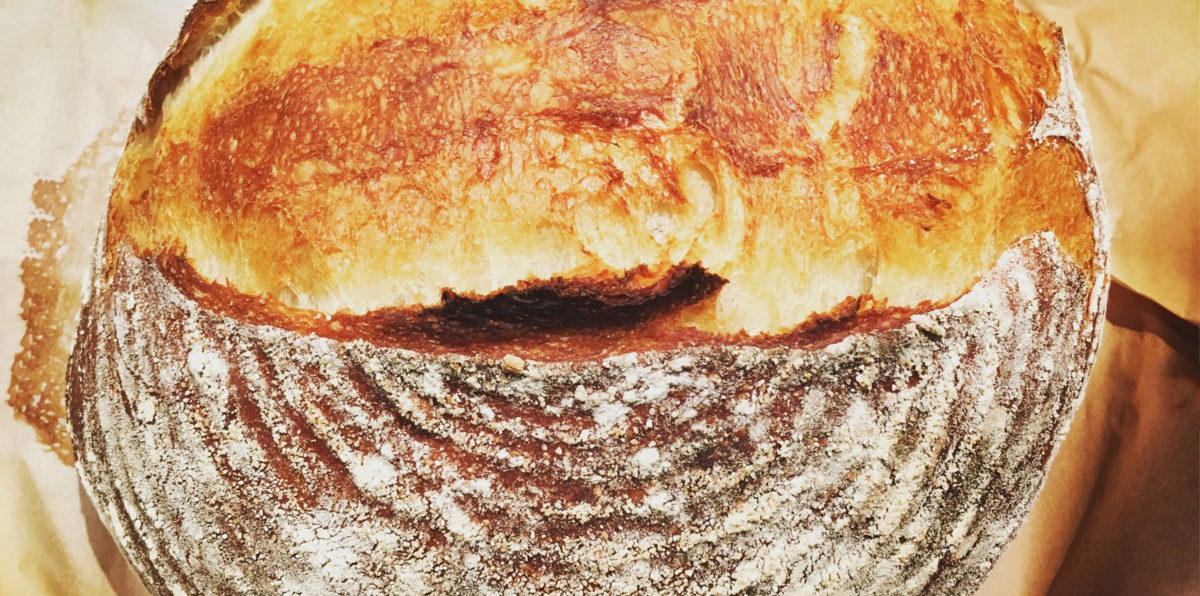
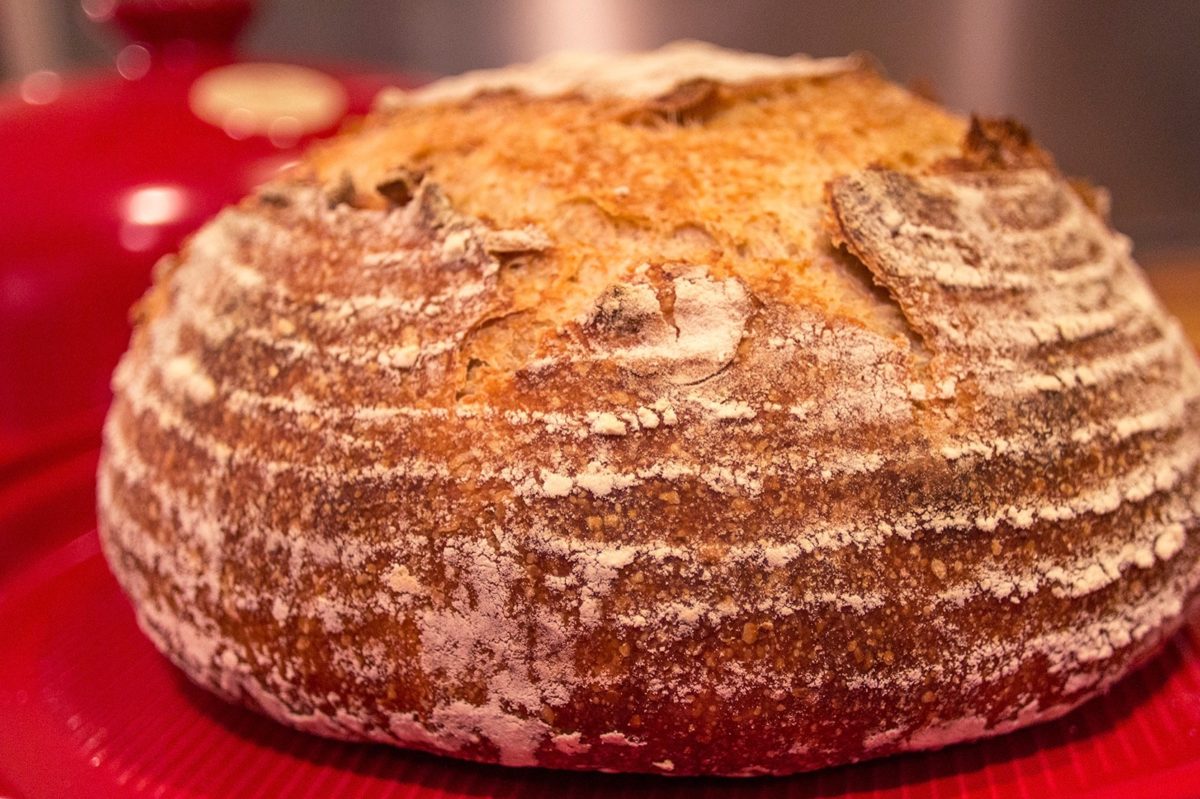
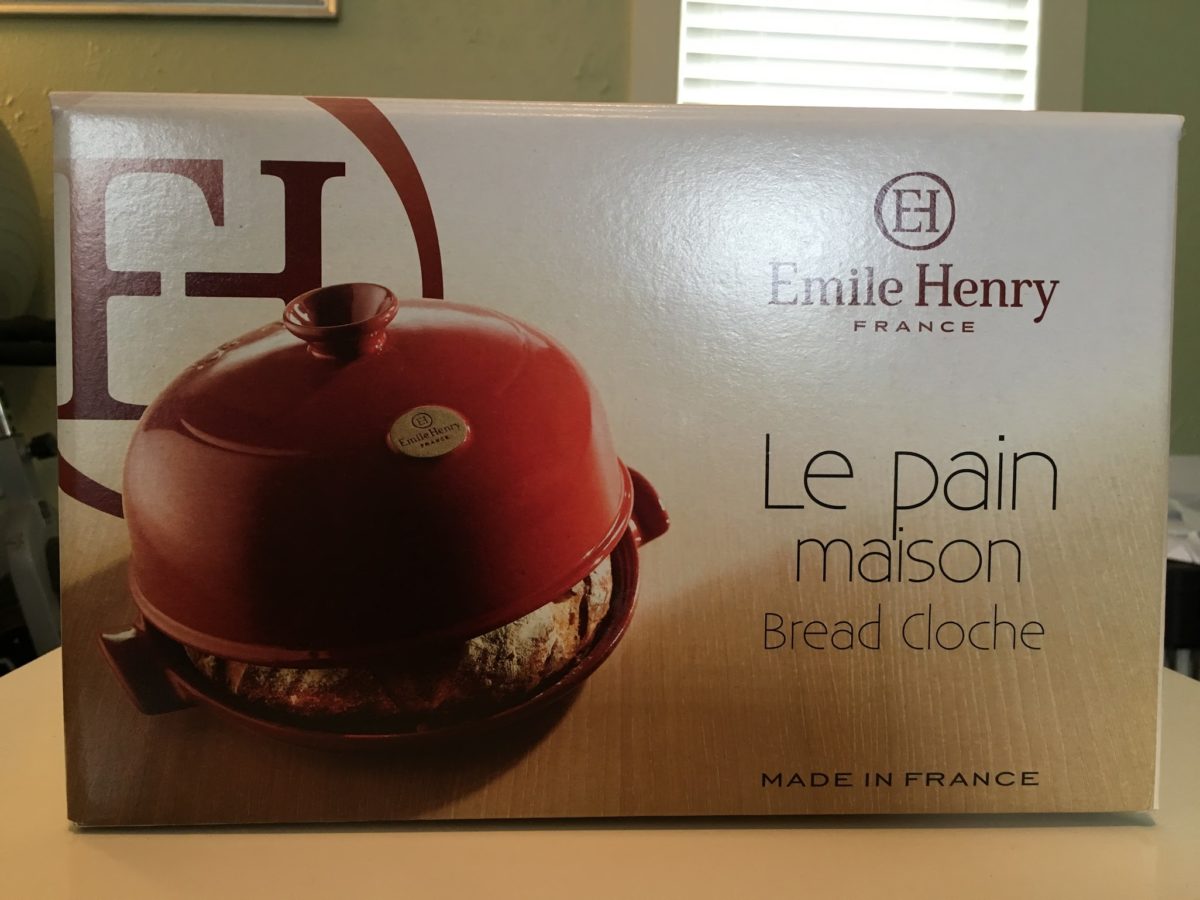
Emile Henry Bread Kit – Cloche, Banneton, and Lame, $160
As you’ve read here on this site, I’m a huge fan of the Emile Henry bread cloche. In our opinion, it is the best bread cloche you can buy. It’s ceramic properties provide even heating for your entire loaf and the fact that it is lightweight make it easy to load in to and, most importantly, out of your oven. This kit is awesome because it comes with a 8 inch round proofing basket and a lame, just about everything you need to make bakery quality, artisan bread at home.

[/one_third]
[one_third padding=”0 28px 0 0″]
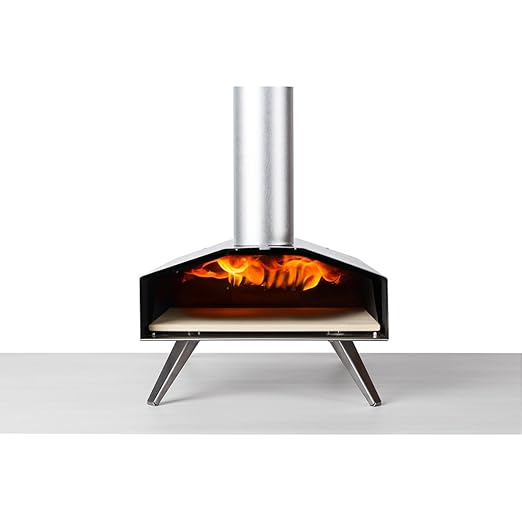
Uuni 2s Portable Pizza Oven, $230
The Uuni has been a favorite pizza oven here for about a year. It heats up to over 700˚F and bakes Neapolitan style pizzas in your backyard in about 2 minutes. We’ve had a lot of success using this portable pizza oven and think that your pizza loving friend will rock out some amazing pies too!
[/one_third]
[one_third_last]
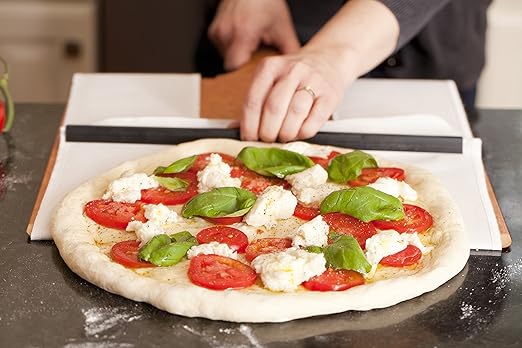
EXO Super Peel, $60
Loading and unloading fragile items in to a hot oven can often times be stressful (even dangerous)! The Super Peel from EXO eliminates a lot of the hassle by providing a mechanism where the food just delicately slides off the peel and on to your cooking surface. No stress, no burns, and serious yums!
[/one_third_last]
Our Favorite Bread Baking Books
[ezcol_1third]
Tartine Bread Book, Chad Robertson, $25
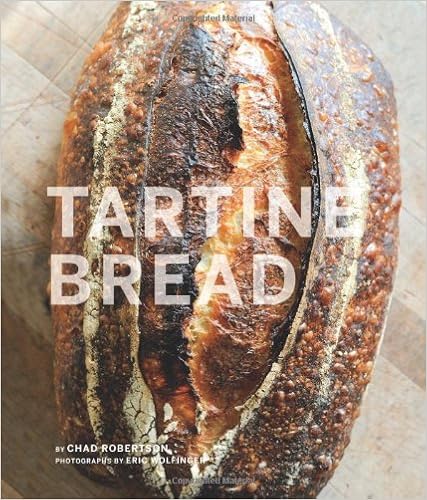 A must have book for anyone aspiring to become a better baker by learning how to start, grow, maintain, and evolve their own sourdough culture. Robertson shares his baking background and teaches you how to make amazing breads at home using a dutch over or Cloche.
[/ezcol_1third]
[ezcol_1third]
Flour Water Salt Yeast (FWSY), Ken Forkish, $20
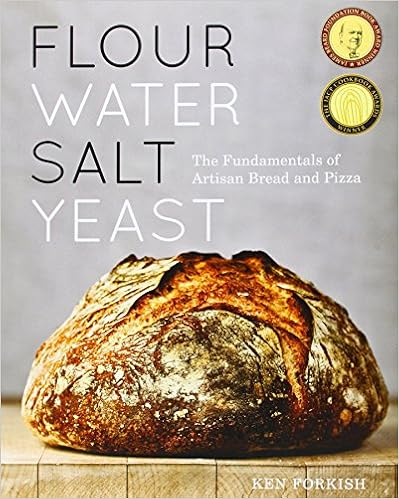 This book is aimed at folks who are just taking off in their baking life. With this book you can make the bread on the cover on your first go and the results will look and taste just as good!
[/ezcol_1third]
[ezcol_1third_end]
Bread: A Baker’s Book of Techniques and Recipes, Jeffrey Hamelman, $30
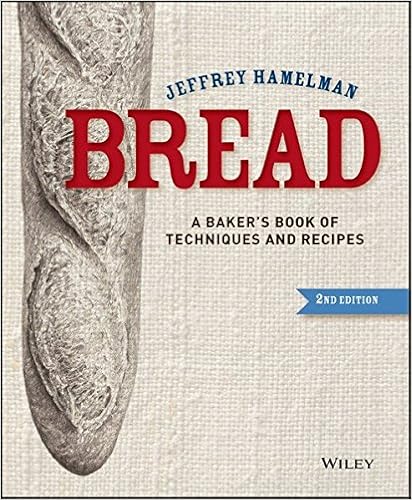 Hamelman’s book is a more advanced book for bakers. Hamelman is the head baker at King Arthur flour and to me, this gives him serious street cred. This is one of my favorite books and I refer to it often as it offers a fairly technical background on how bread baking works and it also provides easy to follow formulas for the home baker to try.
[/ezcol_1third_end]
Thank you all so much for making this year great, and here’s to a better 2017!