There are many ways to make bread. From slow sourdough breads that can take a few days from the time you mix to the time you bake to biscuits that can be mixed and cooked within a few moments, the variety of leavening agents available for the home baker are quite diverse.
By far the most popular method that folks use to bake bread at home is with store bought yeast. Just cut open the little bag and add to your mixing bowl and the dough will “double in size” in fairly short order. From there the baker shapes the dough, lets it rest for a little longer, and off it goes in to the oven for a tasty bread in half an hour.
One of the lesser known ways of making bread is by using yeasted water. Yeasted water is the result of adding something that has a little bit of fruit to a jar, and topping it off with water before sealing the jar and waiting for a few days. I first read about this baking method from this post a few years ago. Being the curious cat that I am, I researched a bit and found very little online at the time but decided to take the post’s words as truth and baked one of my first breads with “leavened water” that I made from plums. You can read the post and get a glimpse of the process but I’ll detail it here again for you. One thing that I think I omitted to say on the original post is that you should make your jar as full of water as possible in order to leave as much air as possible out of the jar. The air could cause your infusion to grow mold. This happened to me once and am sure is fairly common given that you want to generally keep these infusions in a warm area for a while.
So since fall is here it means that our local fruit farm had an abundance of prune plums, which are by far my favorite type of plum, so we bought an unnecessarily large amount. We sure had our fill for the season! I also made some plum jam and decided to make this infused yeasted water bread again with the last few plums of the year. You certainly don’t need to use plums for this, so look around your kitchen and get creative! You can use just about any fruit you want to use. Apples and raisins are other good fruits to use but use your imagination and give it a go.
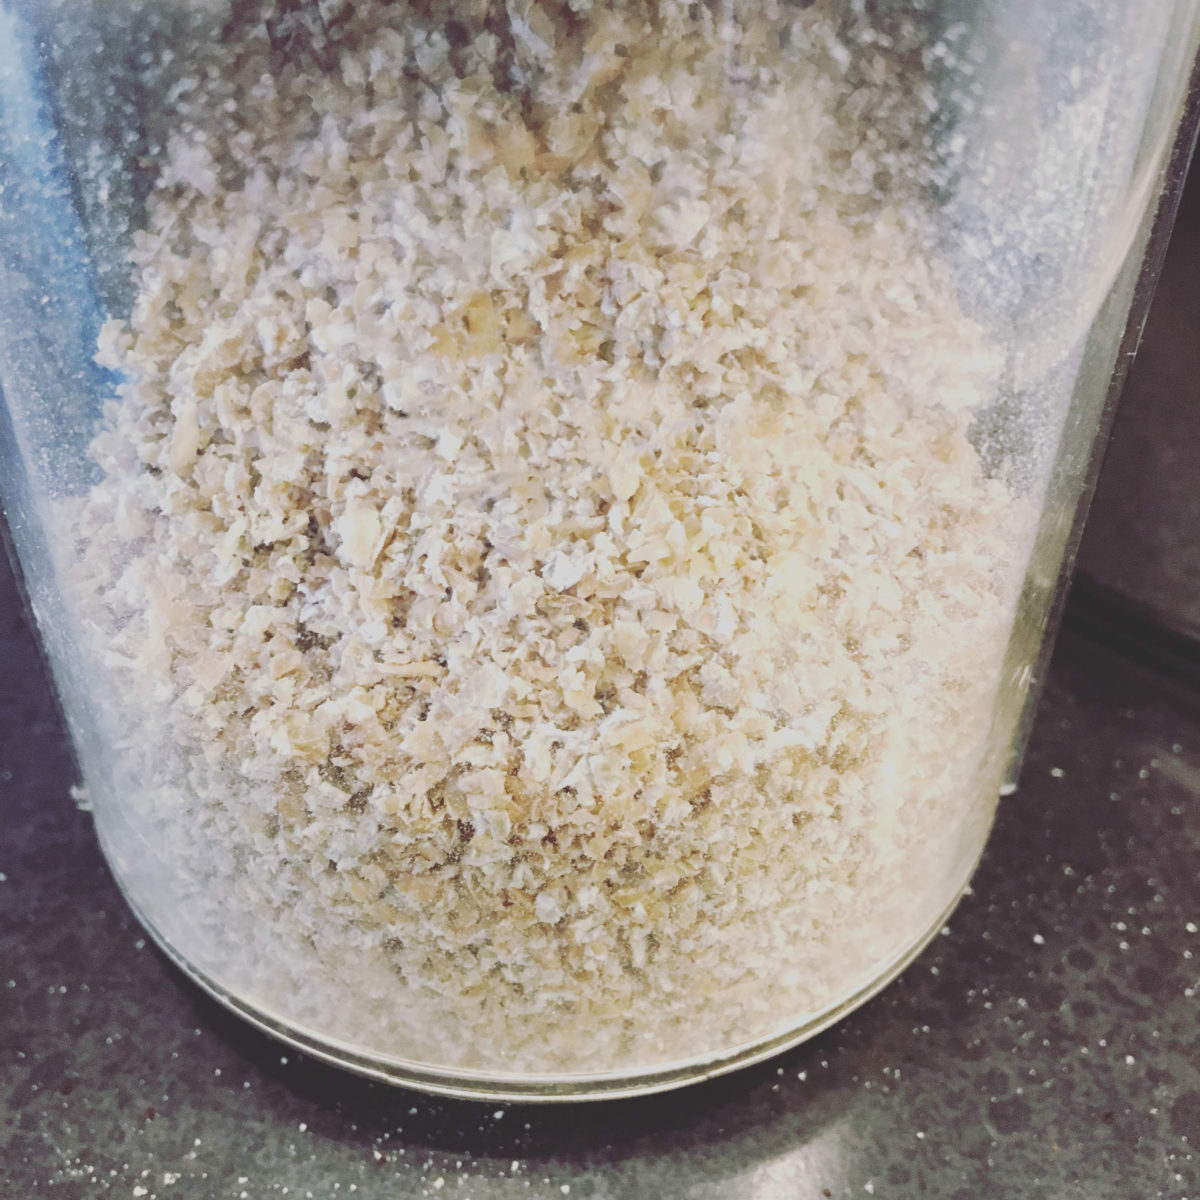
The first step is to wash you jar and your plum really well. From there all you have to do is put the plums in the jar and fill the jar to the top with water before tightening the lid. Now place your creation somewhere it can be left alone for a few days, but nowhere you could forget about because if you do, the gas that gets built up in the jar could cause the jar to explode and thus remind you of where you had left it!
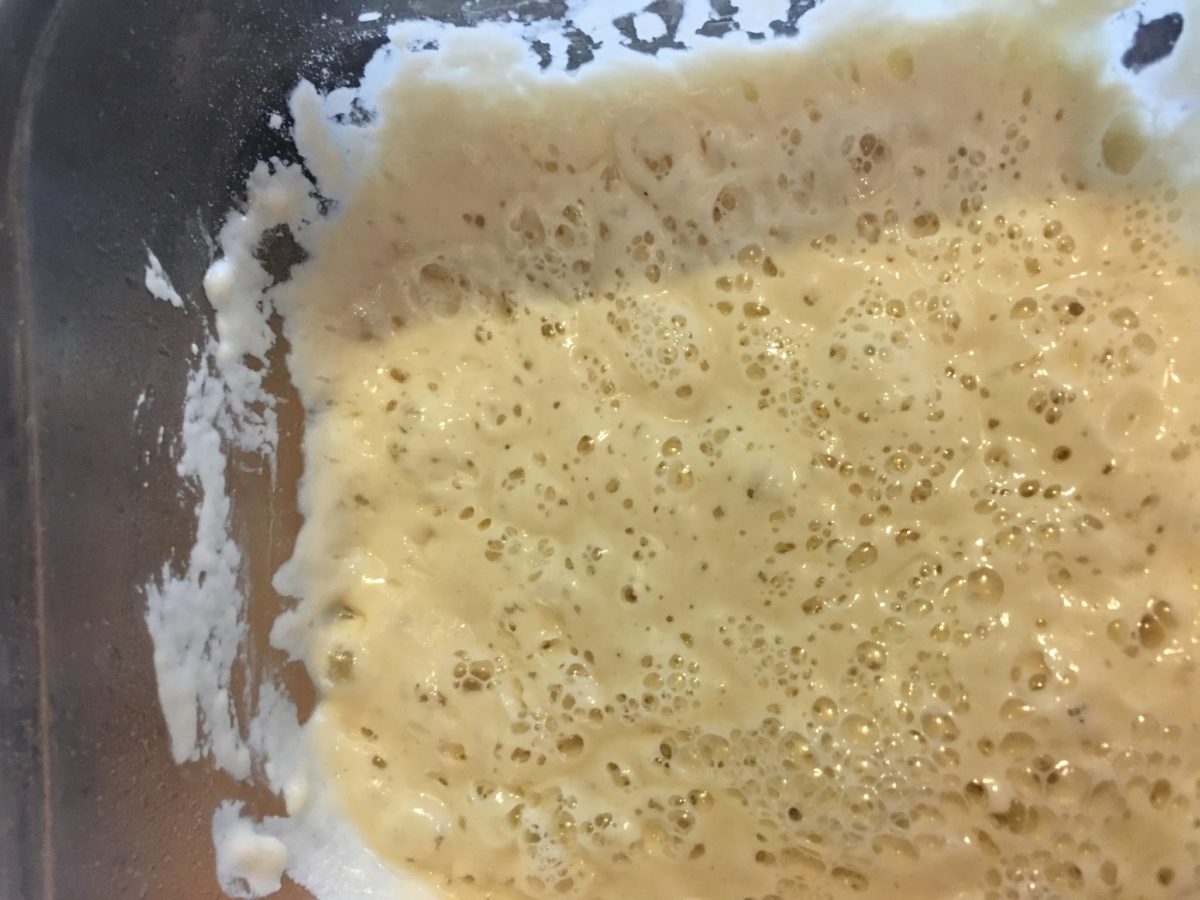
Check in on your infusion once a day so you can observe how things change but the you’ll know the mixture is ready when there are bubbles at the top of the jar.
If you are not ready to bake when the infusion is ready, you can put it in the fridge for a few days but note that this will increase the amount of time it takes for the bread to proof and may require a little bit of “spiking” with regular yeast. I put my infusion in the fridge for a couple of days this time and didn’t notice much of a slowdown but your mileage may vary.
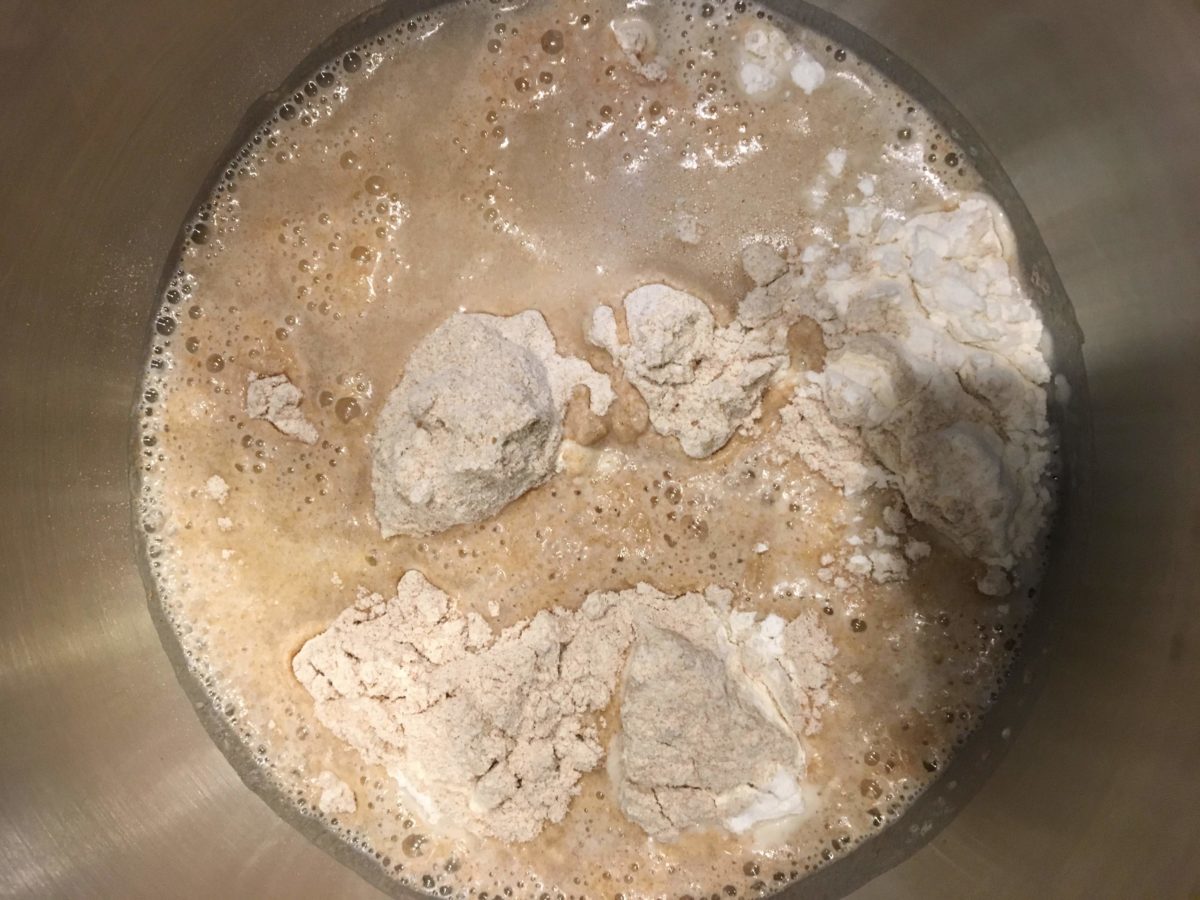
When you do decide to bake, substitute the water in your formula for your infused yeast water and don’t add any yeast. Mix it all together and watch the magic happen. If after a few hours you don’t see any growth in your dough or it’s really slow, don’t hesitate to add a little bit of yeast to your dough and knead it again for a bit to incorporate everything. There’s no shame in that, you’ll still get the subtle aroma of the fruit and your results will be great!
Yeasted Plum Water Bread Recipe
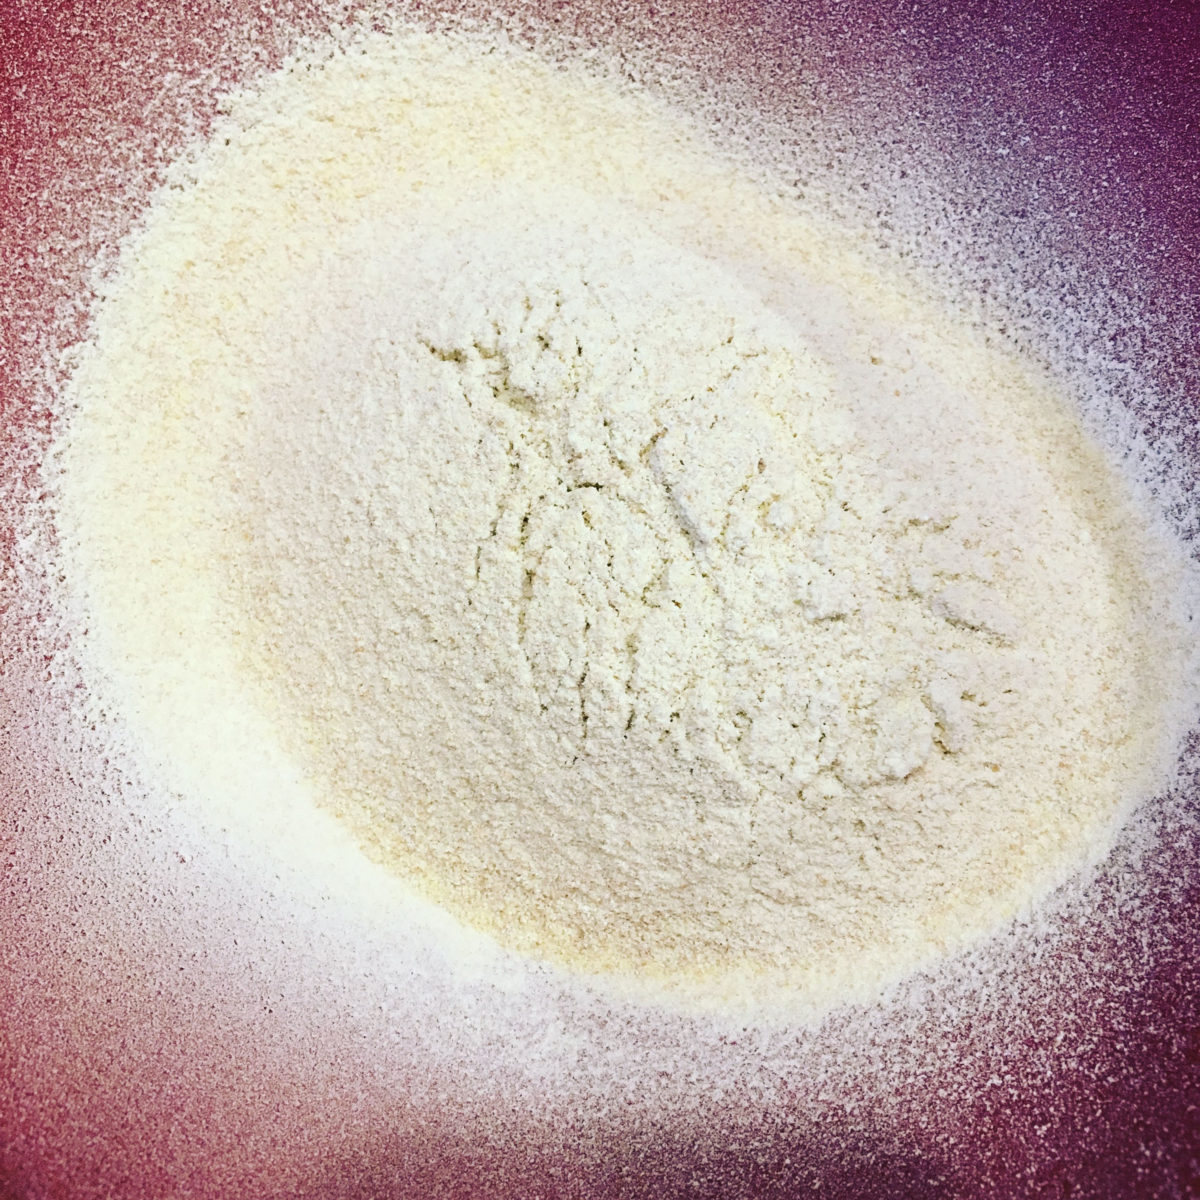
- 500 grams King Arthur All-Purpose flour
- 335 ml yeasted plum water
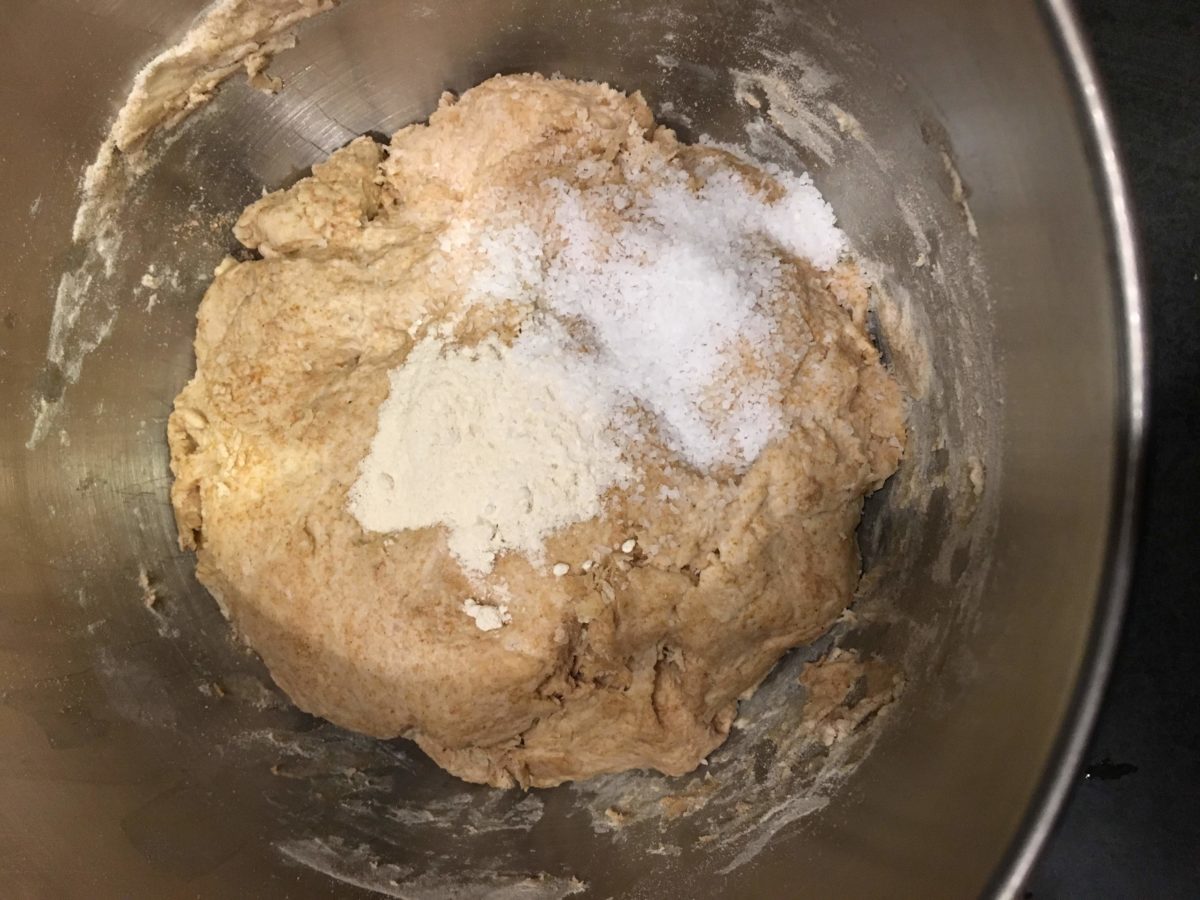
- 22 grams salt
- 22 grams sugar
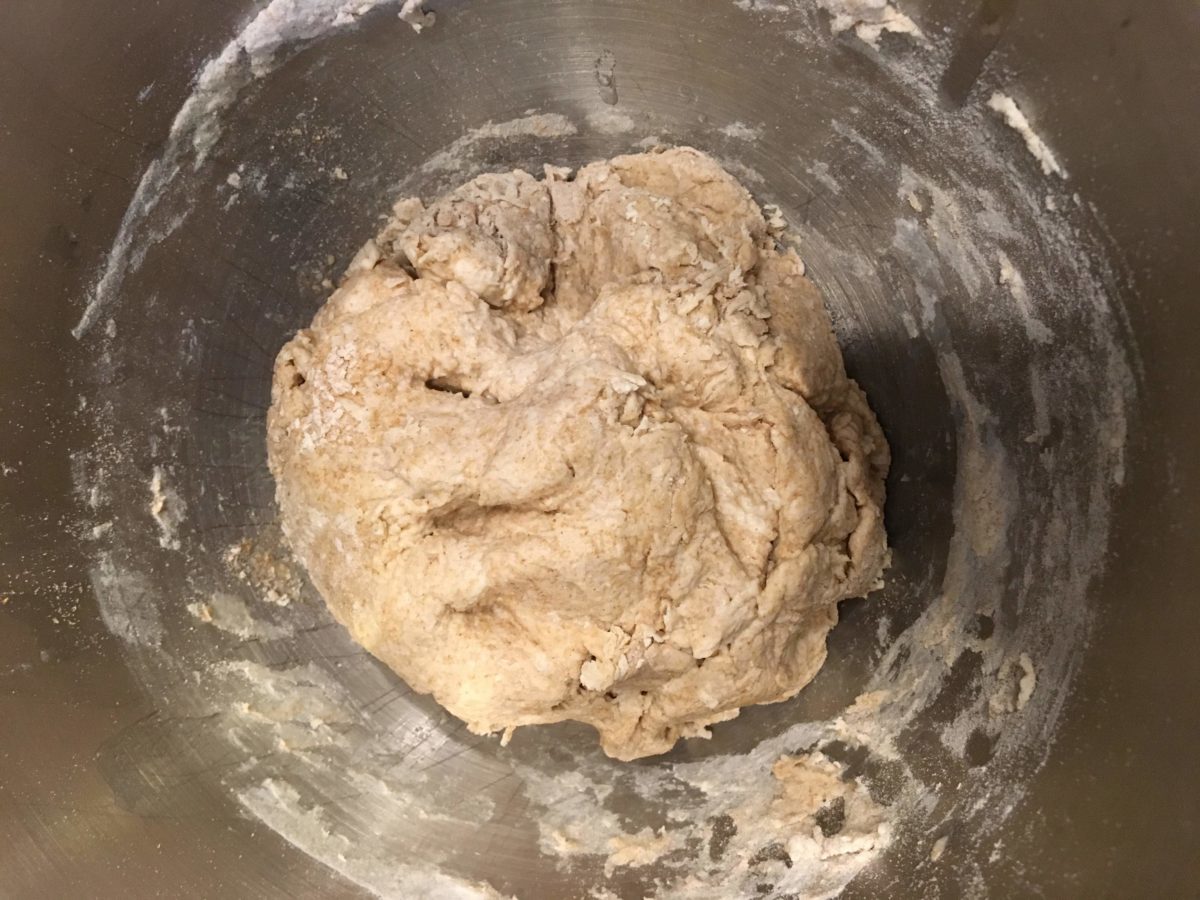
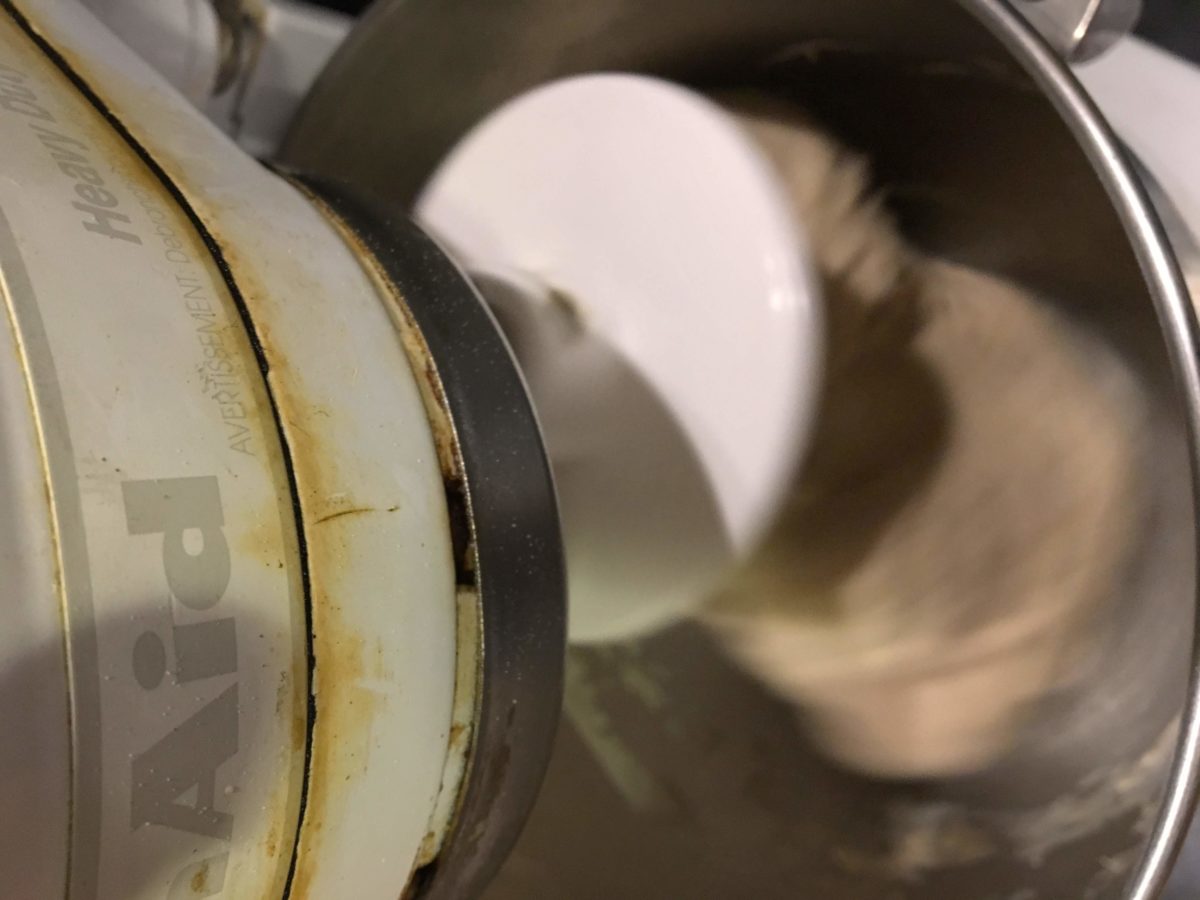
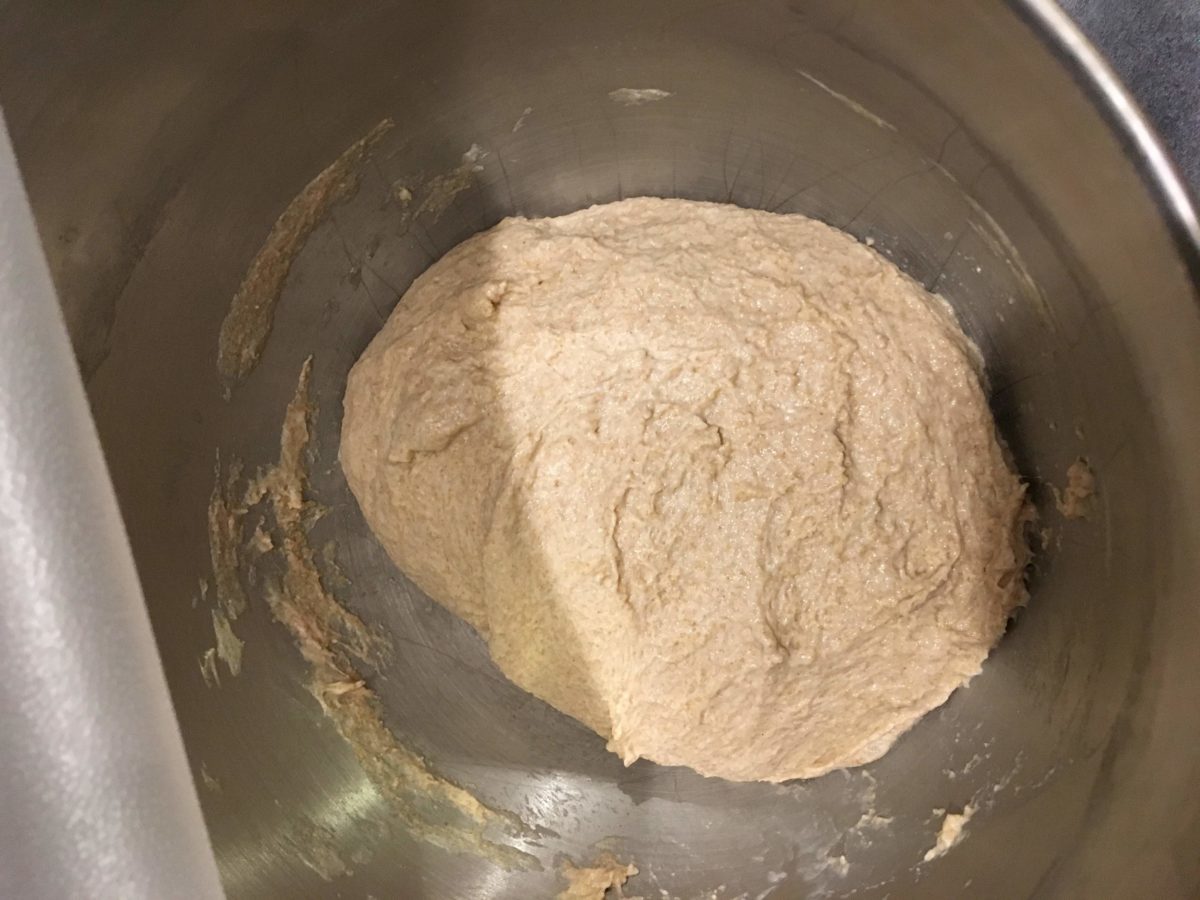
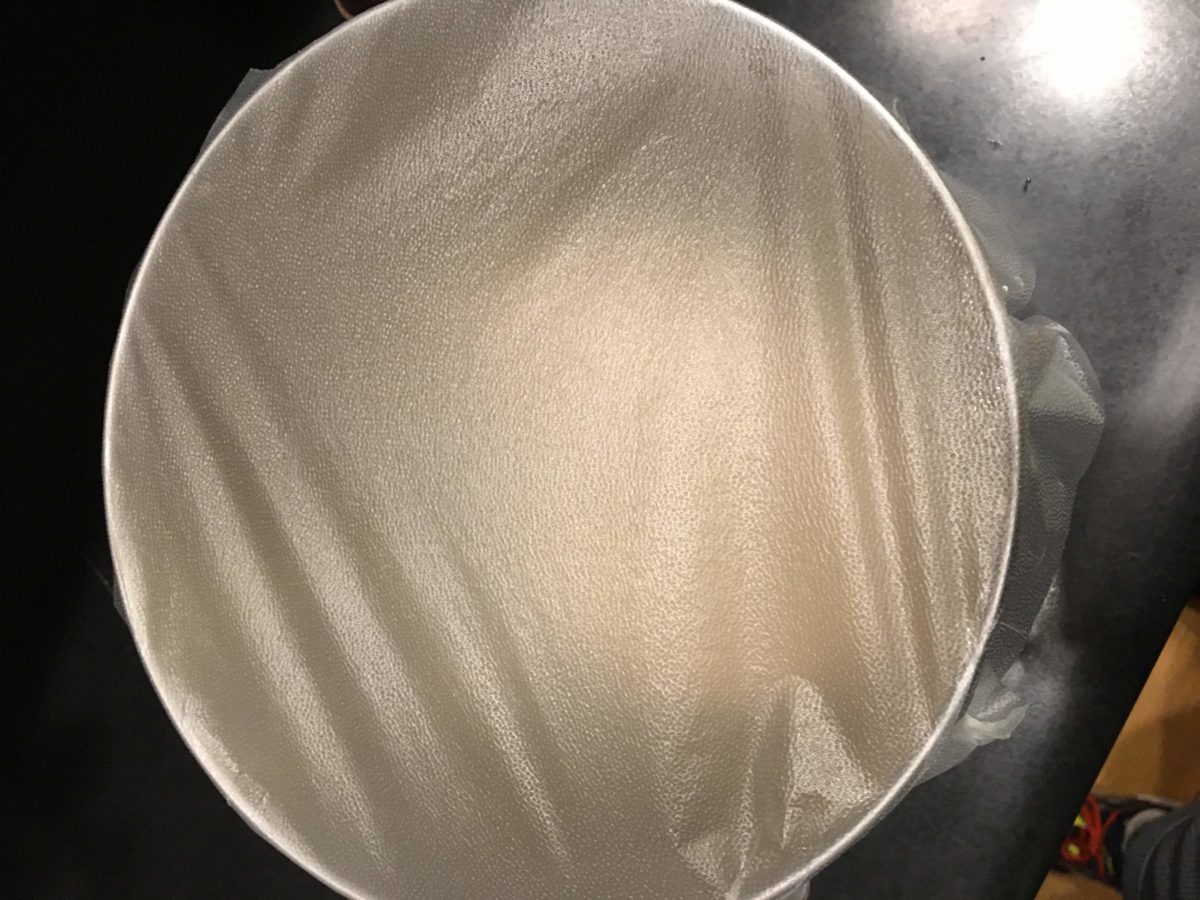
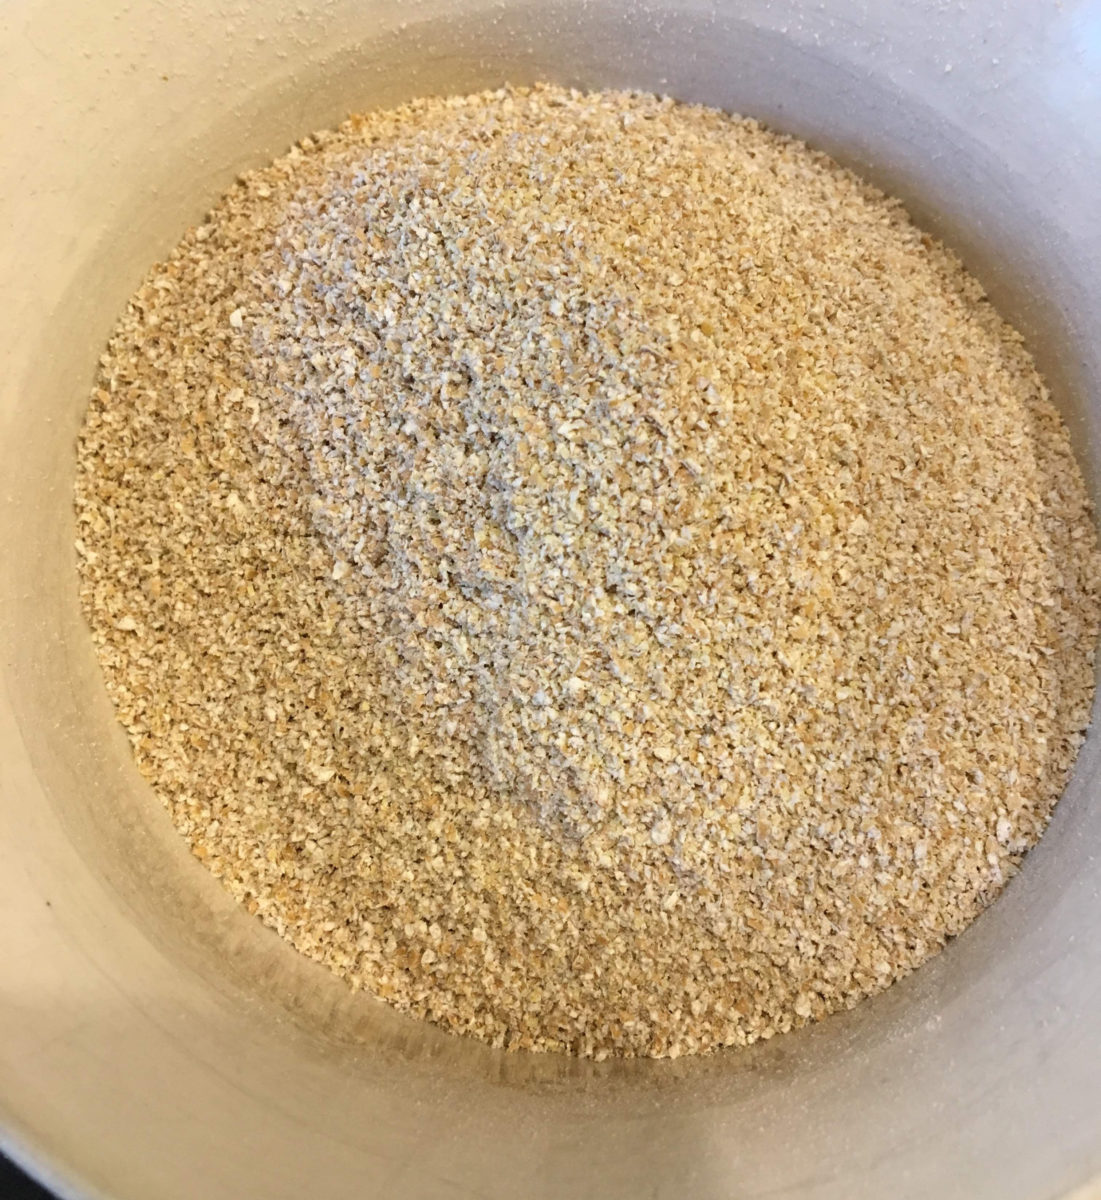
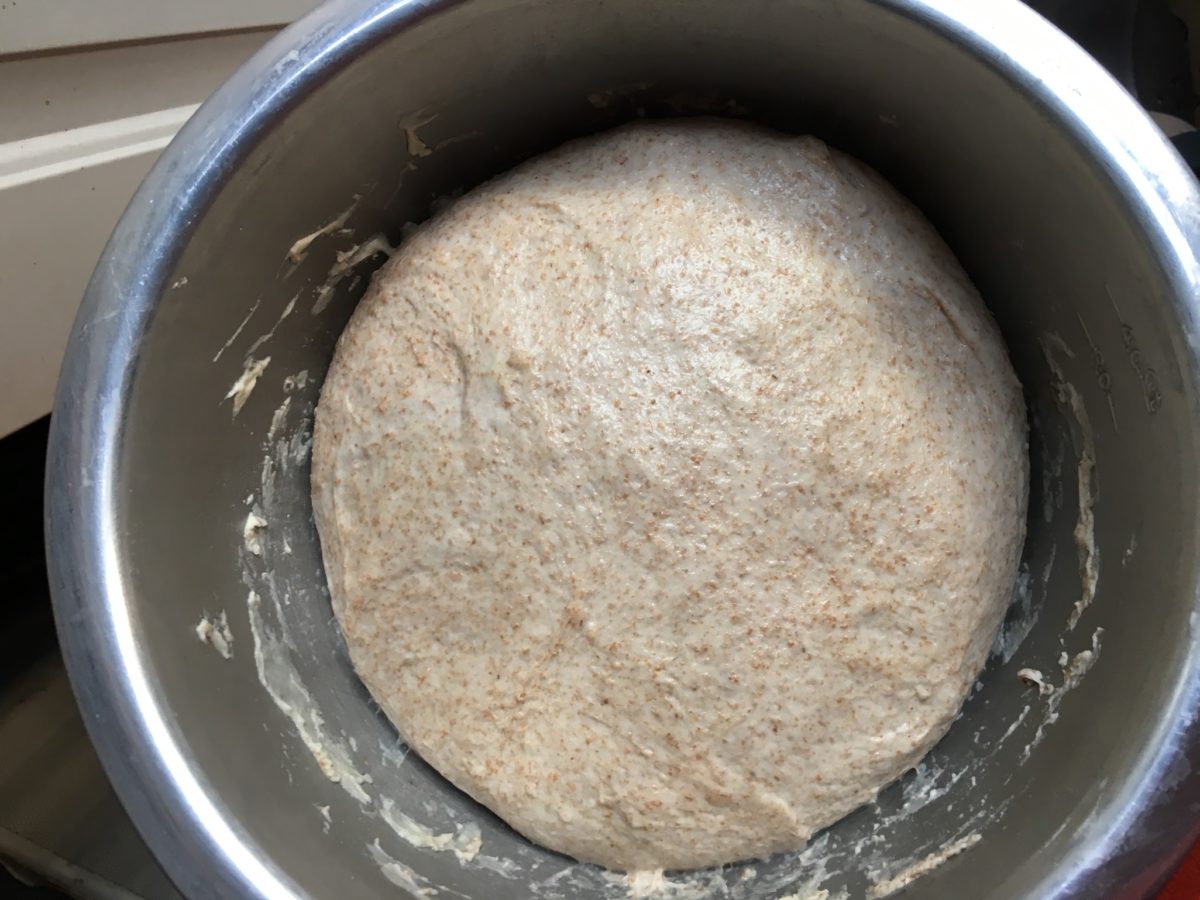
In a medium bowl add your flour, salt, and sugar then add the water. Mix to combine and cover. Using more or less a sourdough method, check in on the dough after half and hour and do a stretch and fold. Do a stretch and fold every half hour or so if your dough is slow to rise. If it’s rising quickly just one of two folds until it can pass the windowpane test easily will suffice.
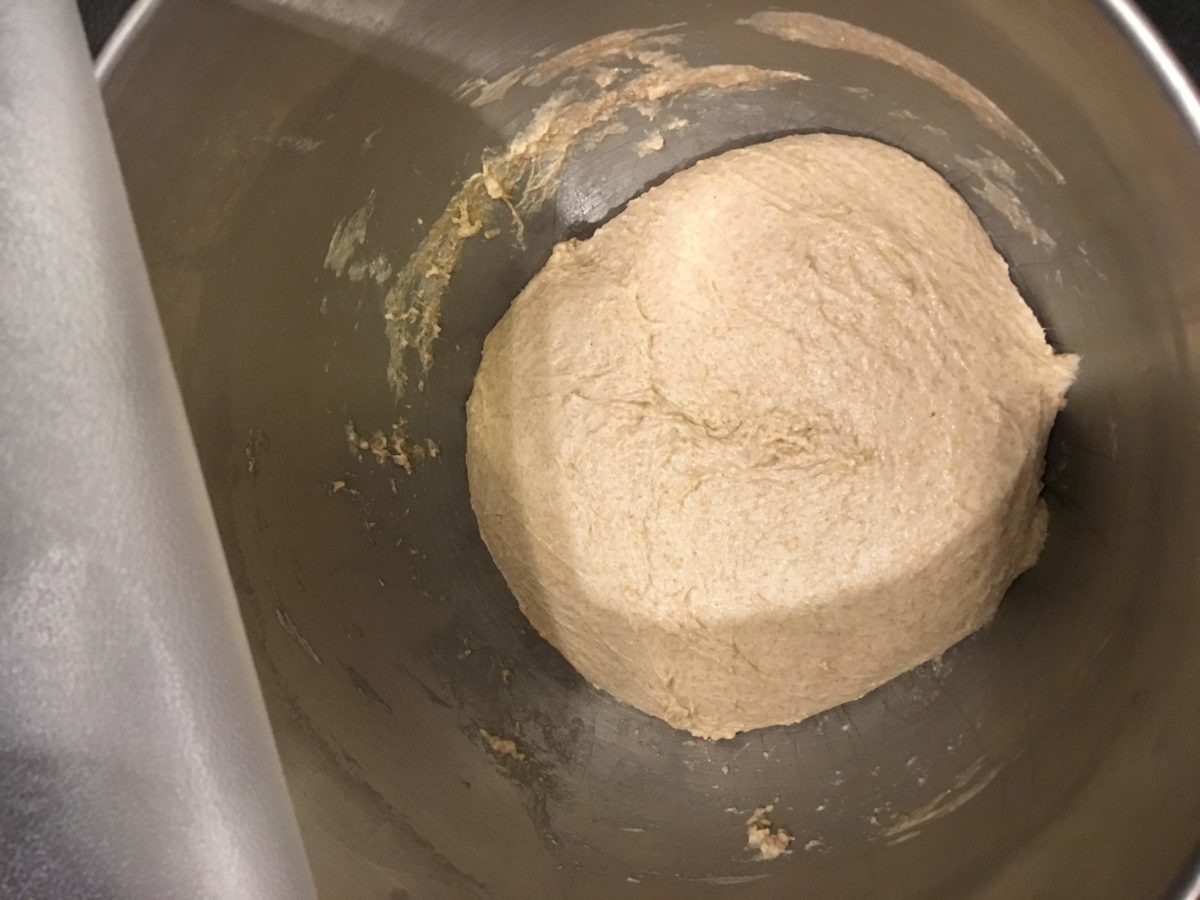
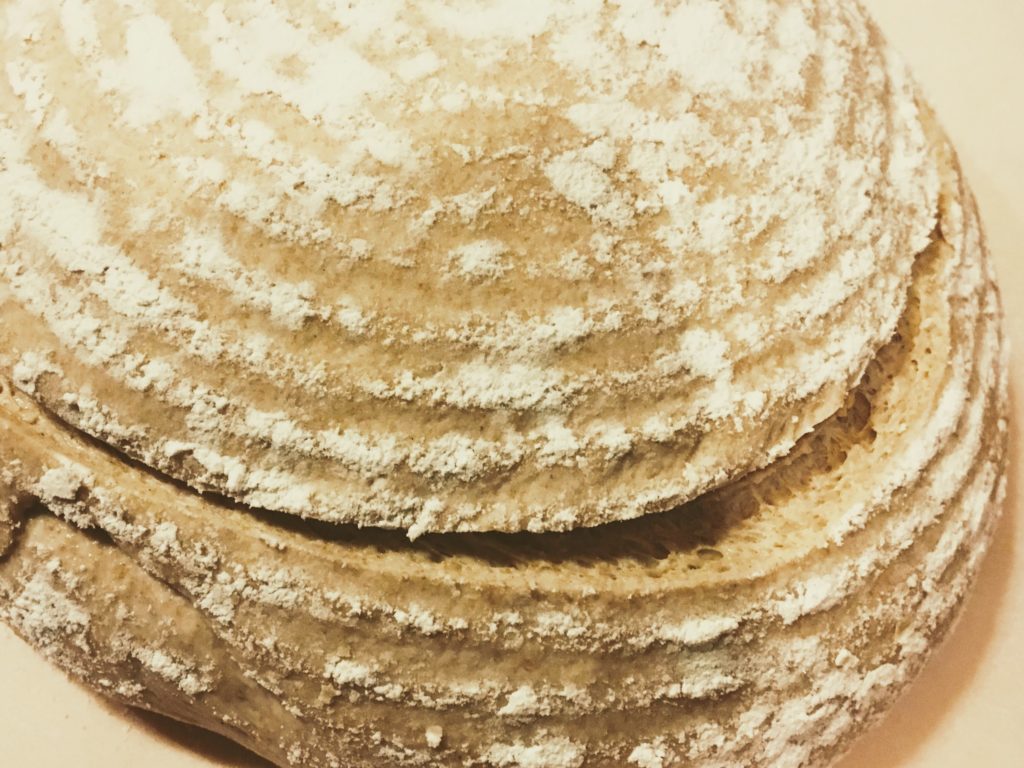
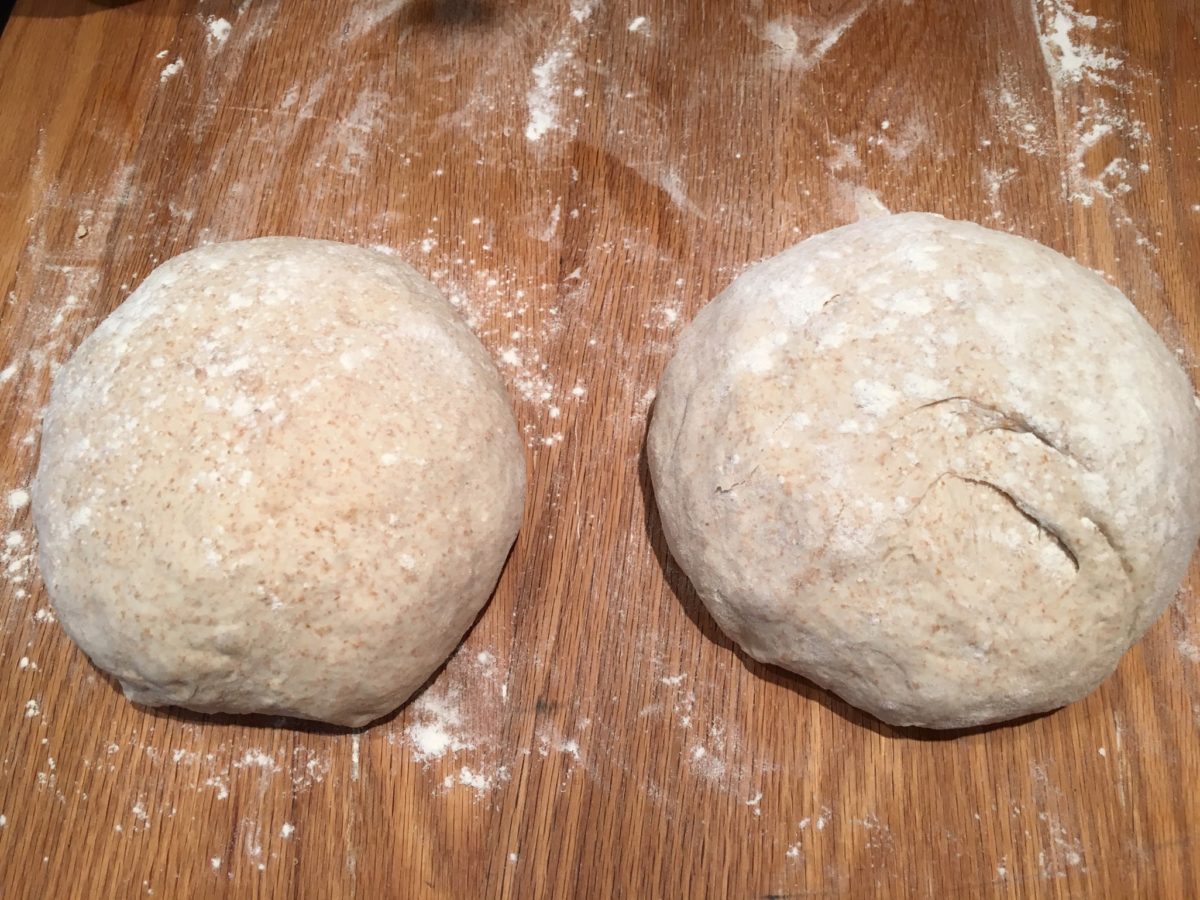
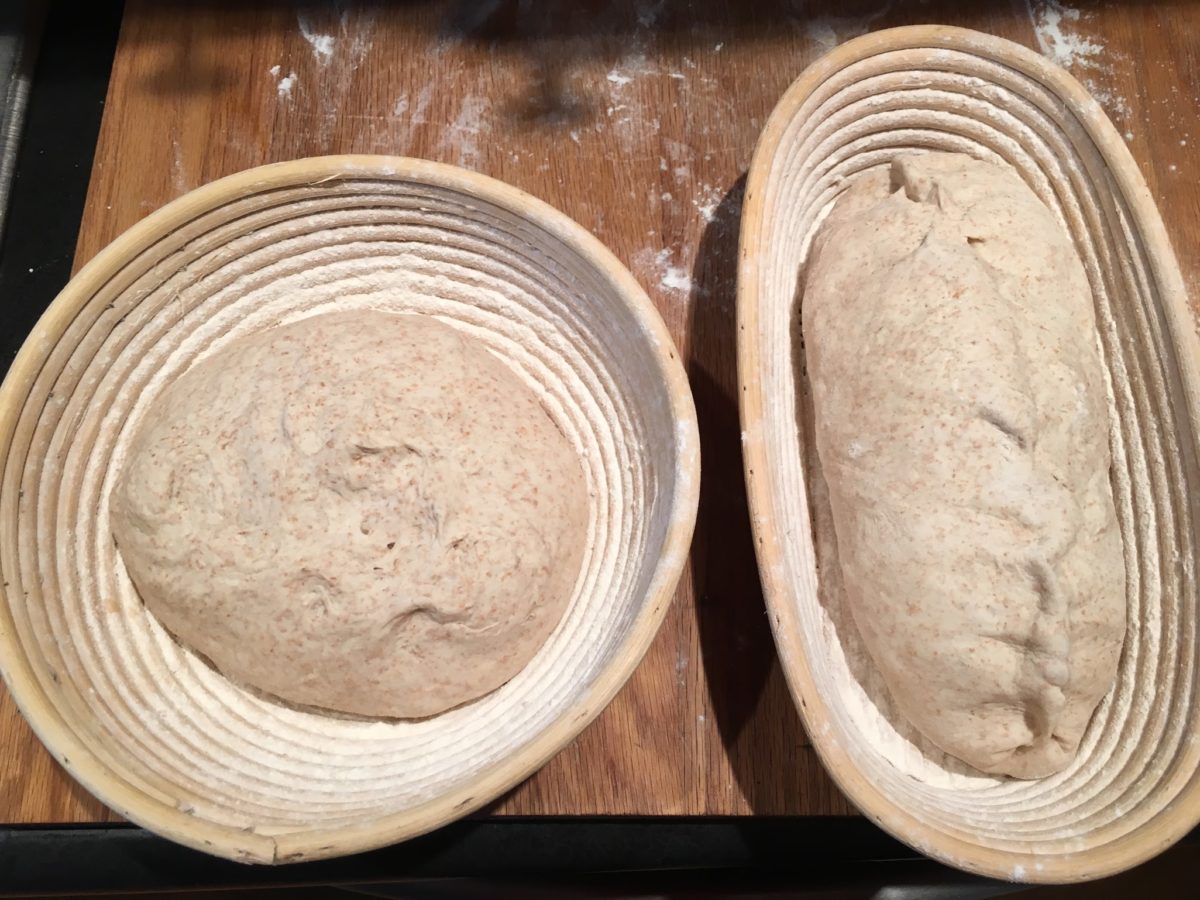
Once it’s grown and nearly doubled, turn on to a floured surface and pre-shape your loaf to your desired final shape. Put in to a proofing basket and proof for an hour or so at room temperature or in the fridge overnight.
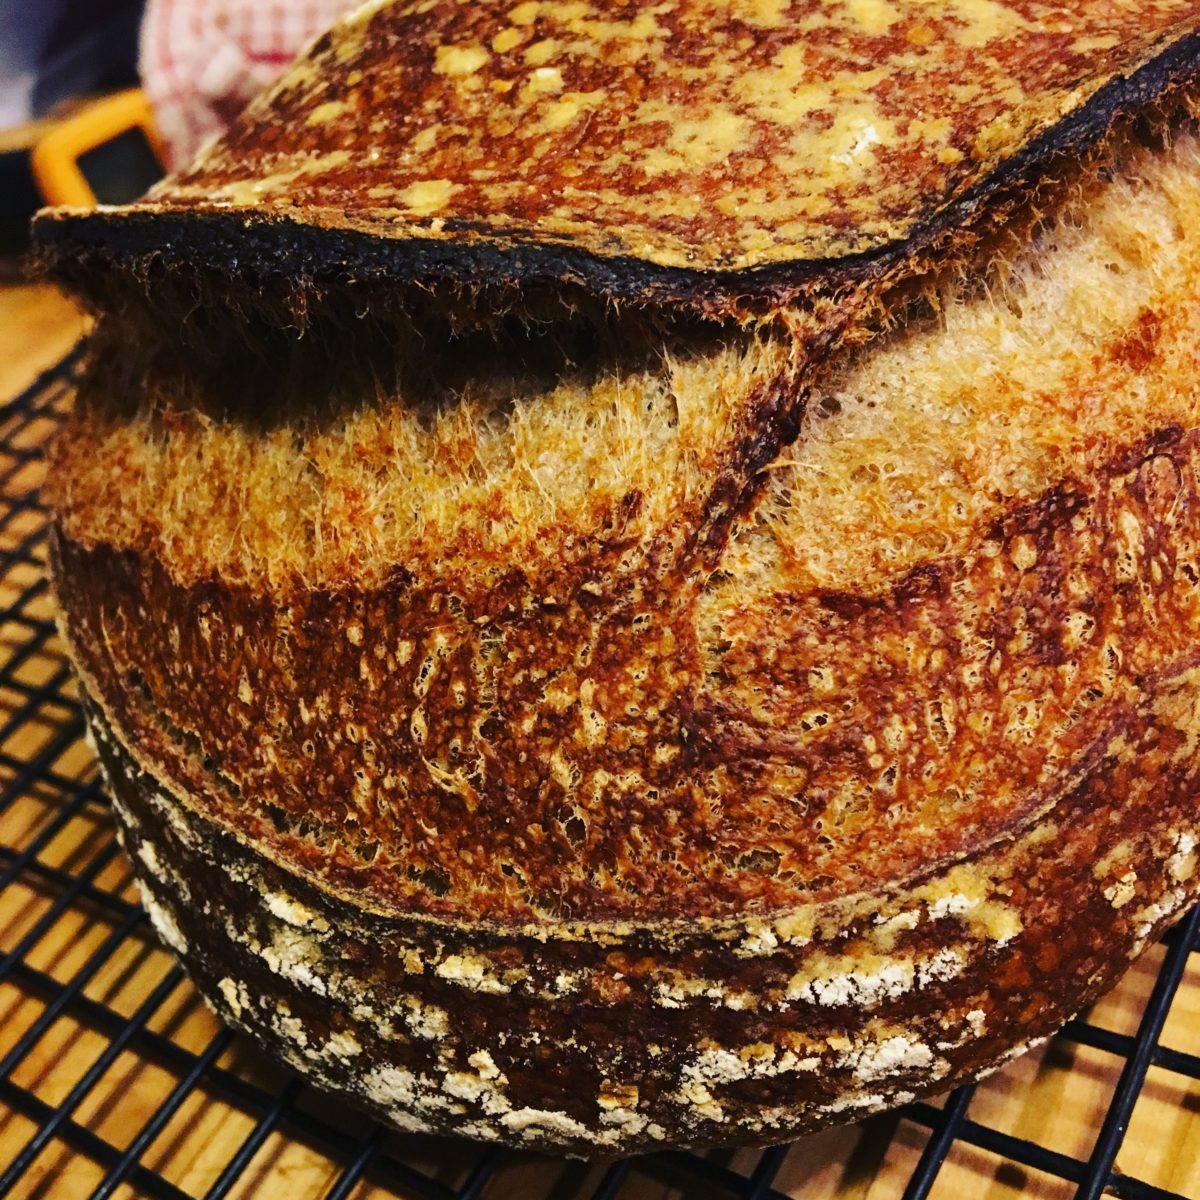
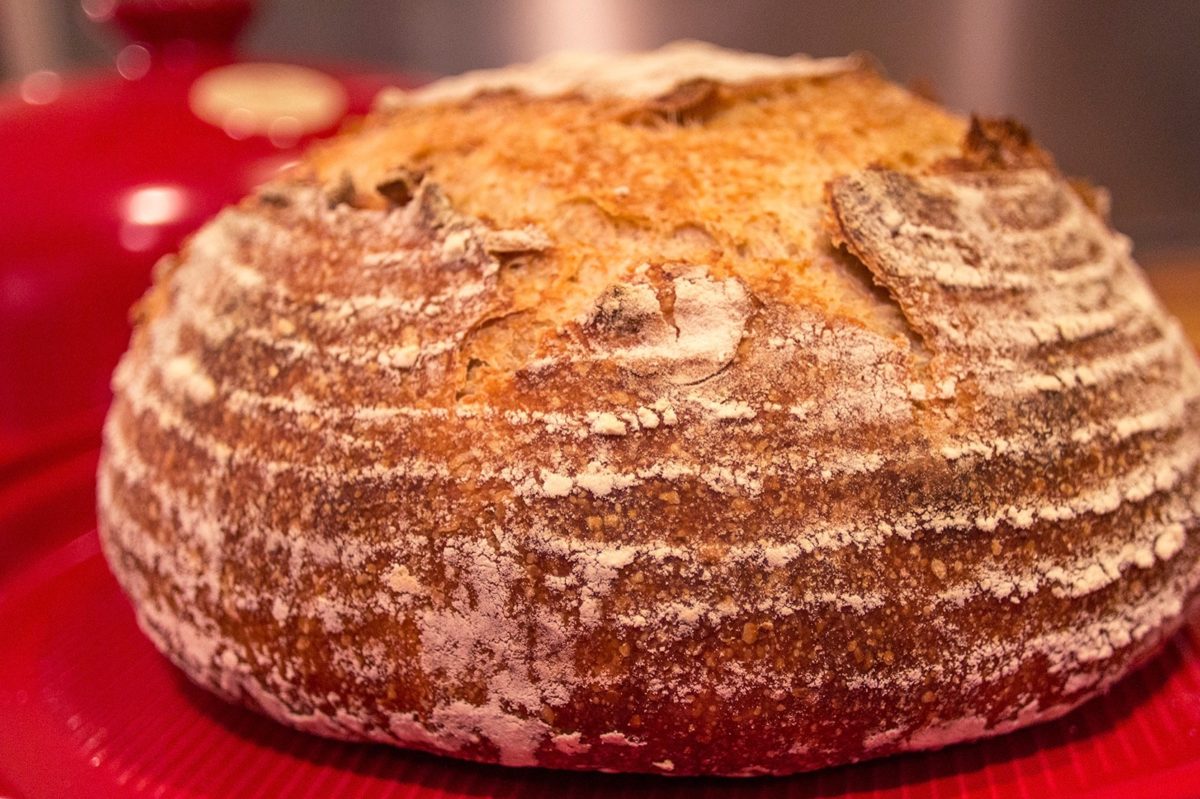
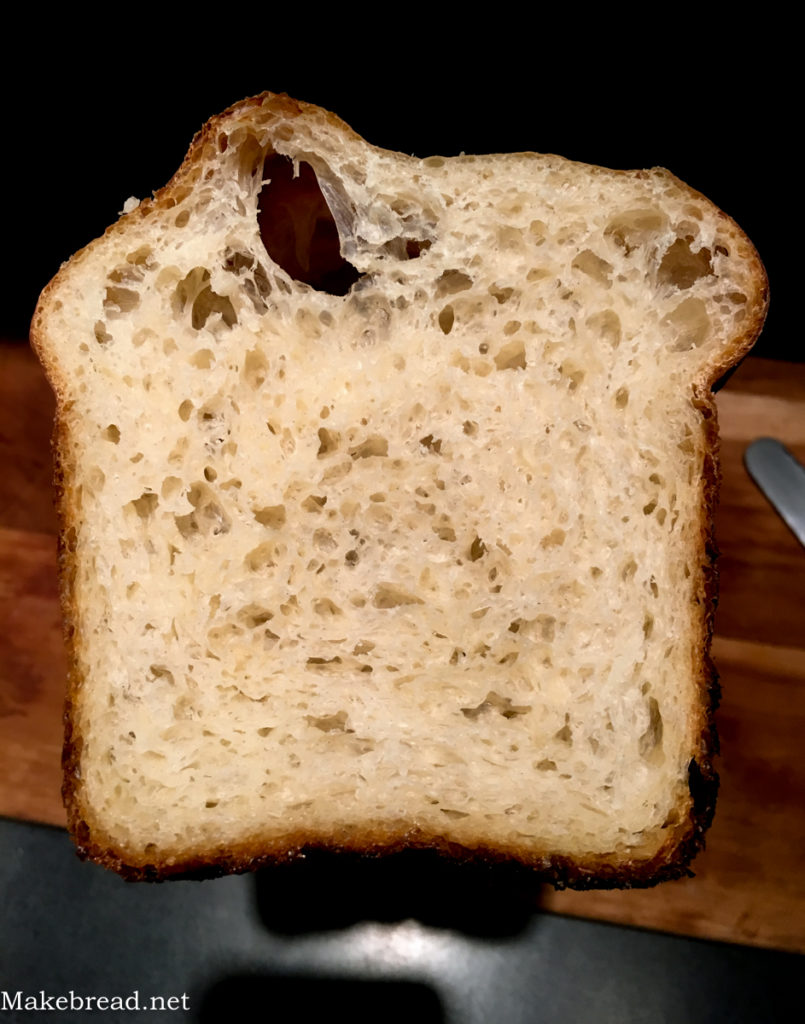
Pre-heat your oven to 500˚F and once ready, score your loaf and load it in the oven before turning the oven down to 450˚F. If you’re using a cloche like I did, bake it with the lid on for 15 minutes and finish baking without the lid, another 15 minutes or so.
Remove the loaf from the oven and let cool before enjoying.
Check out the full video of the process below. If you have any questions leave a comment on YouTube and make sure to subscribe to the channel!
All of the gear that I used to make the bread is listed below: