• Skip to main content

Make Bread

A bread blog for home bakers

  • Bread
  • Pizza

artisan bread

13.01.17 By nick Leave a Comment

How to Make a Sourdough Starter From Scratch: Day 2

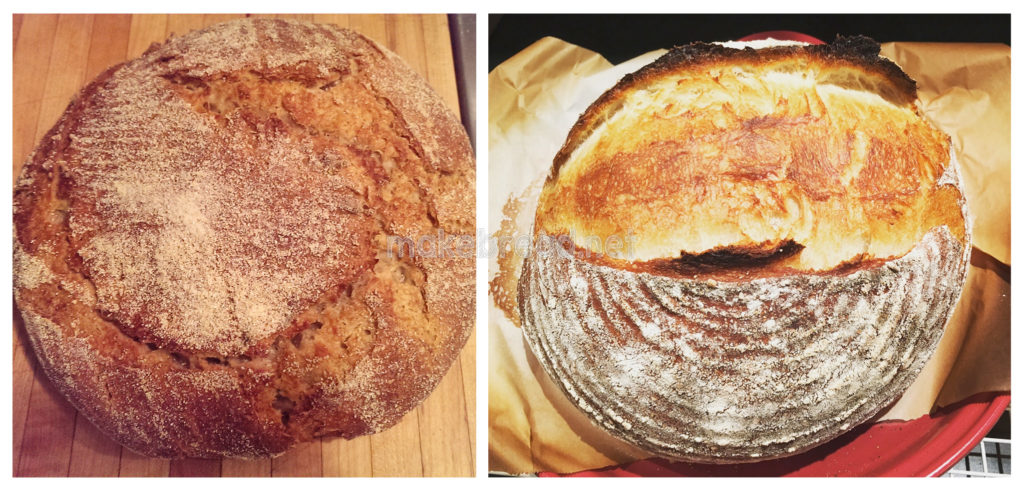
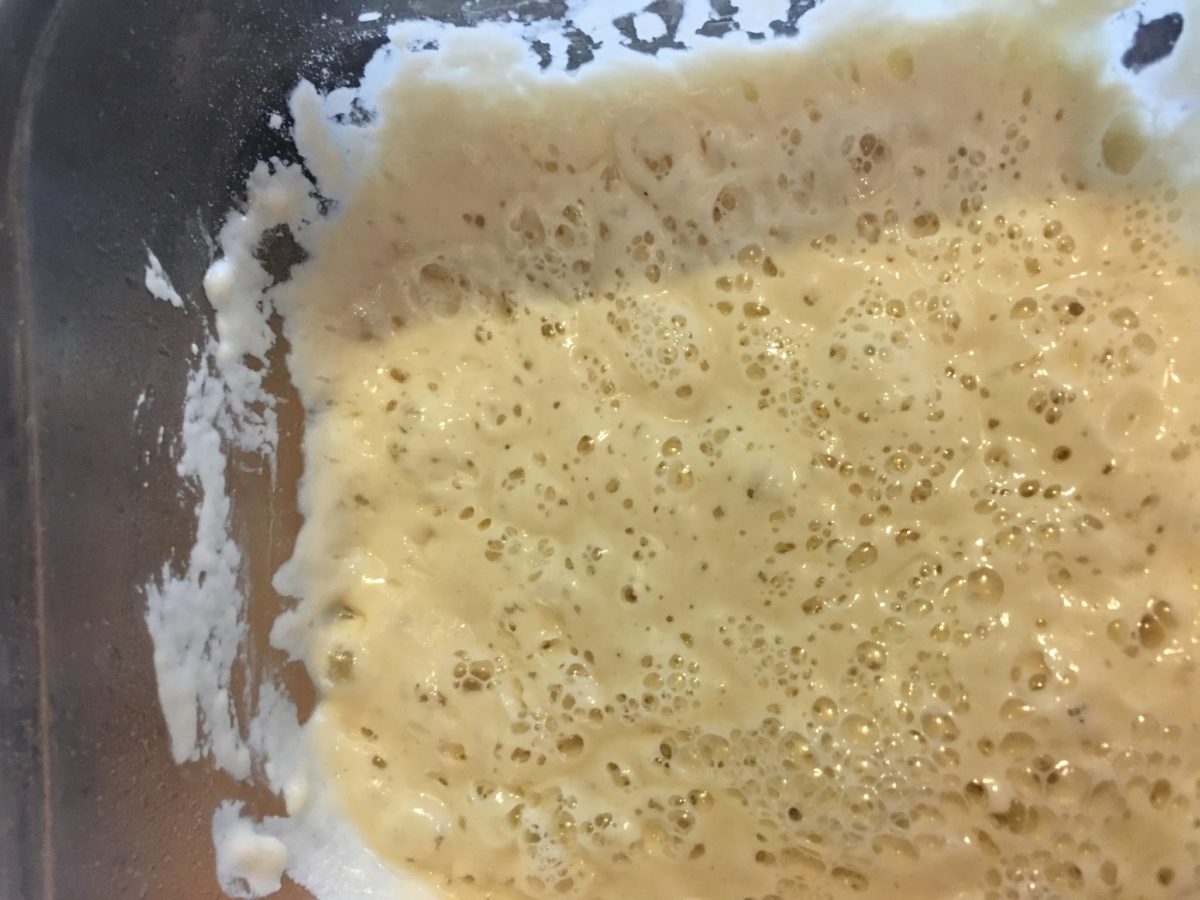
In the previous video, I showed you how to “start” your sourdough culture. In today’s video, I’ll show you how to clean and feed your culture. By this time tomorrow, your culture should start showing more signs of life by having bubbles and becoming more airy!


Presently your culture shouldn’t look too different than it did yesterday. It may have a hint of a sour odor, it may have released a little bit of water, and it may also look exactly the same. There are variables to its behavior, namely flour type, contents in your water, and temperature at which it was kept.

[Read more…] about How to Make a Sourdough Starter From Scratch: Day 2

Filed Under: Bread Tutorials, Bread Videos Tagged With: artisan bread, bread tutorial, homemade bread, homemamde sourdough starter, levito madre, levito madre starter, sourdough, sourdough bread, sourdough bread 2017, sourdough starter

15.12.16 By nick Leave a Comment

How to make good bread? Practice!

make bread at home

As this year starts to wind down, I wanted to share with you a quick picture to encourage you to keep baking and never stop experimenting!

Not all of my bakes are home runs, not all of them are delicious, and certainly not all of them are blog worthy!  I probably experiment with my baking more than most and the picture above proves it.

Here are a few of my key takeaways for this year:

  • Keep a baking journal.  I started doing this last year to keep track of my bakes, especially if I’m trying out a new formula or using new ingredients.  This can be on your phone/tablet like the ones on black friday 2022, or a text document on your computer, or even the old fashioned spiral bound notebook.  Whatever it is, use it!  It helps you look back after a bake and critique yourself.  Should you have let the dough proof longer?  Note it!  Should you have used less yeast? More water? More salt? Note it down and try again with your new ideas!
  • Pay attention to the temperature.  After you’re done mixing your dough, take a probe thermometer and note down the final dough temperature (FDT).  Next time you bake, use colder water and see that it will take longer for the dough to proof.  Then the time after that, use warmer water to see that the dough proofs faster.  Find a temperature that fits your schedule and run with it.
  • Preheat your oven.  I usually time my bakes so that I’m loading the loaves in the oven after the kids have gone to bed and I’ve had a chance to finish up my to-do’s.  This ends up being around 9pm.  Sometimes I get a late start and it’s tempting to put the bread in the oven before it’s fully ready.  This compromises the final product and all the effort you put in to making the bread.  Always preheat your oven and make sure things are good and stable! Visit appliancehunter.co.uk for oven recommendations. If your oven is drafty like mine, use a dutch oven or a le cloche to provide a more stable environment for the bread. This is what they usually use at a bakery.
  • Have fun!  By far the biggest reason why I bake is because I think it’s so fun to just make something so delicious at home.  Next time you’ve loaded your loaves in the oven, wait 10 minutes and step outside for 5 minutes.  Come back in your house and smell that delicious bakery smell right in your own home.  You’ll be amazed, surprised, and even encouraged to keep at it.  Get dirty, make bread, and have fun!

Filed Under: Bread Tutorials Tagged With: artisan bread, bread inspiration, bread progress, bread tutorial, home made bread, yeasted bread

2.12.16 By nick Leave a Comment

No Knead Bread

Check out this short video for a brief overview on making no-knead bread.

As you can see, it’s really easy!  Mix the ingredients and let them hang out overnight.  Whenever you’re ready, pre-heat the dutch oven or cloche, load the bread, and bake away.


No-Knead Artisan Bread at Home

No-knead bread is a good way to make bread. It gives you a nice crust, decent flavor, and a good looking end product! This will get you on your way to artisan breads at home with minimal fuss.

Filed Under: Bread Videos Tagged With: artisan bread, bread, homemade bread, no-knead

16.11.16 By nick Leave a Comment

Bread Cloche: Why you should get one NOW.

Sourdough on a Cloche

I’ve been hacking around my kitchen for quite some time trying to figure out how to make my loaves look as good as they do at a bakery.  At one point, I broke one of our tea kettles on purpose and tried to inject steam in to the oven via high temperature plastic tube in to the oven during the baking process.  You can imagine how that went.  I also tried using an electric steamer to inject vapor in the oven and the bread.  I’ve tried lava rocks in pans, covered bricks, pizza stones, baking steels, baking on the grill, dumping water in the oven throughout baking, and several other hair brained attempts all with very little success.  Then one day I tried a bread cloche and was blown away.  “Why didn’t I try this before?!” I thought to myself.  That was the golden ticket.  An “oven inside an oven” where the bread’s own moisture would be used to create the perfect environment for a golden, crispy, crunch, bubbly loaf.


After baking with a cloche almost exclusively for a couple of years, I found the Emile Henry cloche while browsing through Amazon.  I decided to reach out to them and they sent me a demo unit that I used for this post.

Emile Henry Cloche

I’ve used other cloches in the past but this one is a little lighter and much more attractive than my old clay setup.  The Emile Henry cloche is made in France and seems to be very well made.  It’s “fire engine red” coating is nice to look at and the whole thing is much lighter than I expected.  When I first received the box I thought they hadn’t sent me the right thing since it was so light, but it punches way above its weight in the oven.

emile henry made in france

This would be the perfect gift for bakers!

I used my trusty 30% whole wheat sourdough loaf to put this cloche through its paces and made two loaves.

The recipe is as follows.  You need 200g of starter so prepare it the night before.  If you don’t want to use a starter but would rather use commercial yeast, add 100mL to the water you add and 100g to the AP flour weight.

[table id=15 /]

  • The night before you bake, feed your starter so it’s mature and ready to go on bake day.
    Mature Sourdough Starter
  • Mix your flours and gently stir to combine them, and add the starter to it.
  • Start incorporating your water and save about 150mL for now.
  • Mix the flour and water until you have a dry mass, and add just enough water so that everything comes together.  Cover for about 15 minutes and let things relax a bit then add the remainder of your water.
    Sourdough Bread
  • Knead until things start to come together and then cover again for about half hour to 45 minutes.
  • Knead again for just a minute and cover again for half hour.
  • Knead again for just a bit and cover again, this time let it remain undisturbed for about 3 hours.
    img_3701
  • When it has visibly grown in size and bubbles start to form, dump it out to a lightly floured surface and divide in two.
  • Gently pre-shape the dough and let it relax for 10 minutes.
    Sourdough Bread pre-shaped
  • Shape your dough to its final shape and place in covered proofing baskets for another 1-2 hours.
    whole wheat sourdough
  • In the meantime, place your cloche in the oven and pre-heat to 475˚F for 30-45 minutes.
  • Gently turn one loaf on to a parchment paper lined peel and score the loaf.
  • Carefully load it in to the cloche and cover for 15-20 minutes and bake the remaining 10-15 minutes without a lid.
  • Again, carefully remove your loaf from the oven and load up loaf number 2.  Repeat the baking process.
  • Let the loaves cool before cracking in and devouring!

Emile Henry Bread Cloche

Thanks to the Emile Henry Cloche, this loaf came out crusty and hitting all the right notes.  The cloche took approximately half an hour to heat up before I slid the bread in to it.

I’ve made several breads on this cloche and have not yet been disappointed.  It traps the steam in the cooking chamber and helps your bread stay moist during the first half of the bake, which aids in oven spring and crust development.

While they sent me this demo unit to review, I’ll be keeping in my regular lineup from here on out!

Filed Under: Bread, Bread Baking Supplies Tagged With: artisan bread, artisan bread accessories, bread cloche, emile henry, emile henry bread cloche, emile henry cloche, learn how to make artisan bread, make artisan bread at home today, sourdough bread

Copyright 2015-2021 Makebread.net