• Skip to main content

Make Bread

A bread blog for home bakers

  • Bread
  • Pizza

homemade bread

14.02.20 By nick

Classic French Bread Recipe: Pain Ordinaire Careme

Making a 225 year old bread
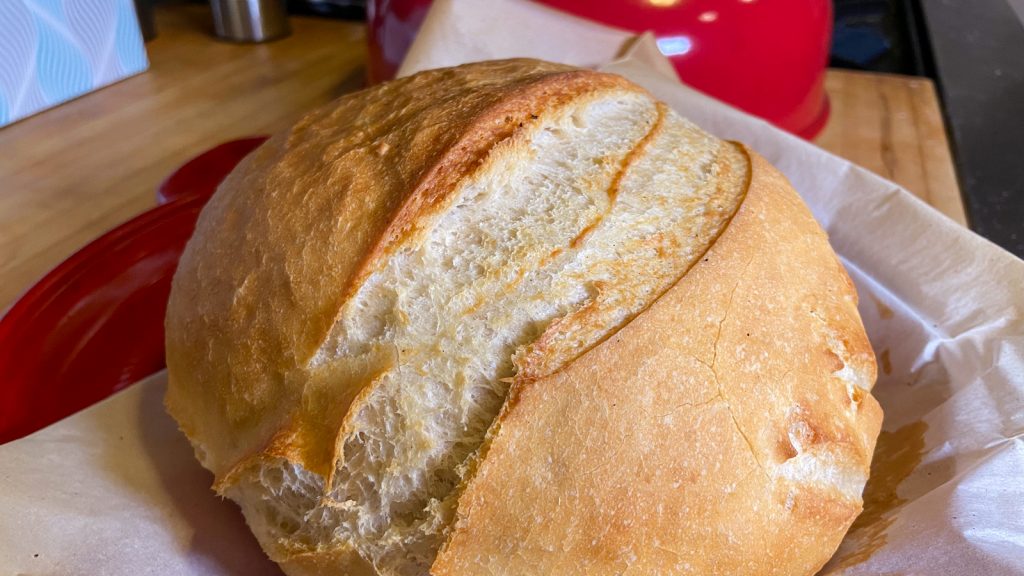
French bread fresh from the oven

When I started baking homemade bread some 15 years ago, my “go to” bread book was “The Complete Book of Breads” by Bernard Clayton. This book still holds up and I encourage any baker to pick it up and try his recipes. The breads in the book have easy to follow recipes and have a nice background story on why each bread was selected. For today in particular, this book has a recipe for an old french bread daily loaf (Pain Ordinaire) from a baker named Antonin Careme, who was known as the “cook of kings and the king of cooks”. Careme said that this bread recipe pleased kings and nobles wherever he went and that anyone could make this bread, anywhere, with pleasing results that are easy to achieve.
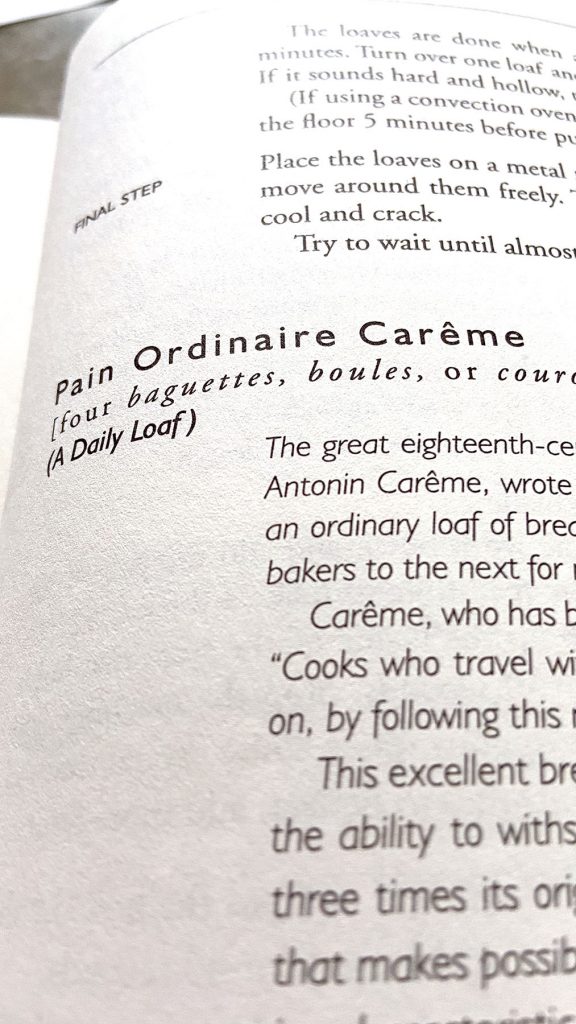
Page from Bernard Clayton's book

It turns out that Careme was one of the original “celebrity chefs” while he lived in 18th and 19th centuries so it’s no wonder that Clayton included this formula in his book. It’s also then not very surprising that this formula makes an amazing loaf of homemade bread, even 225 years later.

*as a side note on Antonin Careme, he is credited for being a major component of the French cooking revolution “Grande Cousine” or Haute Cuisine, where fancy platings and different flavor profiles are layered on one another. He is also credited for creating the now traditional “chef’s hat”. This guy was no slouch!

The bread made by this old bread recipe has a soft crust like you would find on a baguette, and a soft crumb like you would find on a sandwich loaf. This is certainly a good analog to the soft Hokkaido Milk Bread we’ve made in the past and can show you how a little different technique and ingredients can change the final bread! It’s a great all around French bread and really think you’ll enjoy making and eating it.
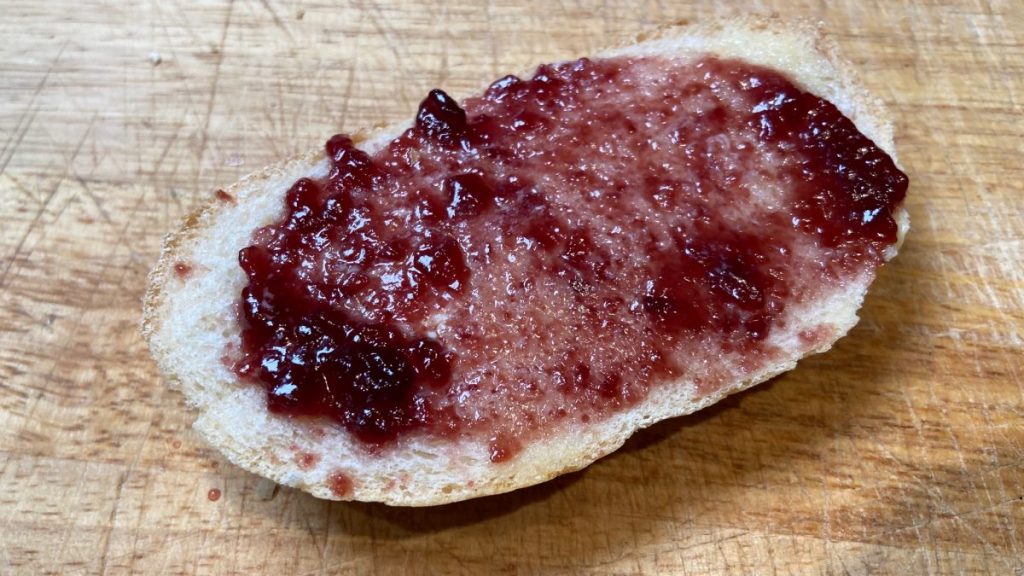
Homemade French bread with jam

Making This Homemade Bread

While I’ve followed the original recipe as closely as possible, I did take a couple of small liberties in the baking process. Firstly, the recipe would make two large boules so I scaled it down to make just one. Also, while Clayton instructs readers to bake the bread directly on a baking sheet, I decided to use my Emile Henry bread cloche to give the bread a better crust due to the steaming that the cloche promotes. The cloche will help your bread achieve a great crust!

Another slight modification from the original is that I added 2 teaspoons of salt instead of the recipe’s instructions to use just 1. I tasted the dough after kneading and felt that the flavor was lacking so I added another little bit of salt and that seemed to do the trick.

One thing that’s slightly different about this recipe that I’d forgotten about was the wet autolyse mixing. The recipe calls for all the water and yeast, and only half of the flour to be mixed for the first 10 minutes. This creates a wet batter-like mixture that kicks off the gluten development in what I’ll call a “dynamic autolyse”. When we do an autolyse period for sourdough or other types of breads, it’s a pretty static process in that we mix the water and flour and yeast and let things sit. With this recipe you take just half the flour and start the autolyse period during mixing for 10 minutes.

View post on imgur.com

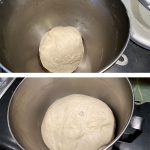
After the initial 10 minute period, the rest of the flour and all the salt is added while the dough is kneaded. From there you let the dough rest and bulk ferment for 2 hours. During this time, the bread will more than double before it gets shaped and goes to the final rise and then finally to the oven for the bake.
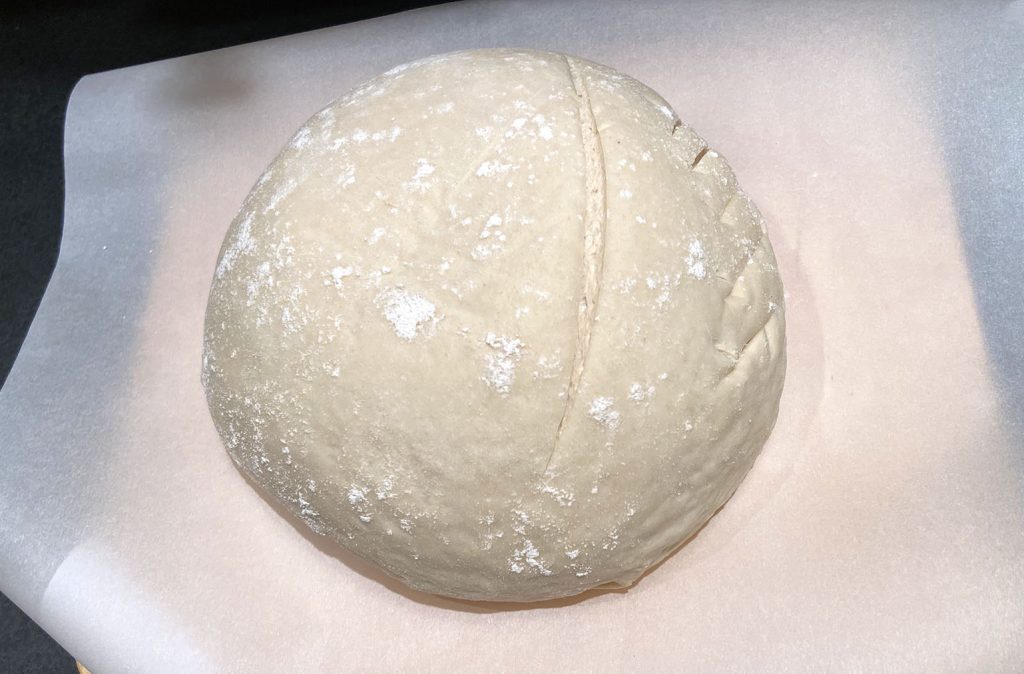
Keep in mind that this recipe is fairly old and also very simple, so this bread can be made by bakers of all stripes and in almost any condition. If you go away on vacation you can pull this up on your phone and impress your family with an easy to make fresh baked loaf of bread in the mornings!

Bread Recipe

Pain Ordinaire Careme

This recipe was originally created some 225 years ago by celebrity chef Antonin Careme and can be found in Bernard Clayton's book "The Complete Book of Breads".

It is a very straightforward, easy to make recipe that anyone can make without much preparation or drama.

  • 500 G King Arthur All Purpose Flour
  • 300 Ml Water (Warm)
  • 2 tsp Salt
  • 1 pack Yeast

Mixing and Kneading

  1. Add half of the flour, all of the water, and all of the yeast in to the mixer bowl and mix with the flat beater for 10 minutes

  2. Switch to the dough hook

  3. Incorporate the rest of the flour and all of the salt in to the mixture and knead for 10 minutes

  4. The dough should be soft, smooth, and clean the sides of the bowl.


Bulk Fermentation

  1. Cover the bowl and let the dough rise for 2 hours. It will more than double during this time.


Shaping and Final Proof

  1. On a very lightly floured surface, turn the dough and shape to your desired loaf.

  2. Place the shaped dough in to a proofing basket and cover with plastic

Baking

  1. Preheat the oven to 425˚F with the bread cloche

  2. Remove the bread from the proofing basket and place it on a sheet of parchment paper

  3. Score the bread with a lame or sharp knife to avoid "blowouts"

  4. Load the bread in to the cloche and bake for 15 minutes with the lid

  5. Remove the lid and finish baking for another 15 minutes or until the crust is nicely browned

  6. Remove from the oven and let it cool before enjoying, about 10 minutes

These tools, found online, will help you bake bread at home just like the one I made here. If you follow these links and buy something, I will receive a small percentage to encourage me to keep baking and sharing with you!
  • Kitchenaid Stand Mixer
  • Emile Henry Bread Cloche
  • Proofing Basket Banneton
  • Bread Lame for scoring
  • Serrated Bread Knife

Filed Under: Homemade Bread Tagged With: basic bread recipe, beginner bread recipe, bread, bread crust, classic french bread, easy bread recipe, easy homemade bread, french bread, home made bread, homemade bread, old bread recipe, oven steaming

6.09.18 By nick Leave a Comment

My First Attempt at Einkorn

Baking with Ancient Grains

If you’re like me and love to read about bread and home baking, you probably read other blogs (c’mon, it’s ok to admit it!) and look at those amazing pictures on Instagram too.  After seeing a wave of bakers try their hand at Einkorn, I just had to see for myself what all the fuss was all about. 

So, naturally, my first instinct was to research what the heck Einkorn was.  After a cursory search I read that it is an ancient grain and after looking at some instagram posts I saw that it can be fairly hard to work with because gluten development doesn’t really happen in the way that it does with “modern” breads using bread or other commonly found off-the-shelf type flours for baking like whole wheat and all-purpose.

Digging a little further, I found an article on the website of the Plant Science archives of the Penn State University department of Agriculture.   That post told me that it’s a very ancient wheat, approximately 10,000 years old and is an ancestor to our modern wheat.  It is indeed an “ancient” wheat!  The article even mentions that it contains less toxins and could be better for folks with gluten sensitivities.  It also contained a lot of scientific data that I won’t pretend to really understand so I’ll leave that to you to go over there and check it out.

So, after reading about it and seeing delicious loaves of bread resulting from its use, I just had to try some!  So I ordered a bag of Einkorn online and a few days later it arrived.  In whole wheat form, which I knew was the case but knew that it added a layer of complexity to the project.

… so I put off making this bread for a few months. 🙂

Milling Einkorn at Home

If you have never milled any wheat at home, you’ll quickly realize two things:

  1. Milling is hard!
    and
  2. Milling is messy!

However, it’s very satisfying knowing that you can mill fresh wheat at home with simple tools.  It’s actually a very easy process if you think about it.  Break down the wheat in to usable flour and discard the rest.  Some folks use dedicated wheat mills for to make fresh flour at home, but I have used my old Capresso coffee grinder before and did it again for this bread with good results.  The thing to keep in mind is that wheat is VERY hard so you need something with some “oomph” to get the job done.  A standard blade grinder is not a great idea nor is a weak grinder with plastic parts because the wheat could break your machine.  Since we upgraded our coffee grinder a few years ago I have used the Capresso several times with pretty good results.

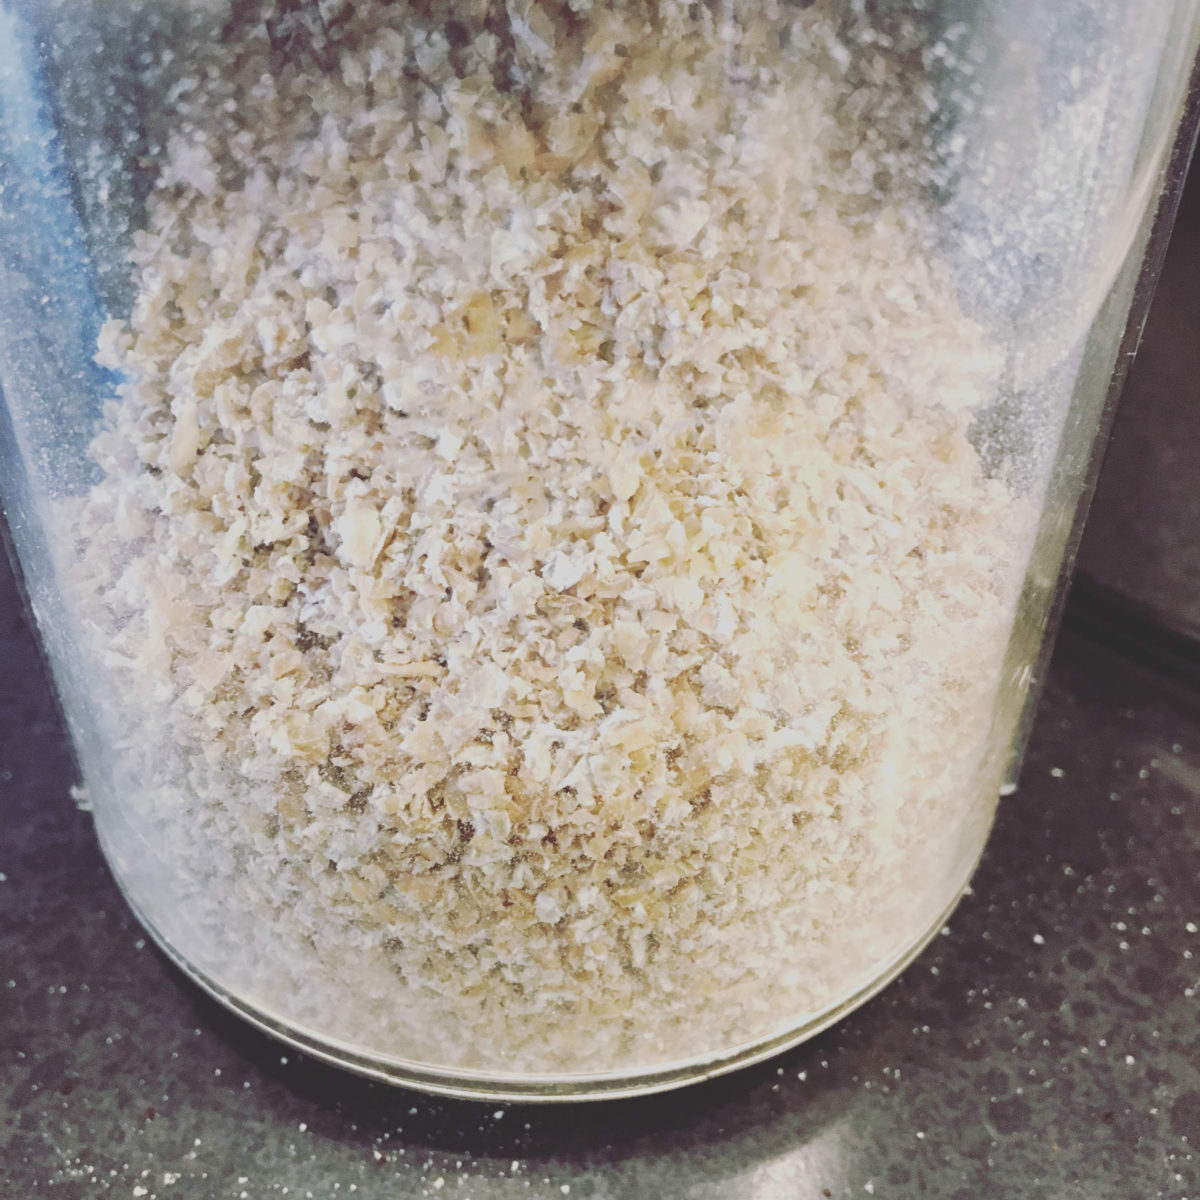
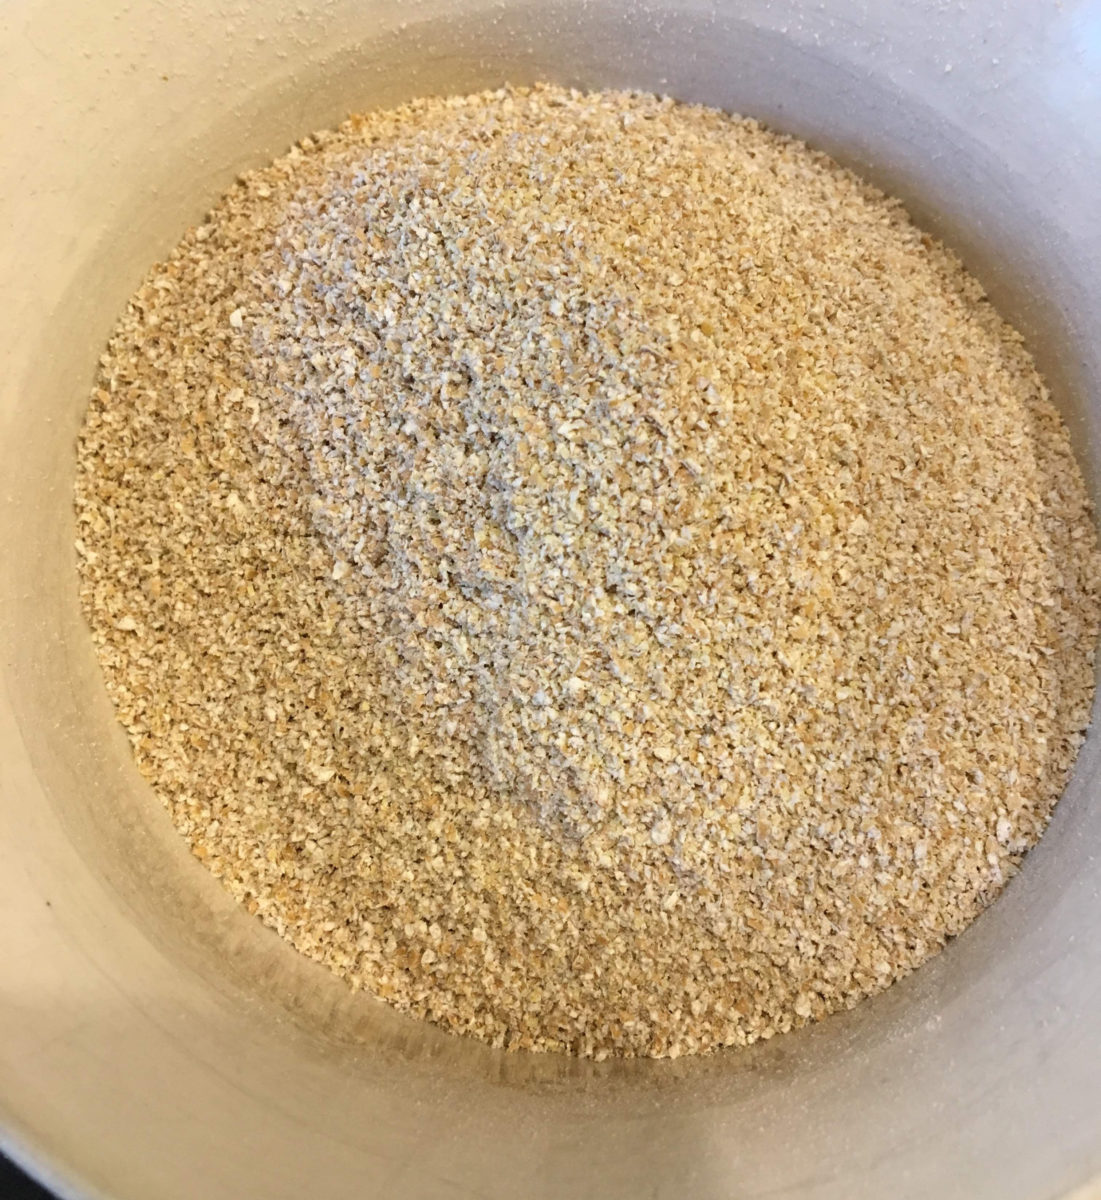
The first step is to put the whole grain in the hopper and set the grinder to it’s most coarse setting.  Run the grains through and you’ll end up with something that is not too dissimilar from oat meal.  It’ll look flaky and not at all like flour.  And that’s ok, it’s supposed to look like that at this point.

Milling Einkorn at Home
milling einkorn at home

After you go through this first step, put it all back in the hopper and run it through at a medium/coarse setting.  I’d say that if your coarse setting is 10 and your finest setting is 0, run it through a second time at a 7.  Repeat again at a 4 and then again at a 0.

Once you’ve milled it all the way through, put flour a little bit at a time in a fine mesh sieve and sift the flour on to a big bowl.  This will take a while and be dusty so be prepared to commit some time to this task.  Your end result will be one bowl of fresh flour and one bowl of the discarded chaff.

the chaff
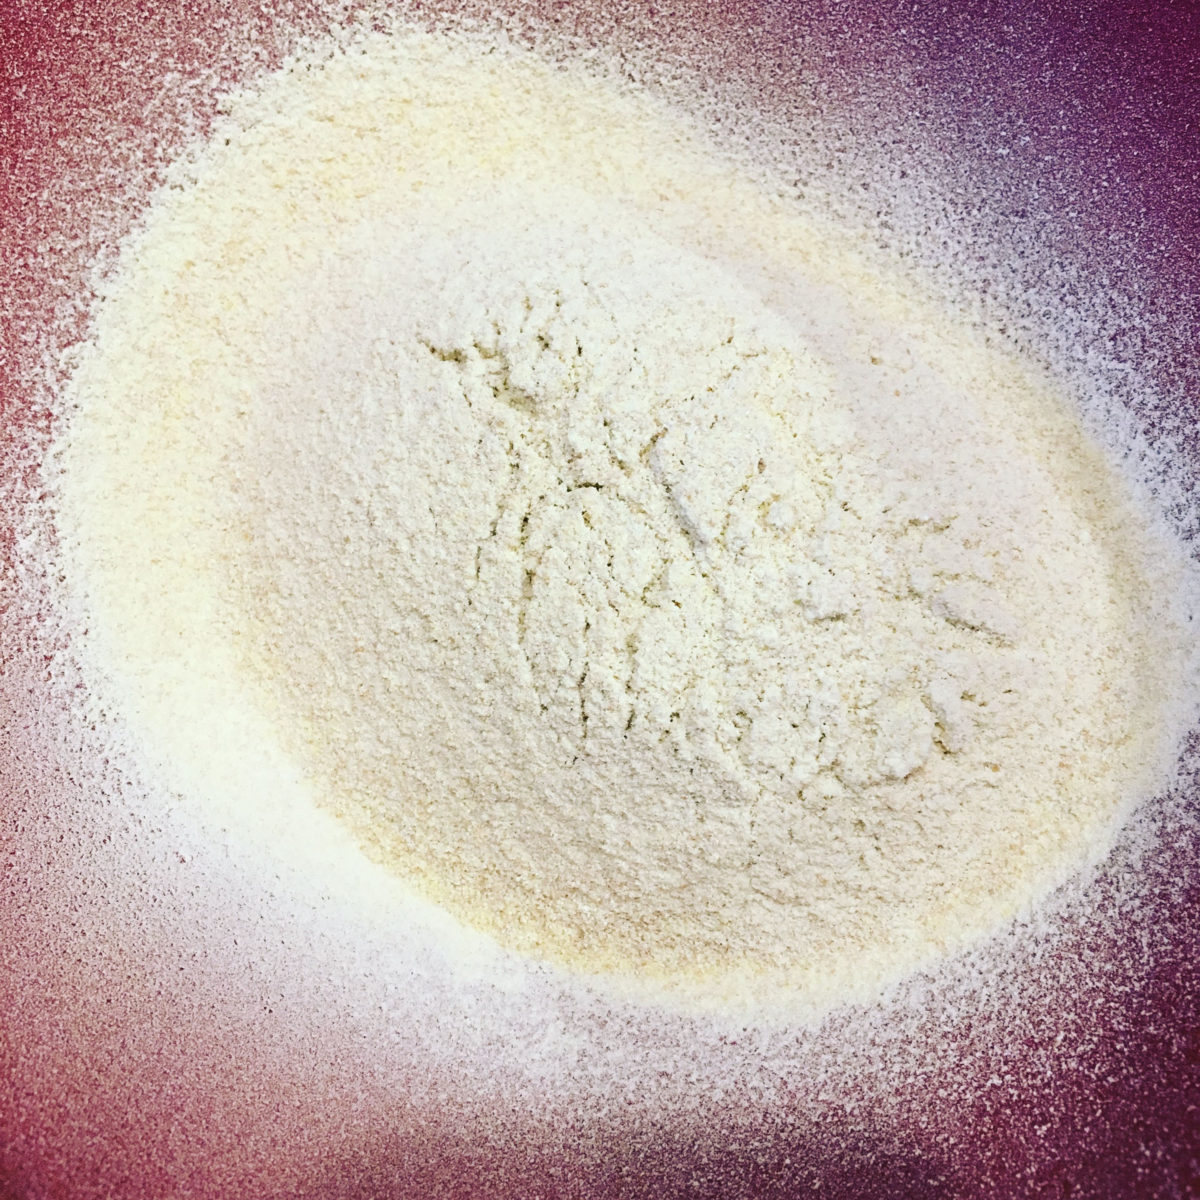
Einkorn wheat after it’s been sifted
einkorn flour
Einkorn wheat after it’s been sifted, this is the finished product

Baking with Einkorn

Being aware that Einkorn doesn’t have/produce much gluten gives us a heads up that in this recipe, I may have used too much water so adjust your bakes accordingly!  Next time I make this bread I will either increase the quantity of whole wheat or decrease the hydration by 5% to see the difference.  The dough was a little slack and challenging to shape, but I’m happy with the result.  The bread itself was very tasty with a soft chew, so even if you struggle like I did you will end up with a very good tasting einkorn bread at the end.

I didn’t bake a purely 100% Einkorn bread – in fact, I merely dipped my toes in the Einkorn waters and made a roughly 25% Einkorn loaf, with the other parts being 50% AP Flour and 25% Whole Wheat.  Here’s the formula I used:

  • 800ml Water
  • 500g AP Flour
  • 250g Einkorn Flour
  • 250g Whole Wheat Flour
  • 23g Salt
  • 10g Yeast

Einkorn Bread Dough

  • Mix all the flours together and add all of the water
  • With your hands or a wooden spoon, mix the flour and water to get everything wet.  You’ll have a shaggy mass at this point but keep working it for just a minute.
  • Let it autolyse (a fancy way of saying leave it alone) for at least 45 minutes.
  • Add the salt and yeast and knead for 5 to 10 minutes.
  • In half hour increments, stretch and fold the dough on to itself to help develop strength in your gluten and to aerate the dough.
  • After about 4 or 5 half hour periods, move the dough to a floured work surface, split the dough in 2, and shape to your final shape.
  • Place the dough on to proofing baskets and pre-heat your oven to 500˚F.
  • After the oven is preheated, move the dough in to the oven and bake for approximately 45 minutes.

Note that I baked my loaves in two different vessels, one an Emile Henry ceramic dome and the other a cast iron pan.  Vessels with lids help to create an “oven inside your oven” and stabilizes the temperature at the bread level.  It also helps to trap steam in the chamber so that your crusts develop richer colors and an overall crunchier and artisan texture.


Please note that Makebread.net is an Amazon partner and if you buy products via links on this article we will receive a small fee for referring you.  This also helps to keep the blog going so don’t be shy! ?

Filed Under: Bread Tagged With: ancient grain breads, ancient grains, ancient wheat, einkorn, einkorn grain, home milling flour, homemade bread, homemade einkorn, milling einkorn, milling flour

30.03.17 By nick Leave a Comment

How to revive a dead sourdough starter

Having been working with sourdough starters for a while, I’ve seen and done a lot to my creations.  However, when I first started using sourdough I was shocked by what seemed to be quickly dying sourdough.  I would make the starter, bake with it on a regular basis, and be happy.  But if I went away for vacation and forgot about the starter for a few weeks, I’d be disappointed to find a dark mass with icky liquid on top.


At that stage I figured the sourdough starter was bad.  I mean, it smelled fairly strongly (not in a good way) and looked pretty beat up.  So I would eventually end up throwing it away and starting over from scratch.  Truth be told, that kind of sidelined be from using sourdough for a few years since I kept making perfectly good starters and they ended up dying.  I figured I just didn’t have the baker’s equivalent of a green thumb, whatever that may be.

all this time, I was doing it wrong!

[Read more…] about How to revive a dead sourdough starter

Filed Under: Bread Tutorials Tagged With: bread at home, fix sourdough starter, fix starter, homemade bread, homemade sourdough starter, how to fix sourdough, how to sourdough, make bread at home, revive a sourdough, sourdough, sourdough maintenance

28.02.17 By nick Leave a Comment

How to maintain a sourdough starter

People love to start things.  Like making resolutions to go to the gym after New Year’s, a lot of people start things but kind of give up after a while because things get hard.  Starting is sometimes easier than maintaining, but lucky for us maintaining a sourdough starter is really easy.  Easier than a chia pet or a tamagochi pet, they can be forgotten for weeks, months, or even longer and will spring back to life with just a little bit of TLC.

Check out the how-to video below and see just how easy maintaining a sourdough starter can be.


[Read more…] about How to maintain a sourdough starter

Filed Under: Bread Tutorials Tagged With: homemade bread, homemade sourdough, homemade starter, sourdough, sourdough cleaning, sourdough feeding, sourdough maintenance

13.01.17 By nick Leave a Comment

How to Make a Sourdough Starter From Scratch: Day 2

In the previous video, I showed you how to “start” your sourdough culture. In today’s video, I’ll show you how to clean and feed your culture. By this time tomorrow, your culture should start showing more signs of life by having bubbles and becoming more airy!


Presently your culture shouldn’t look too different than it did yesterday. It may have a hint of a sour odor, it may have released a little bit of water, and it may also look exactly the same. There are variables to its behavior, namely flour type, contents in your water, and temperature at which it was kept.

[Read more…] about How to Make a Sourdough Starter From Scratch: Day 2

Filed Under: Bread Tutorials, Bread Videos Tagged With: artisan bread, bread tutorial, homemade bread, homemamde sourdough starter, levito madre, levito madre starter, sourdough, sourdough bread, sourdough bread 2017, sourdough starter

  • Go to page 1
  • Go to page 2
  • Go to Next Page »

Copyright 2015-2021 Makebread.net