Easy Sourdough for Every Day
Sometimes in life, a good breakfast comes in handy. And by sometimes, I mean every single day. Breakfast is one of those means that I just can’t live without and make sure that my family has a good meal before they go about their busy days.
Our morning routine includes rousing the kids from their slumber, making sure they get dressed, and providing a health breakfast for them as they go about their day at school and beyond. For us, that means making them something every day. Either in the form of eggs and toast, oatmeal, or fresh fruit and milk, we make sure they have something we know is good for them before they head out the door.
… It’s not always easy, but we try!
Enter the Sourdough
Making bread at home is a lifesaver in the breakfast department. Homemade bread is so much more nutritious than most of the store bought stuff. It’s so much more flavorful too. Whenever we run out of homemade bread the kids ask if I can make some real quick. While I can’t just wiggle my nose and pull out a fresh loaf from the oven, I can plan ahead and have something made for next time.
Note that all the equipment that I’ve used for this bread is listed at the bottom of this post!
That’s probably one of my favorite things about baking bread. People often think that it’s difficult or that you have to be super precise but the truth is, baking bread is really a forgiving process and once you figure out all of the puzzle pieces, you can rearrange your baking cycle and come up with a schedule that really works well in your favor.
This bread was no exception.
I started it on a Tuesday after the kids got on the bus. I just mixed the ingredients and took the dog for a walk.
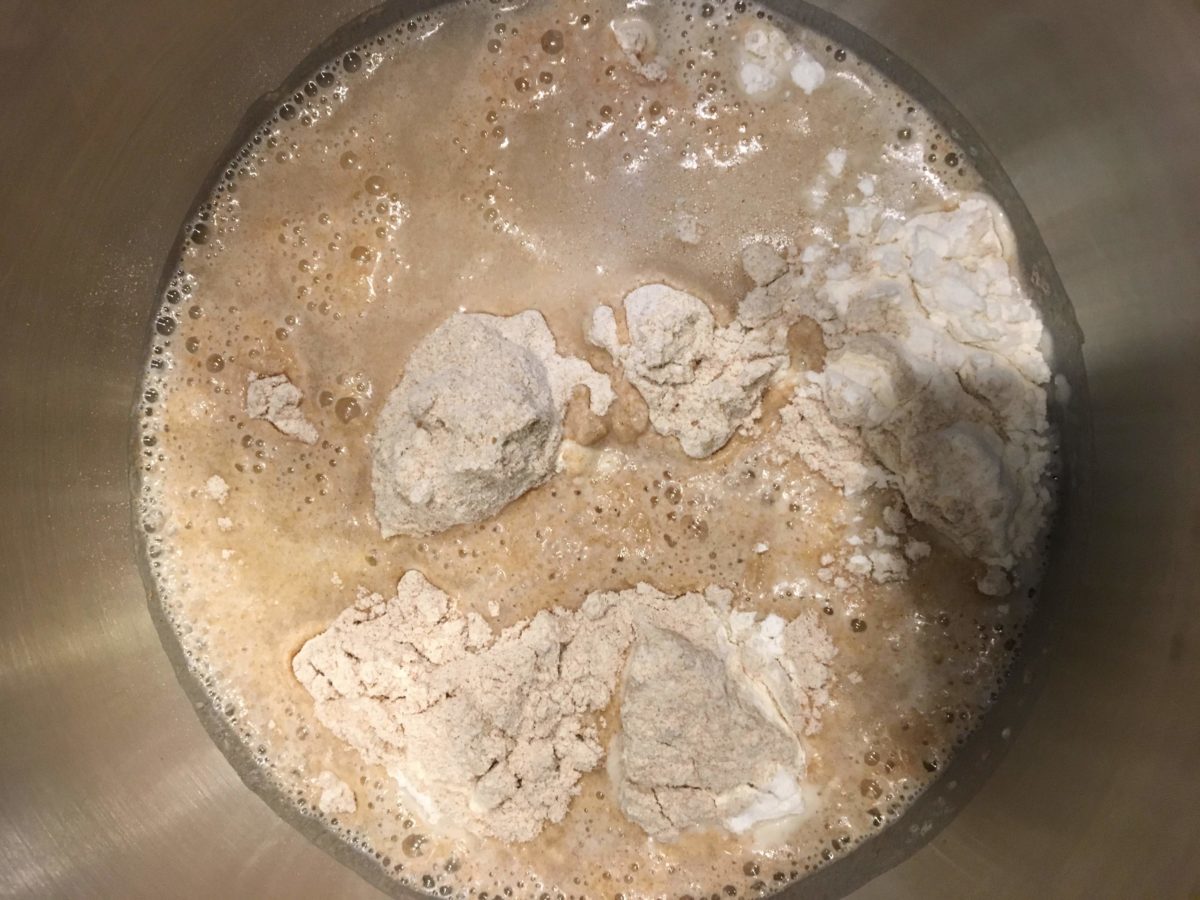
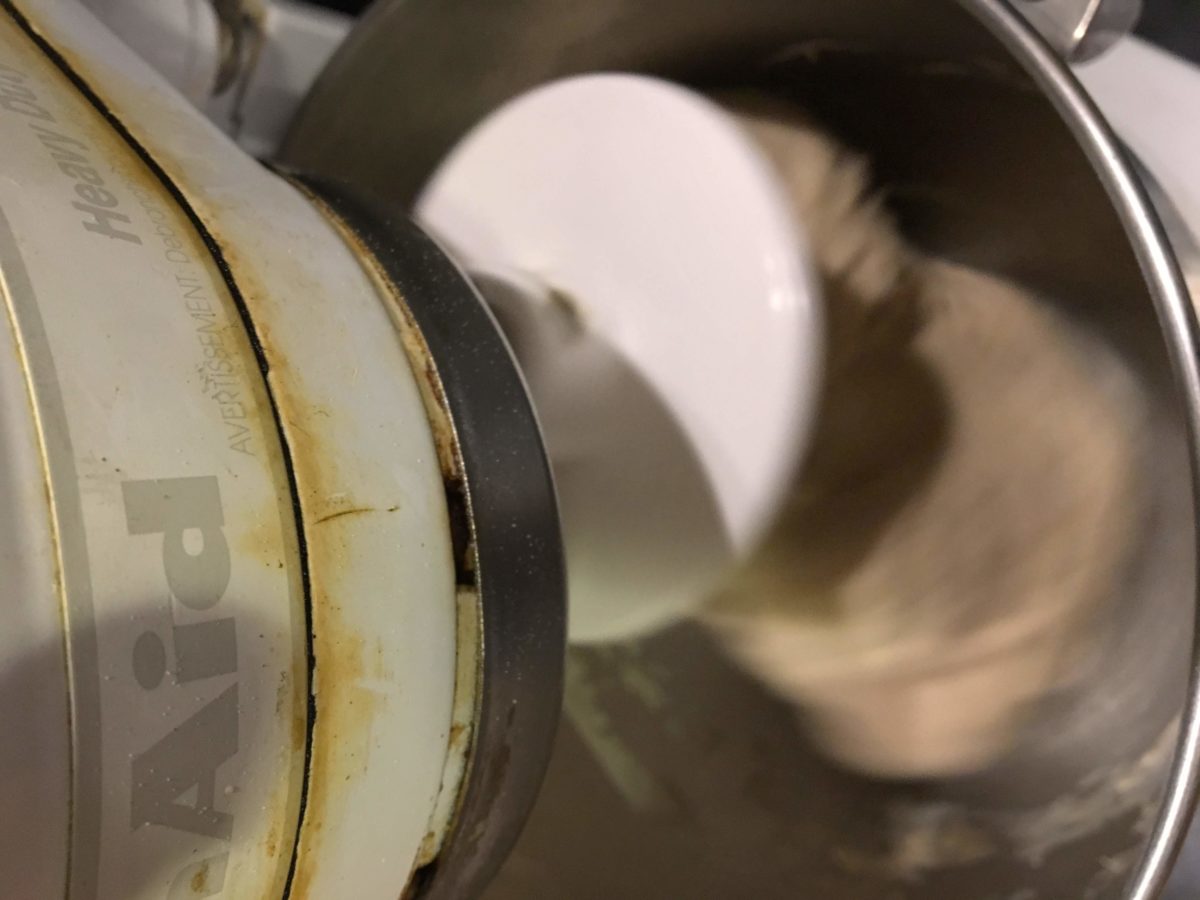
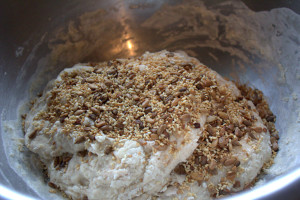
mixing 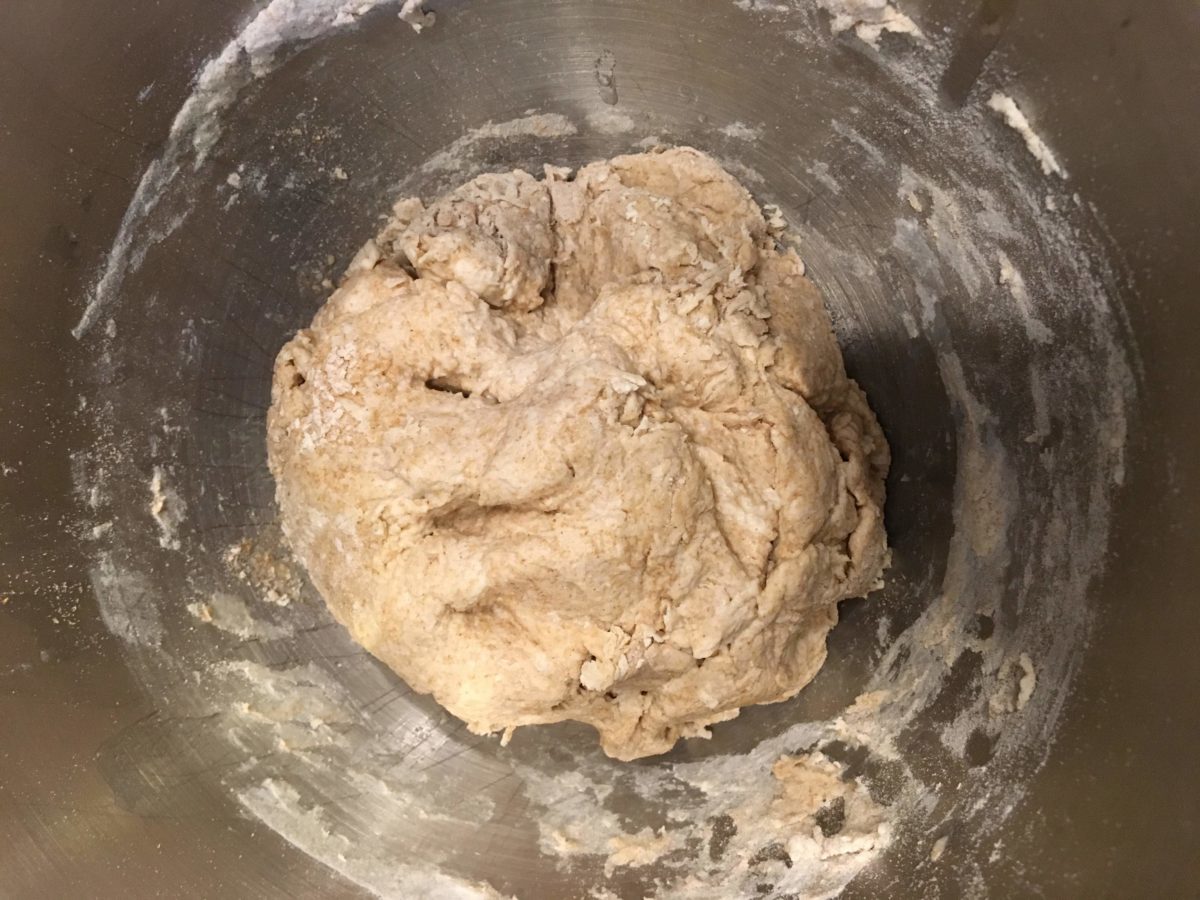
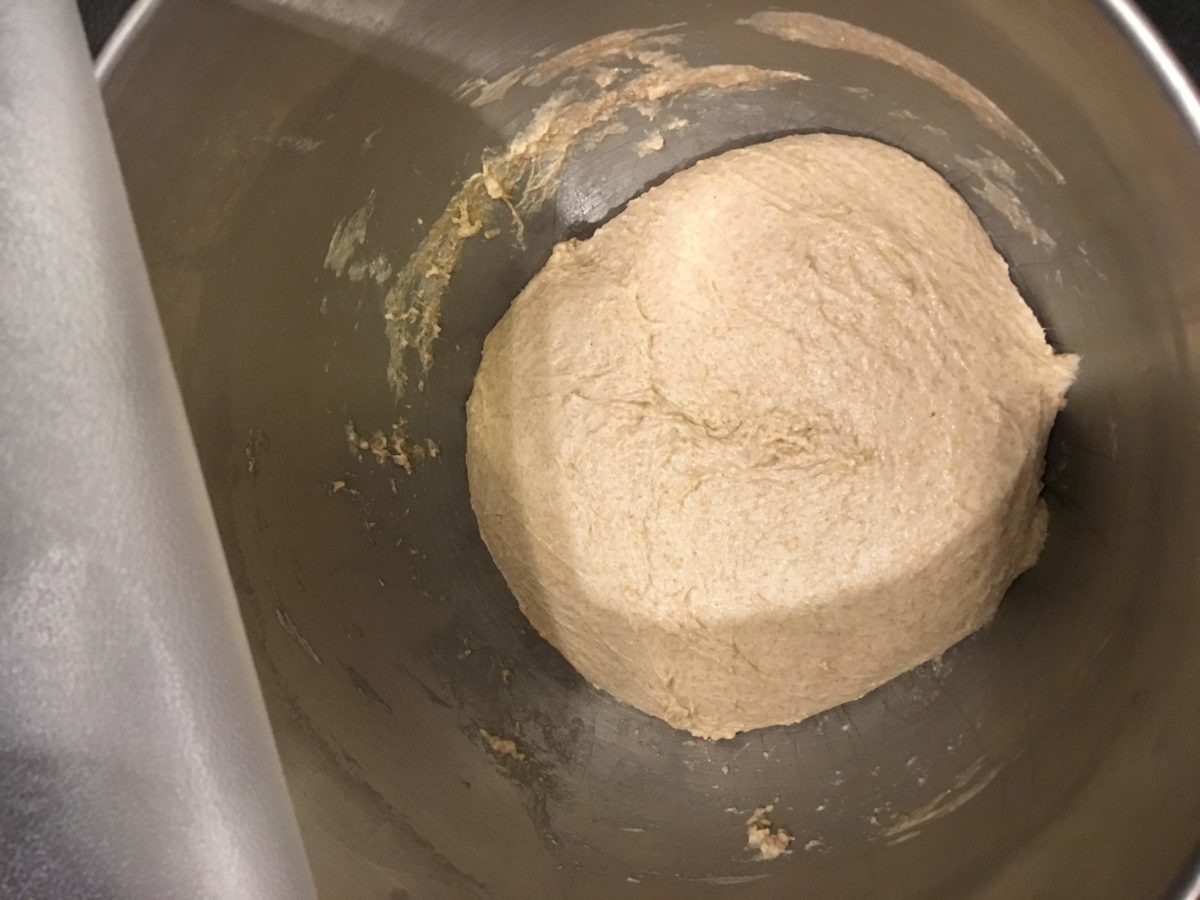
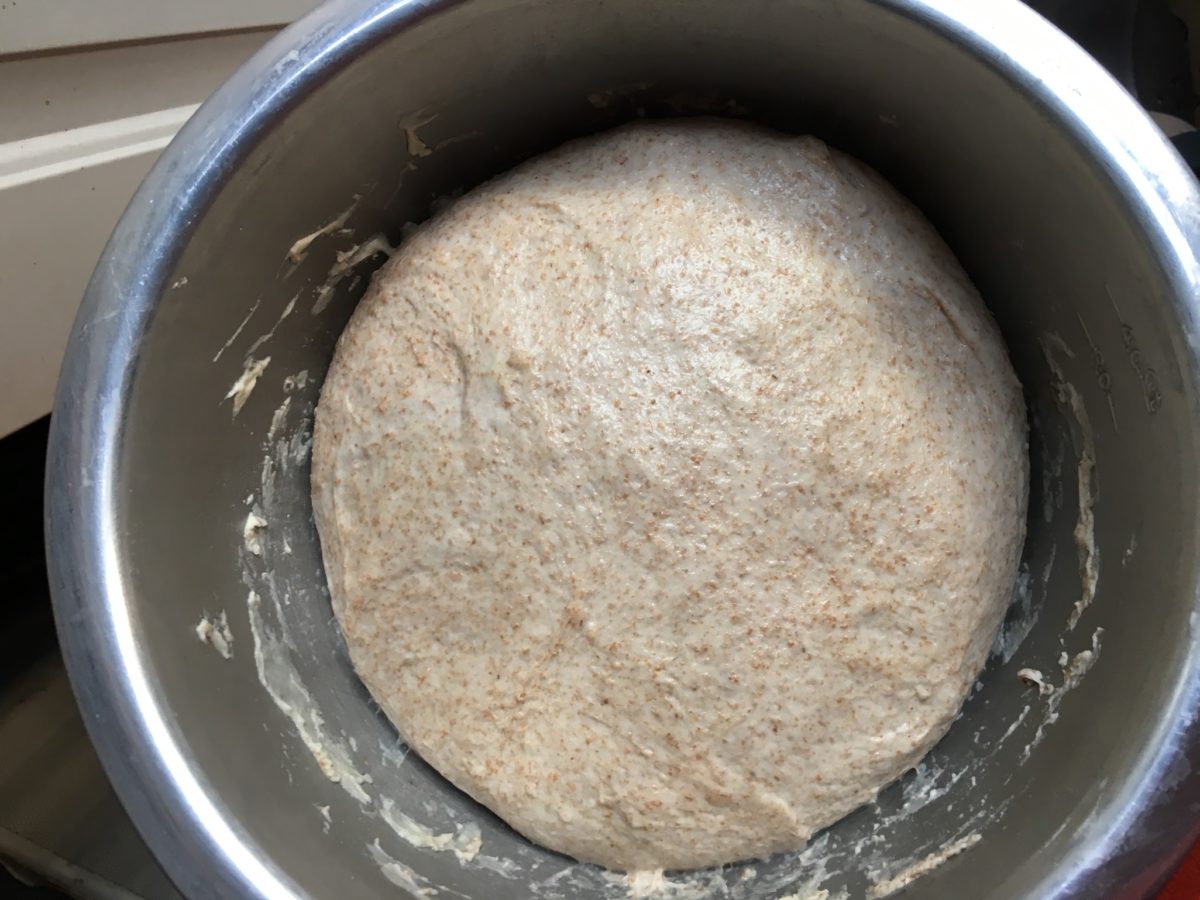
ready for autolyse
When making bread at home, one of the most impactful things you can do is let it rest. “Autolyse” comes from the word “autolysis” which means “self digest”. In other words, the dough starts to eat the nutrients in the ingredients and gluten starts to form and flavor starts to develop. This autolyse period is often forgotten or skipped with great detriment to the overall result of your loaf in terms of crust, crumb, and flavor.
I let this dough autolyse for about half an hour before adding the salt and the diastatic malt powder, then I mixed it in the KitchenAid for about 10 minutes on first speed (the one past “mix”).
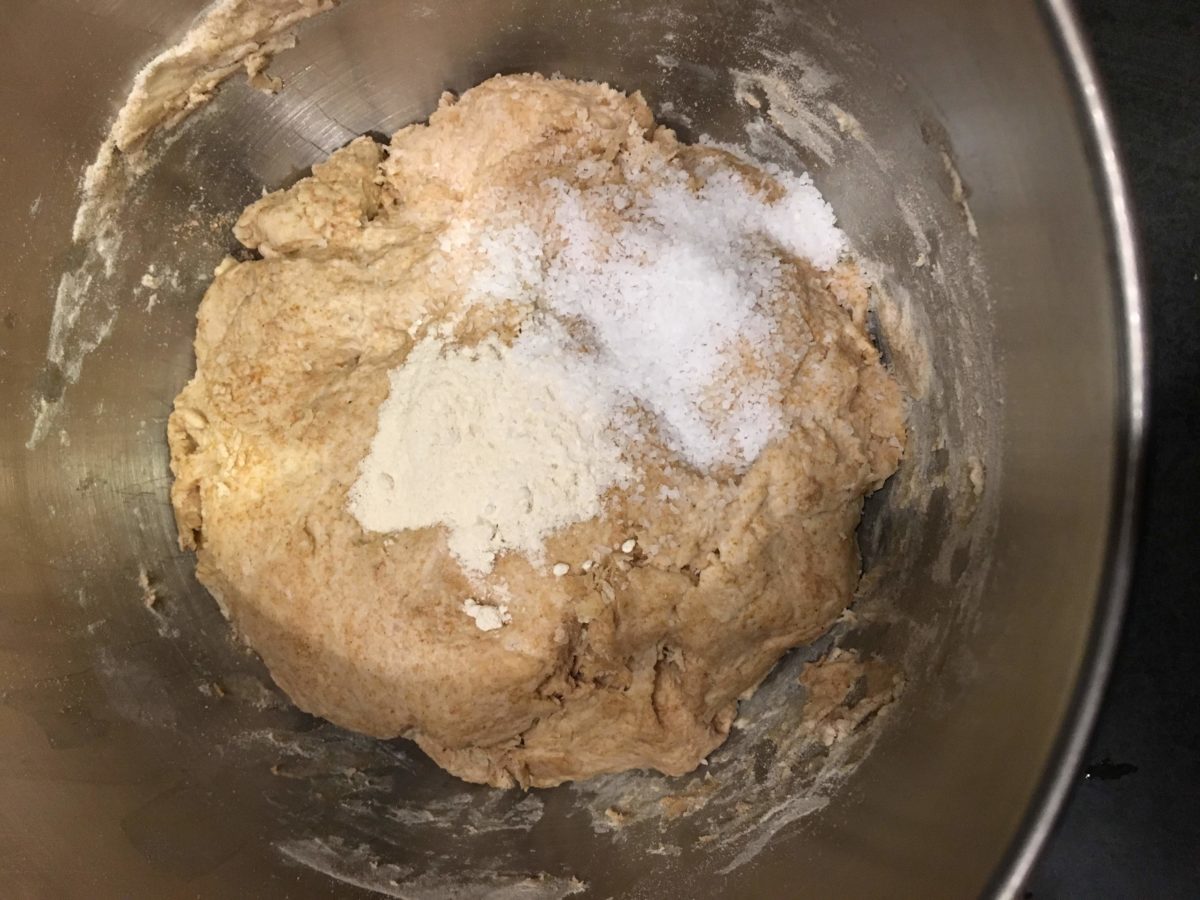
A brief word on diastatic malt powder. I use it exclusively for sourdough breads. The diastatic malt powder acts as a “slow burn” type of fuel for the bread. It provides the bacteria in the bread the food that it needs to keep the bread going in the right direction over the period of a few days. I don’t use much, usually just .5% (in this case it amounted to only 3 grams) but it’s enough to make a difference.
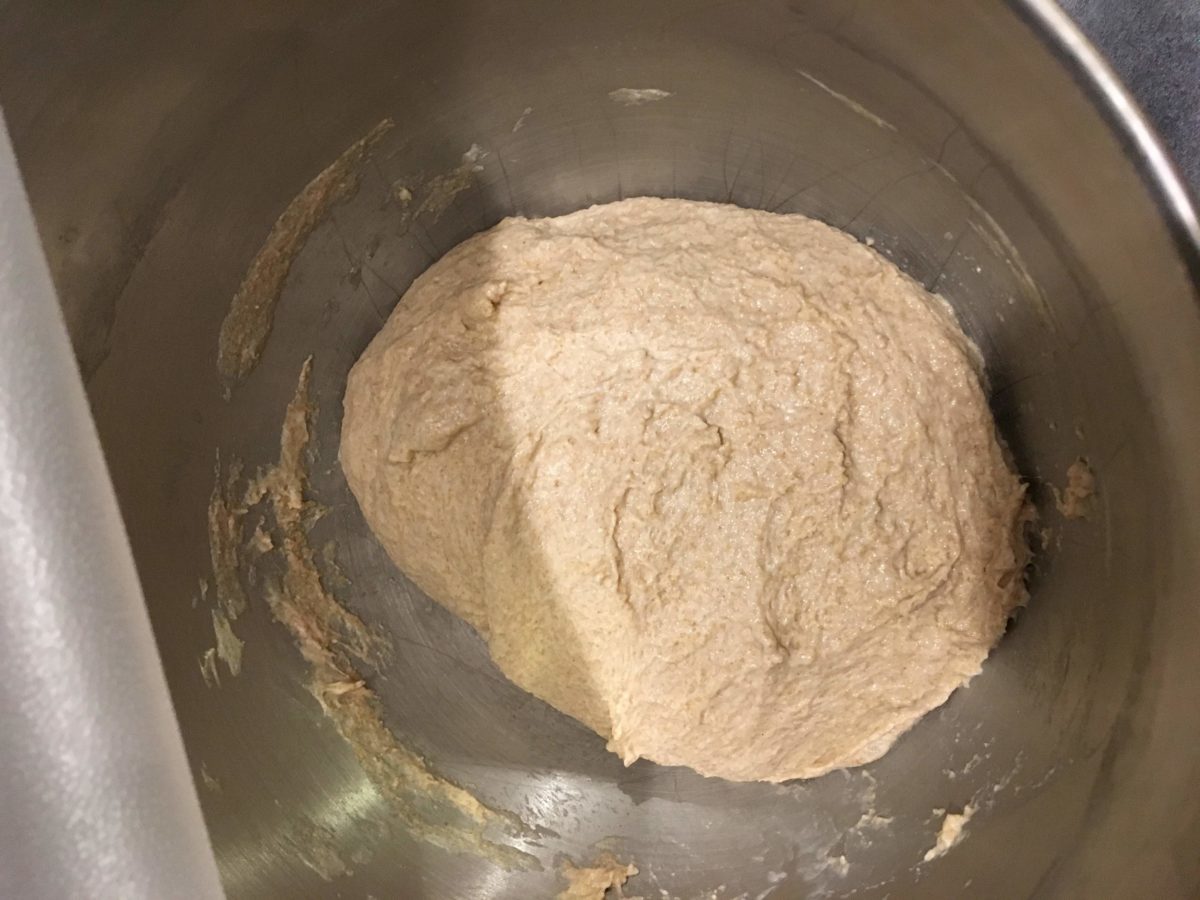
After mixing the dough I let it rest at room temperature while I left for work. I normally come home around lunch time to take the dog for a walk so at lunchtime I put the dough in the fridge until I was ready to continue.
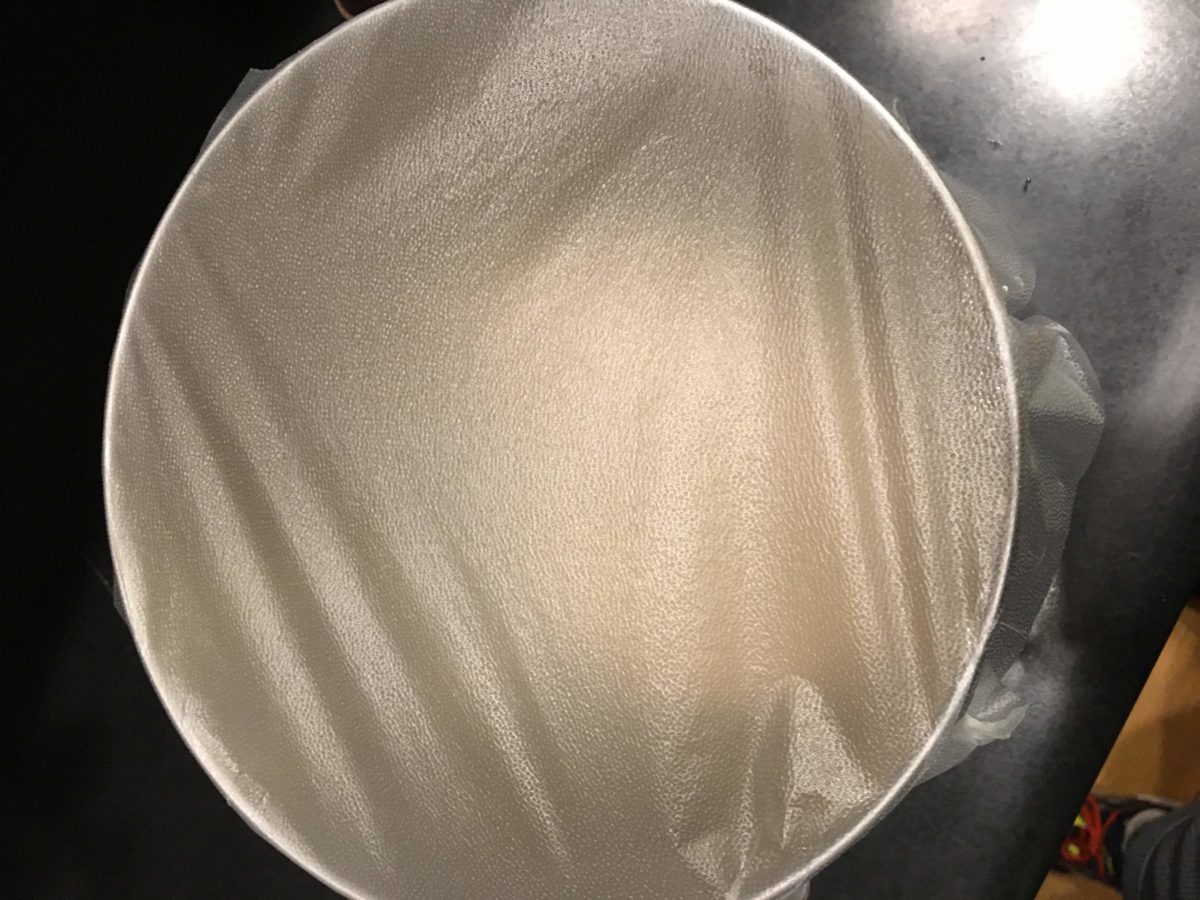
covered and ready to chill
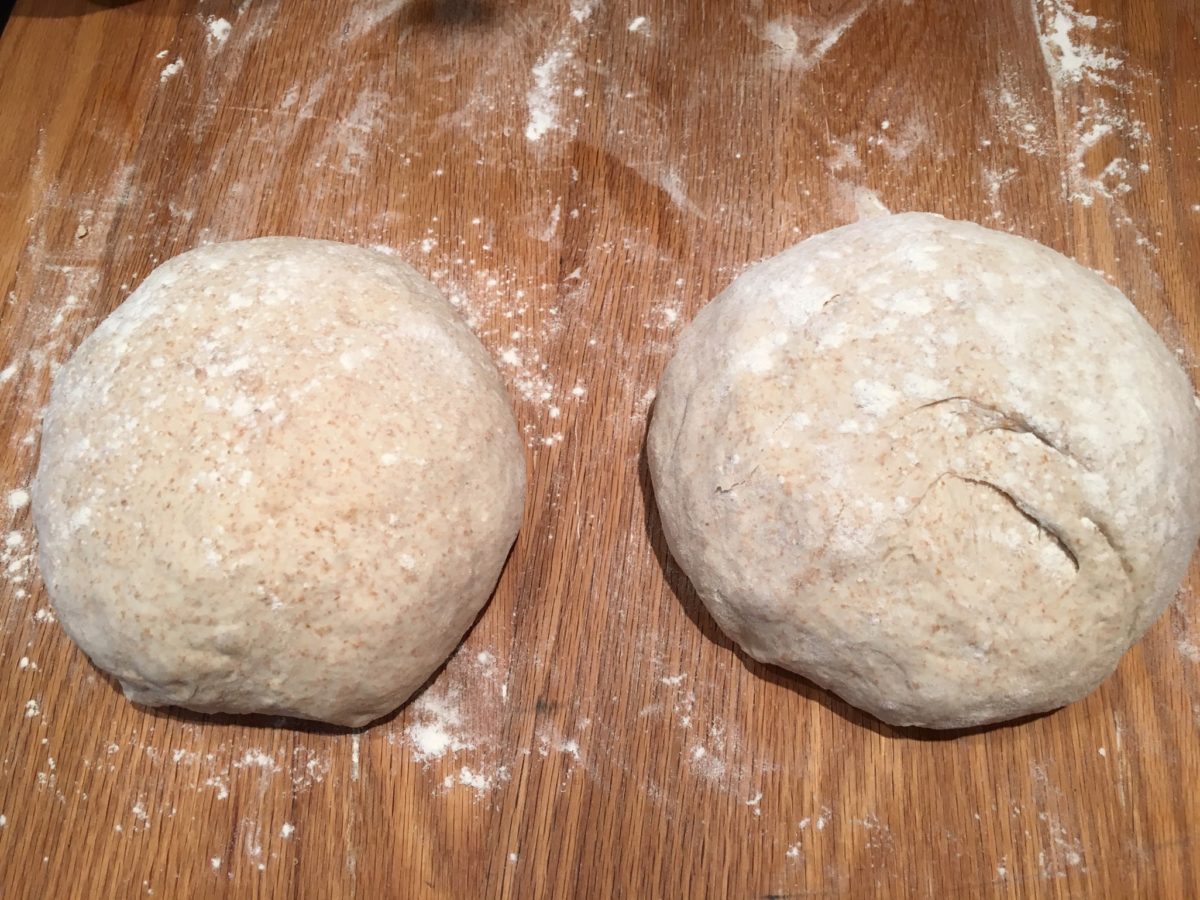
When I got home from work took it out of the fridge and let it acclimate to room temperature for about 2 or 3 hours. Then I did a few rounds of stretch and folds spread about 45 minutes apart.

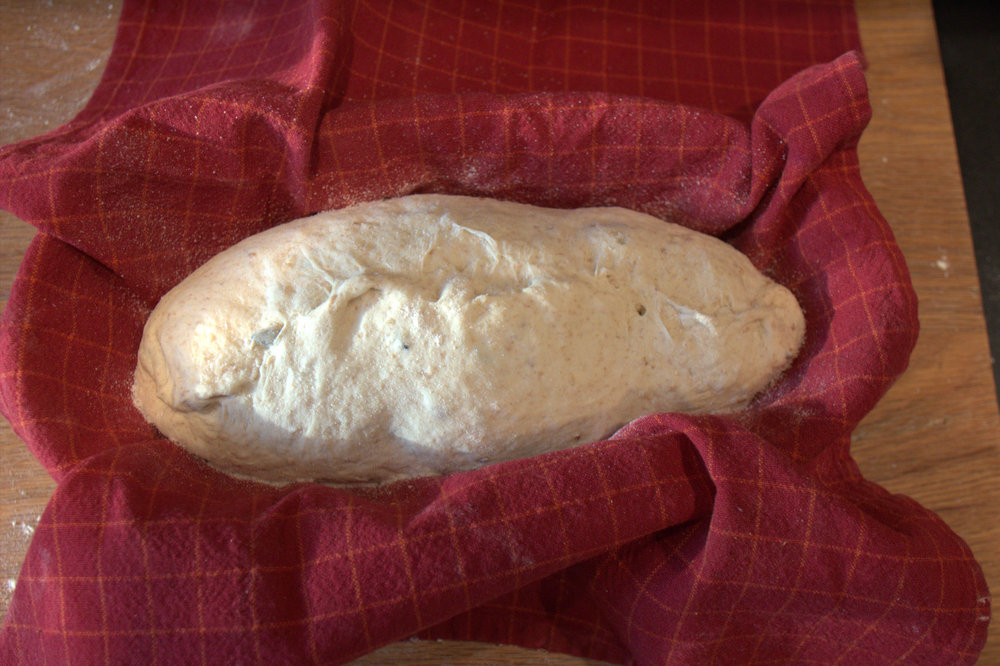
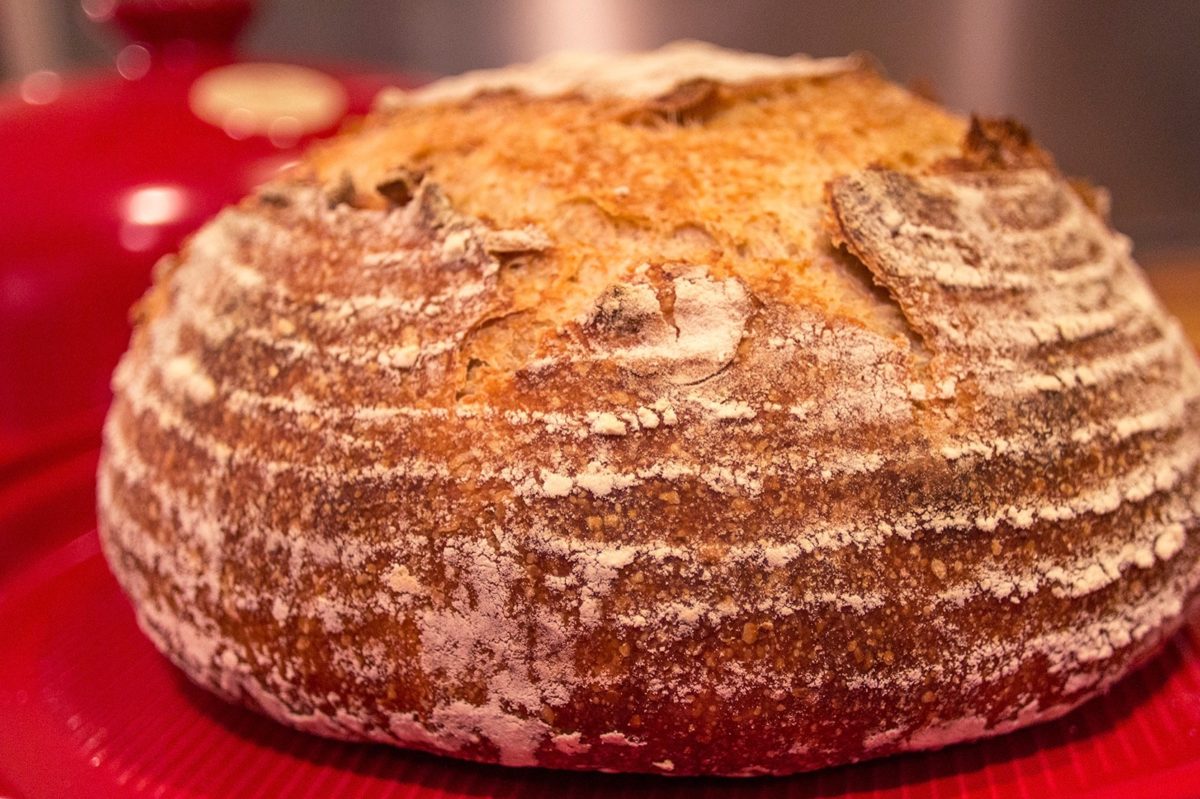
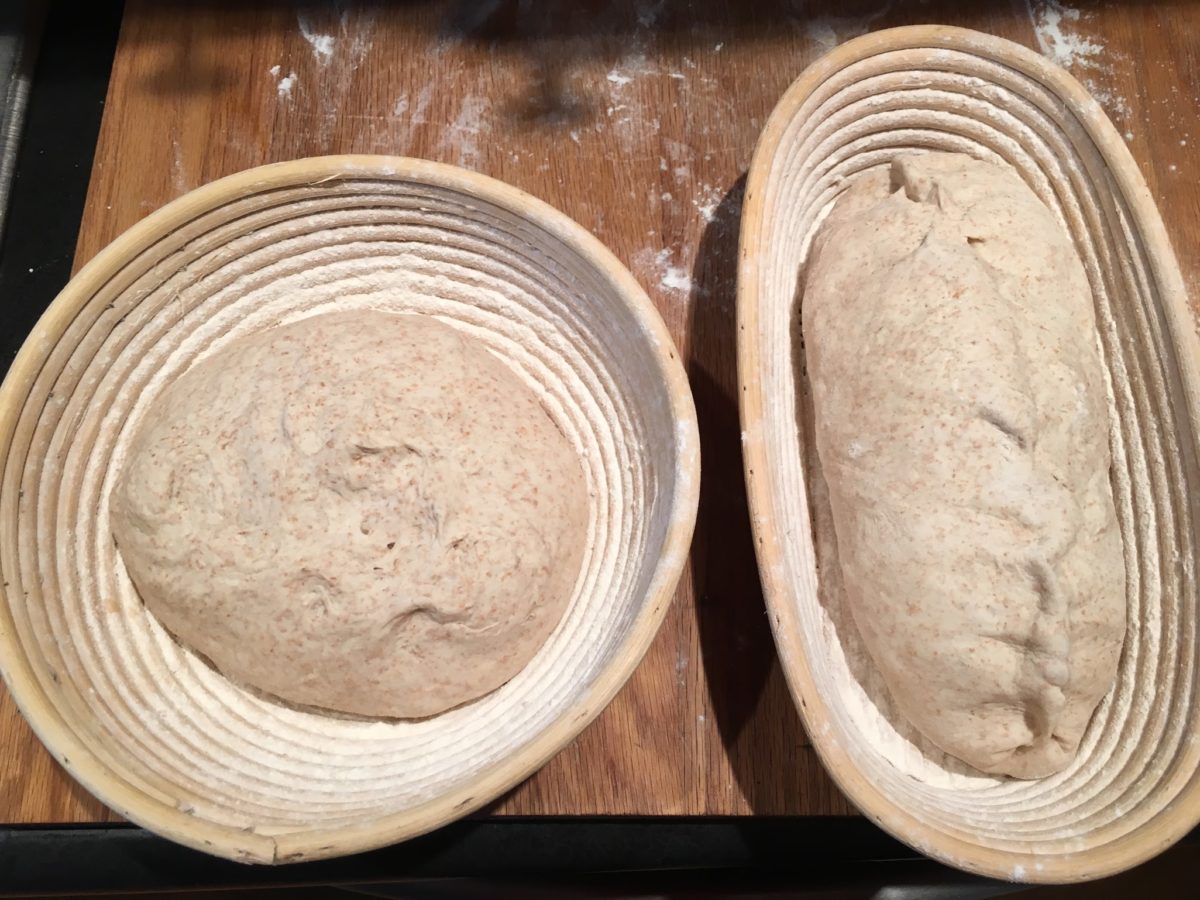
After the third stretch and fold I shaped it and put it in a floured proofing basket, covered it in plastic and put it in the fridge.
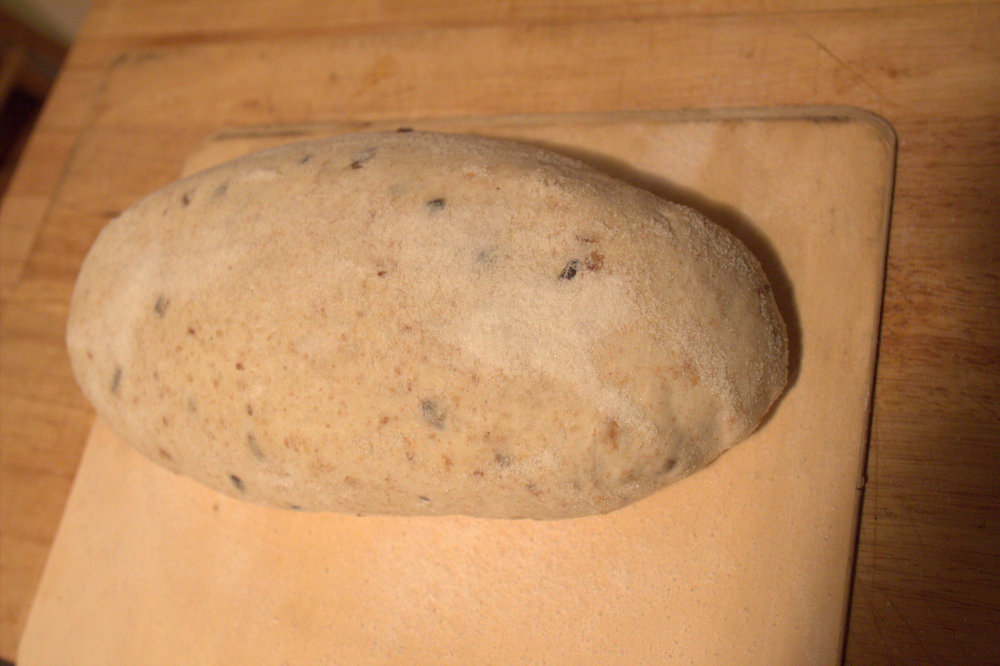
The next evening I finally was ready to bake, so I remove it from the fridge and preheated the oven to 450˚F for about 45 minutes.

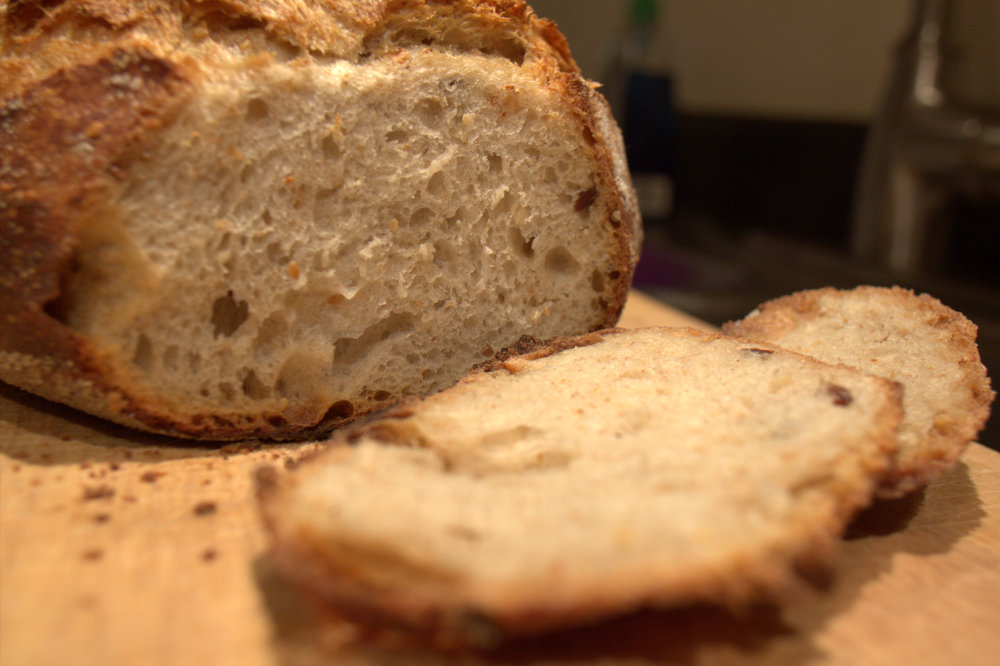
I carefully slid the bread on to the covered Emile Henry cloche and baked it with the lid for 28 minutes (let me real, it was half an hour!) and without the lid for another 15.
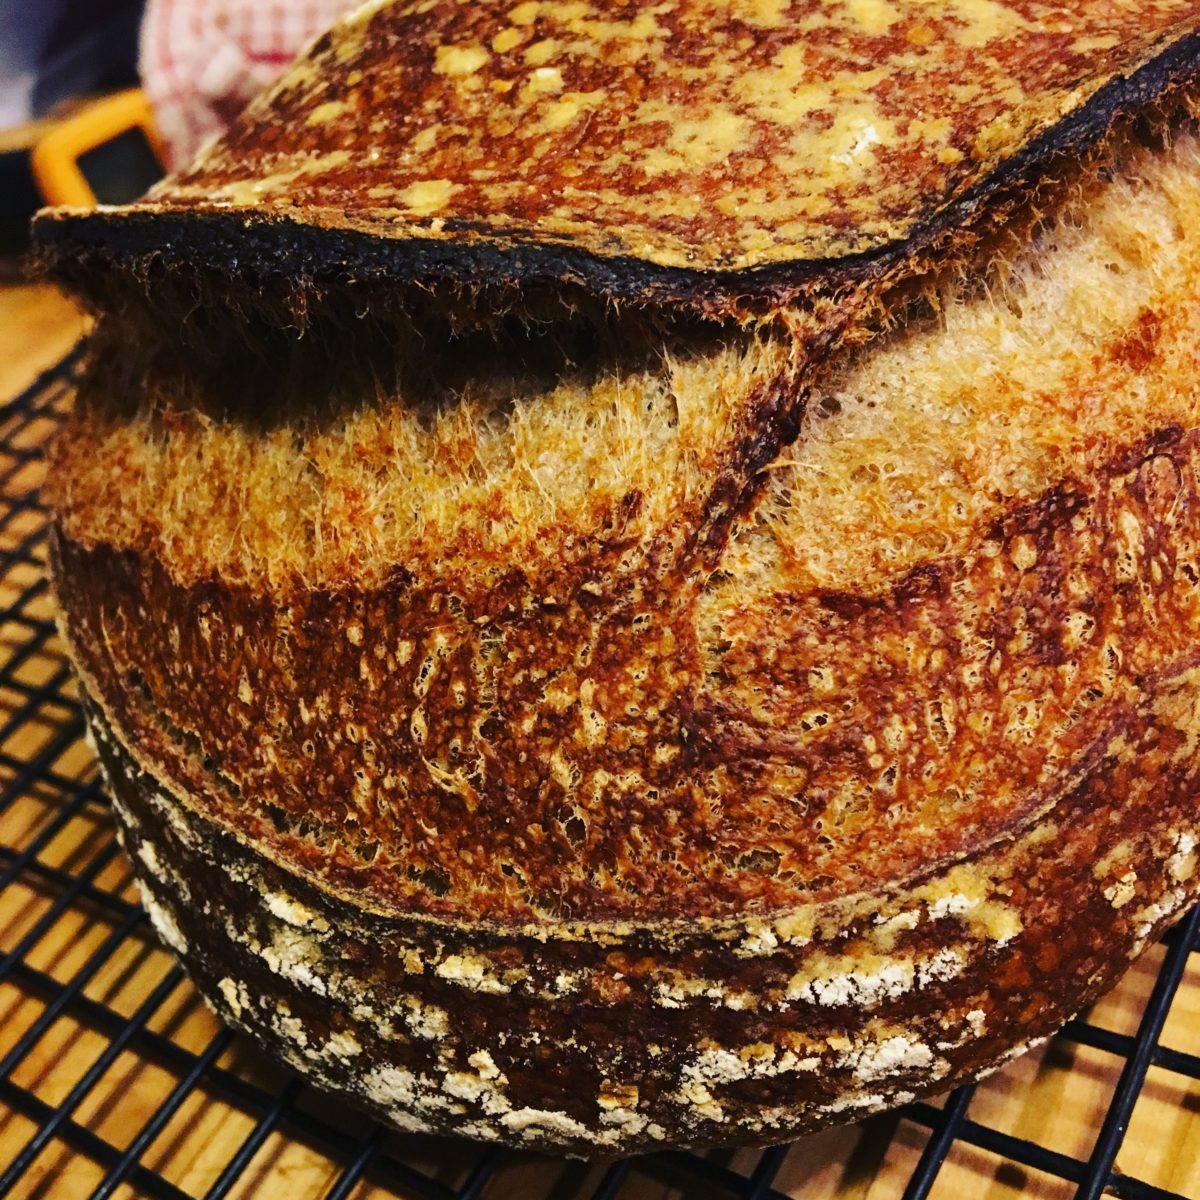
Once it was baked I removed it and put it on a cooling tray for about half an hour before tasting it. It was worth the wait and made for a delicious breakfast this morning!
Everyday Sourdough Bread Recipe
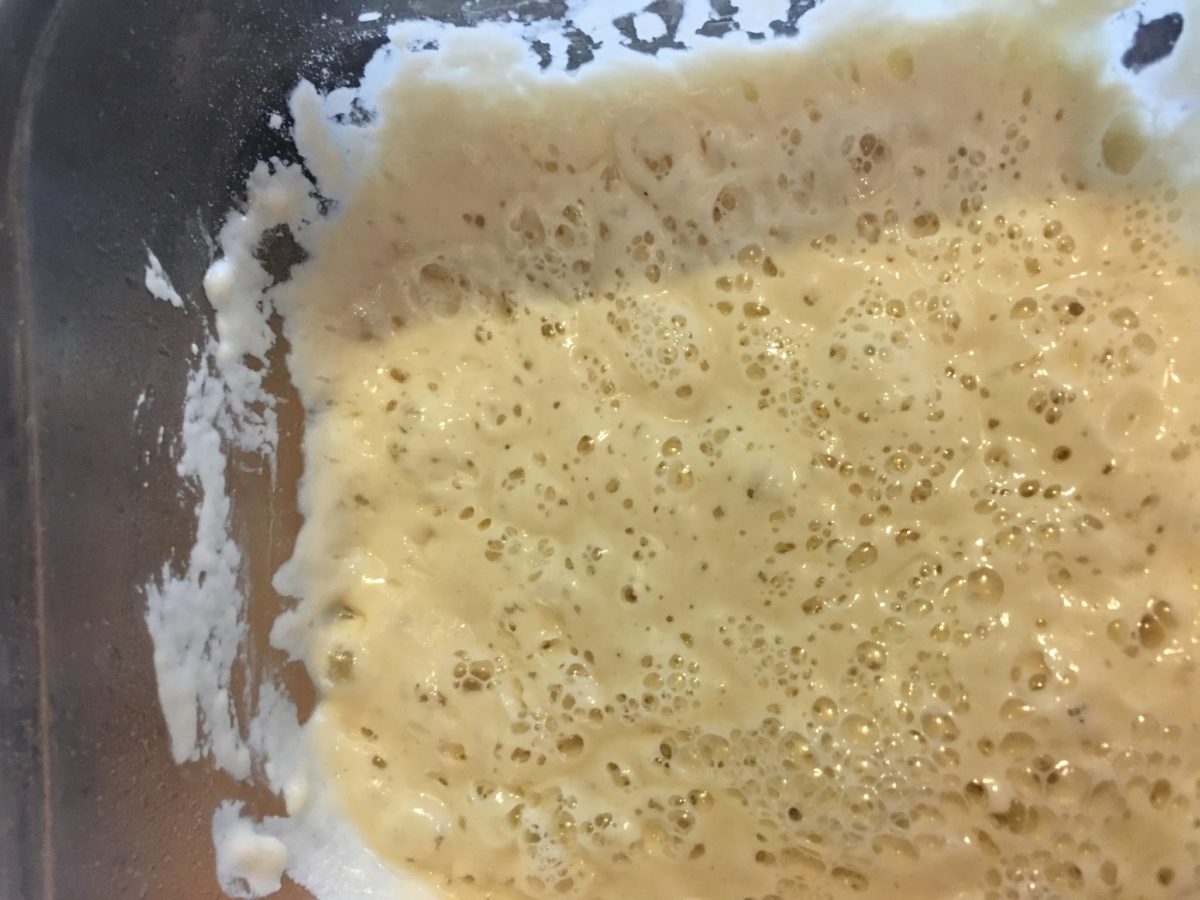
Starter build
100g whole wheat
100ml water
Dough
150g whole wheat
300g AP flour
275ml water
14g salt
3g diastatic malt powder
- Take all of the ingredients minus the salt and malt powder and combine.
- Cover and let autolyse for 45 minutes.
- Knead in the mixer or by hand until well developed. This was about 10 minutes in the mixer at first speed (the one past the ‘mix’ speed).
- Cover and begin bulk fermentation.
- Do 3 stretch and folds at 45 minute intervals.
- Cover and put in the fridge overnight or bulk ferment at room temperature for another 2-3 hours.
- Place on to a slightly floured surface and pre-shape.
- Cover with a clean towel and bench rest for half hour.
- Shape and place in a proofing basket for 2-3 hours or overnight in the fridge.
- Remove from the fridge and pre-heat the oven at 450˚F for 45 minutes with your baking vessel in place.
- Flip bread on to parchment paper, score, and carefully load in the oven.
- Bake with the lid on for half an hour and with the lid off for another 15 minutes.
Items used in this Everyday Sourdough bread


 [/ezcol_1third] [ezcol_1third_end]
 [/ezcol_1third] [ezcol_1third]
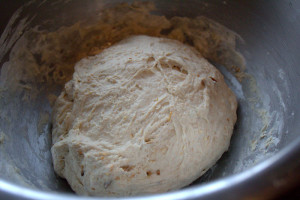 [/ezcol_1third] [ezcol_1third_end]
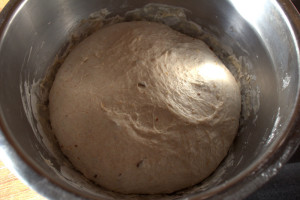 [/ezcol_1third_end]
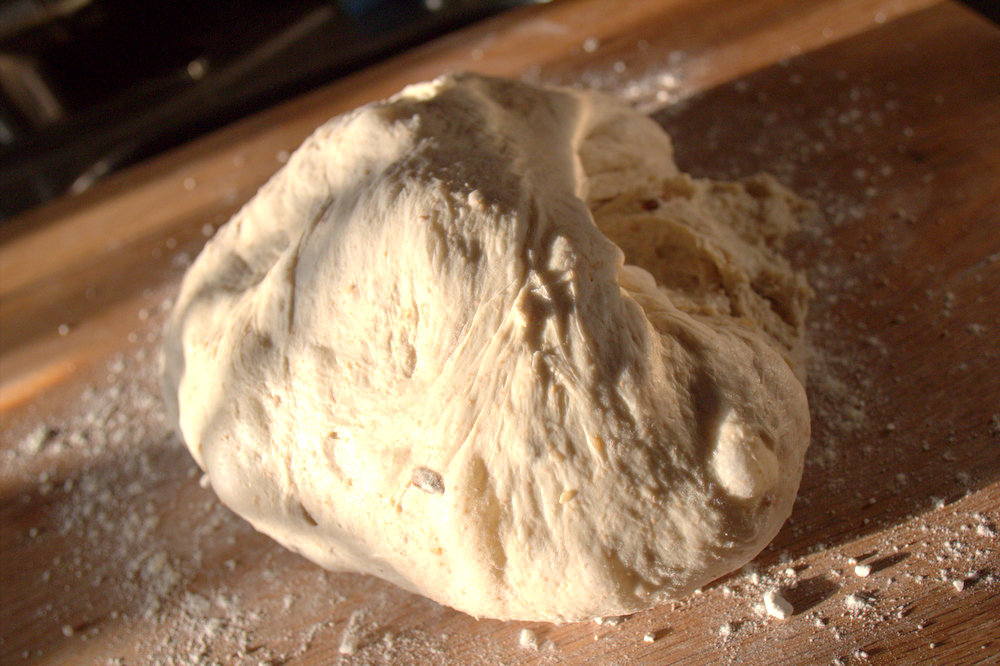
 [/ezcol_1quarter] [ezcol_1quarter_end]