Ciabatta is one of those breads that go well with just about anything. It can stand up on its own or, as is most commonly done, be served as the vehicle for olive oil as a light hors d’oeuvre. As ubiquitous as Ciabatta is at restaurants, believe it or not it is a relatively new type of bread. Developed in 1976 by a baker in Verona as a response to French baguettes, the Ciabatta is an elongated flat loaf characterized by its many holes and light texture. It was only brought to the US in 1987![1]
Making Ciabatta at home has traditionally been seen as a challenge because the dough itself is very wet and hard to shape. This post is meant to encourage you to bake some. The fact that Ciabatta is hard to shape should be a plus, in my book, as shaping is sometimes a challenge for me!
This recipe in particular is pretty easy too. Just mix the ingredients and let them sit for a while, then stretch and fold the dough, then let it sit some more, then bake it. The result is a lovely bread that looks great and tastes wonderful. The long fermentation times in the fridge helps the gluten to develop properly while allowing the dough to gain a depth in flavor. The sourdough component really adds flavor to the dough. I’ll have to re-do this recipe with yeast at some point to compare the process but if you don’t have a sourdough starter, add 75g AP Flour and 75mL water along with half a packet of yeast.
Ingredients
[table id=8 /]
Process
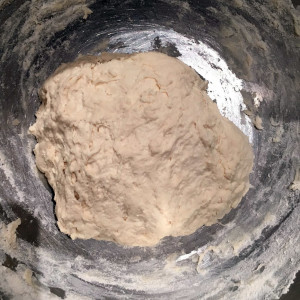
- Combine the AP flour and water and mix until you have a shaggy mass. The shaggy mass should look something like this:
- Cover your bowl and put in the fridge for 12 hours or more. This is going to let the gluten develop slowly and give your ciabatta a chance to get a little bit of dough strength.
- A few hours before baking, remove the dough from the fridge and bring to room temperature, about an hour.
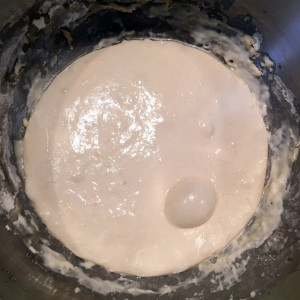
- Add your sourdough starter and salt and mix together as well as possible. This is a wet dough and there’s very little kneading that’s necessary but make sure everything is well combined. Mine looked something like this:
- Cover the dough and perform a series of 5-10 “stretch and folds” every half hour for the first 2 hours (for a total of 4 times or so). The purpose of the stretch and fold is to help your bread develop strength so that it’s not completely droopy. You should do this with most recipes on this site and it’s a good way to avoid excessive kneading. There are a few ways to perform a stretch and fold and I’ll give you my preferred method, as it’s cleaner and doesn’t require extra cleanup.
- Wet your hands
- Grab as much of the dough on the end of the bowl farthest away from you and firmly lift the dough up and bring it back over the end nearest to you (thus stretching and folding the dough).
- Rotate the bowl or the dough by 90˚ and do it again.
- Repeat this 5 or 10 times.
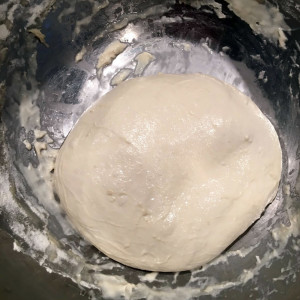
- Cover the bowl and let the dough ferment for about 4 hours total. After the final stretch and fold my dough developed a little strength and looked like this:
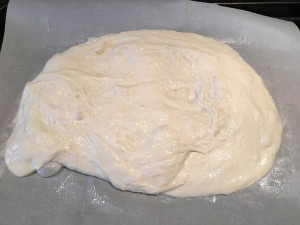
- About 90 minutes prior to baking, cover a baking sheet with parchment paper and spray the paper. Place your dough on the paper and shape in an elongated, rectangular, “slipper-like” shape. Lightly flour your bread and cover to prevent the dough’s outer skin from drying out. I could have done a better job at shaping this dough to be more rectangular but I really don’t think it altered the final product. Look at that awesome bubble! I was excited to see the holes inside the crumb!
[ezcol_1half]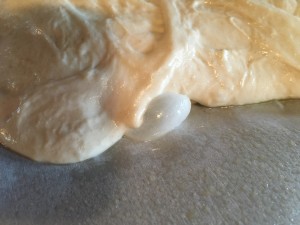 [/ezcol_1half] [ezcol_1half_end]
 [/ezcol_1half_end]
 - Preheat your oven with a pizza stone inside to 475˚F. Once hot, slide your parchment paper ciabatta in to the oven and cook for approximately 30 minutes. Rotate the bread after 15 minutes and check on it at about the 25 minute mark. Rotate again if needed and let cook until down. It should get dark brown on the outside and it won’t have much oven spring.
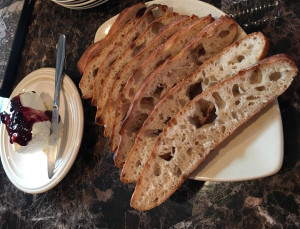
- Pull out of the oven and let it cool before enjoying!
Below is a sample 24-hour schedule.
Day 1:
- 6:00pm – Mix water and flour and place in the fridge
Day 2:
- 10:00am – Remove from fridge
- 11:00am – Mix in the starter and salt
- 11:30am – Stretch and fold
- 12:00pm – Stretch and fold
- 12:30pm – Stretch and fold
- 1:00pm – Stretch and fold
- 1:30pm – Stretch and fold
- 4:30am – Shape the ciabatta on the baking sheet
- 5:30pm – Pre-heat the oven
- 6:00pm – Bake
[1] source: https://en.wikipedia.org/wiki/Ciabatta
Rod Livingston says
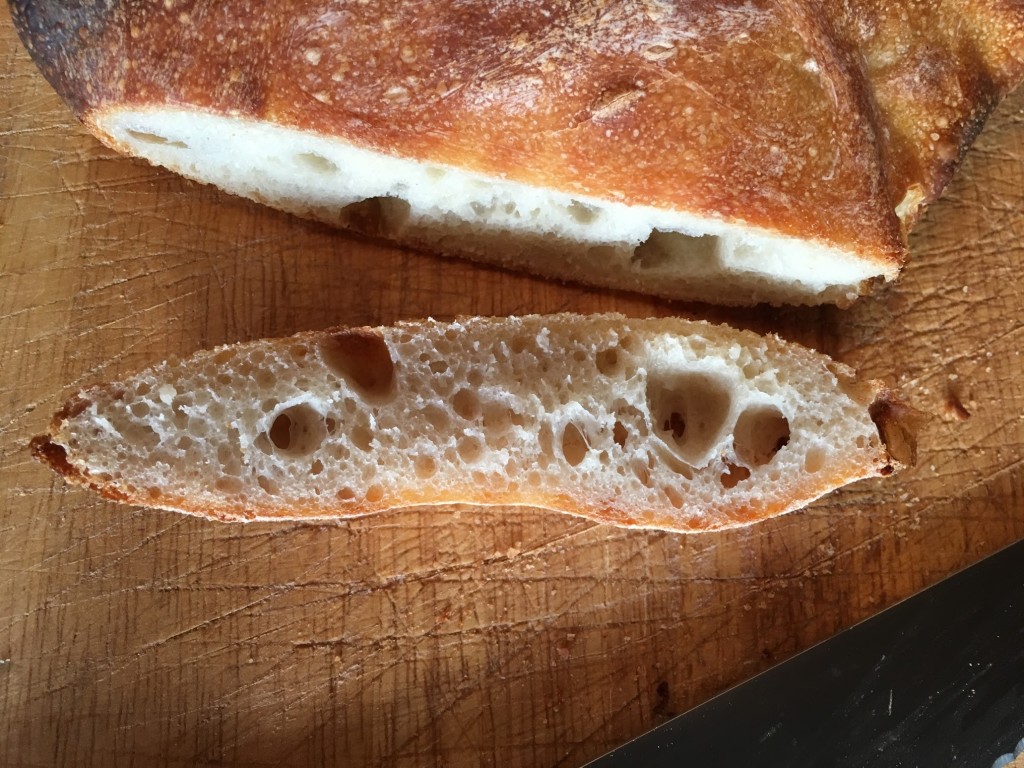
I just pulled the loaf out of the oven, and much to my surprise, it is huge! At 4 1/2″h x 12 1/2″ l x 7″ w. It went into the oven at less than an inch thick! What happened? I was actually expecting little oven spring.