 Malted Barley and Rye. Things that make me think of beer or a good bourbon! This is a quick boule that can be made in a pinch and turns out to be a nice crowd pleaser. Use it as part of a cheese plate or as a centerpiece, you can’t go wrong! It has a slight punchy flavor that complements this soft crumb and crusty bread.
That particular recipe makes an 8.3% rye loaf and yield roughly a 1.5kg miche. Can be easily split in to two 750g loaves, either boules or batards.
Ingredients
- 600g of unbleached AP flour
- 50g rye flour
- 5g of rapid rise yeast
- 10g salt
- 450g lukewarm water
- 1 teaspoon malted barley
[ezcol_1half]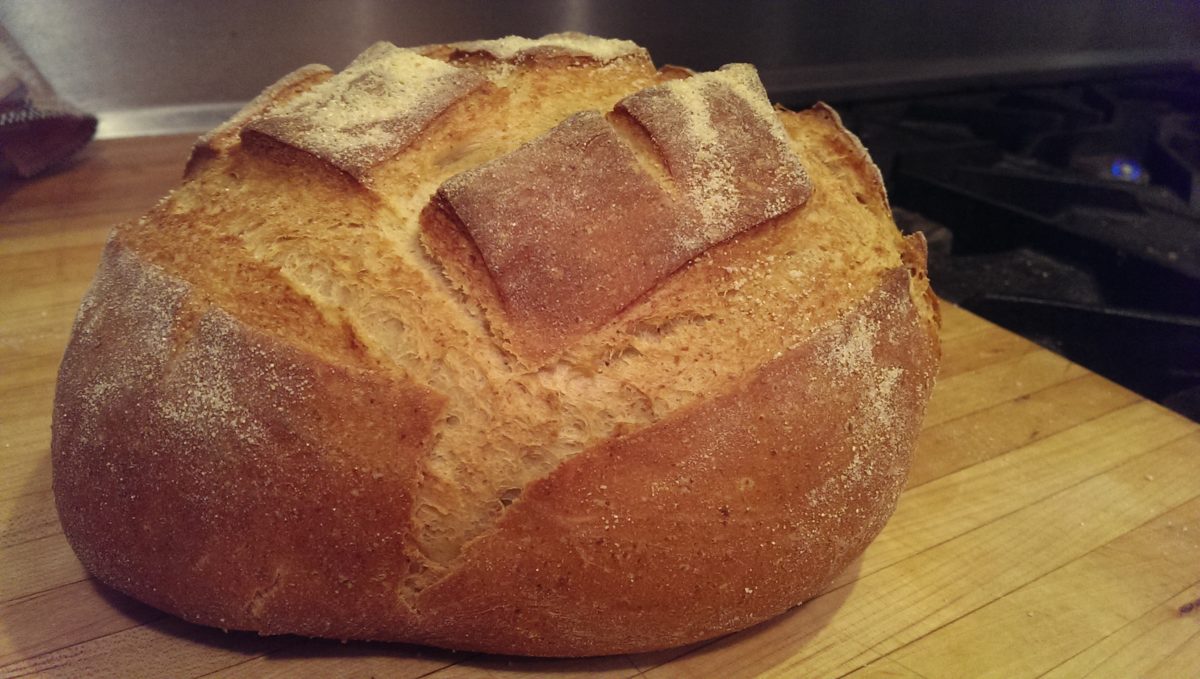 [/ezcol_1half] [ezcol_1half_end]
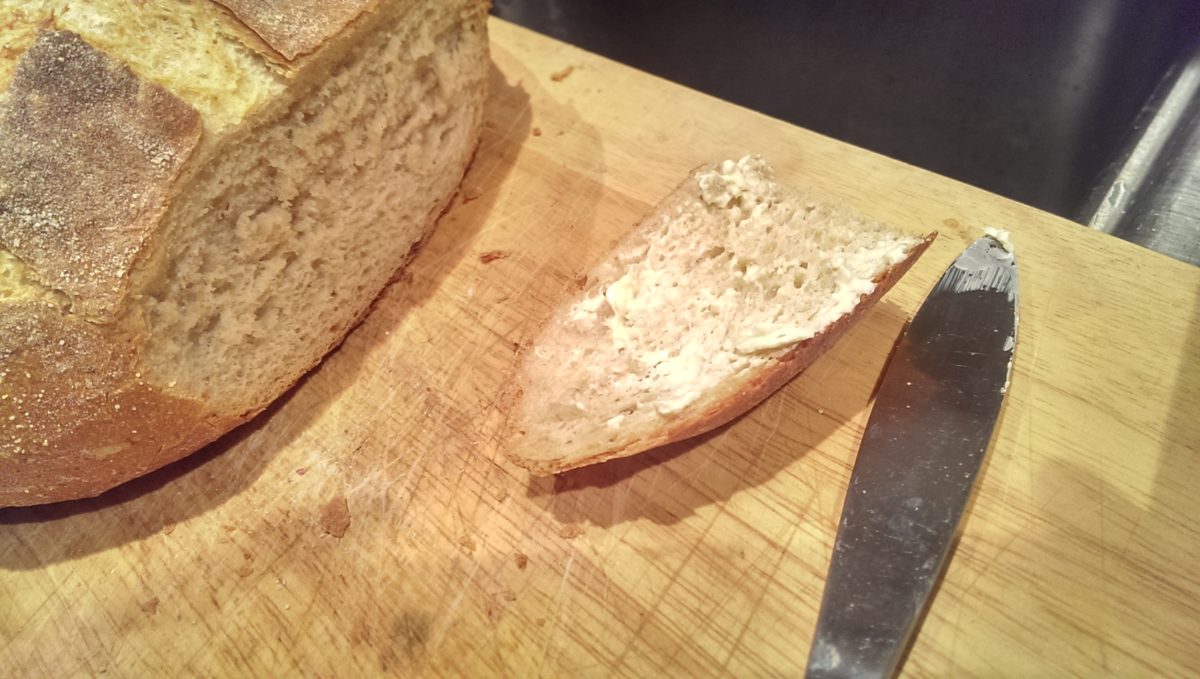 [/ezcol_1half_end]
Procedure
- In roughly 50ml of warm water, mix in your yeast and let it activate for about 5 minutes
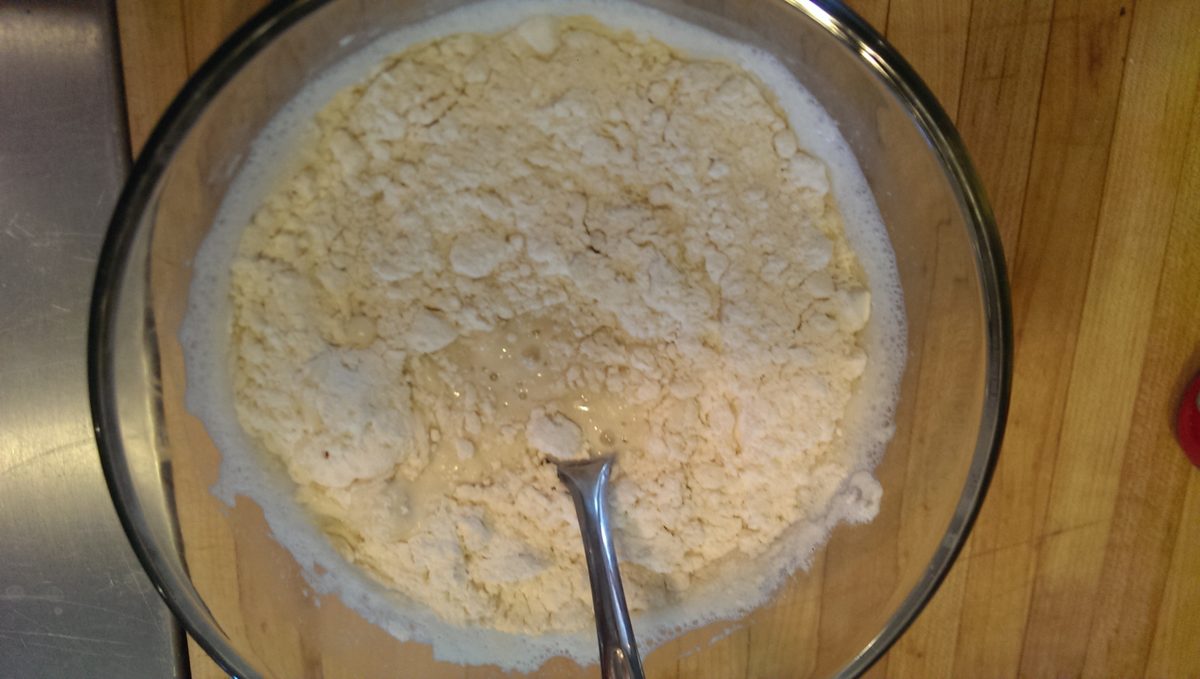
- In a food processor, mix the dry ingredients and pulse a few times to combine
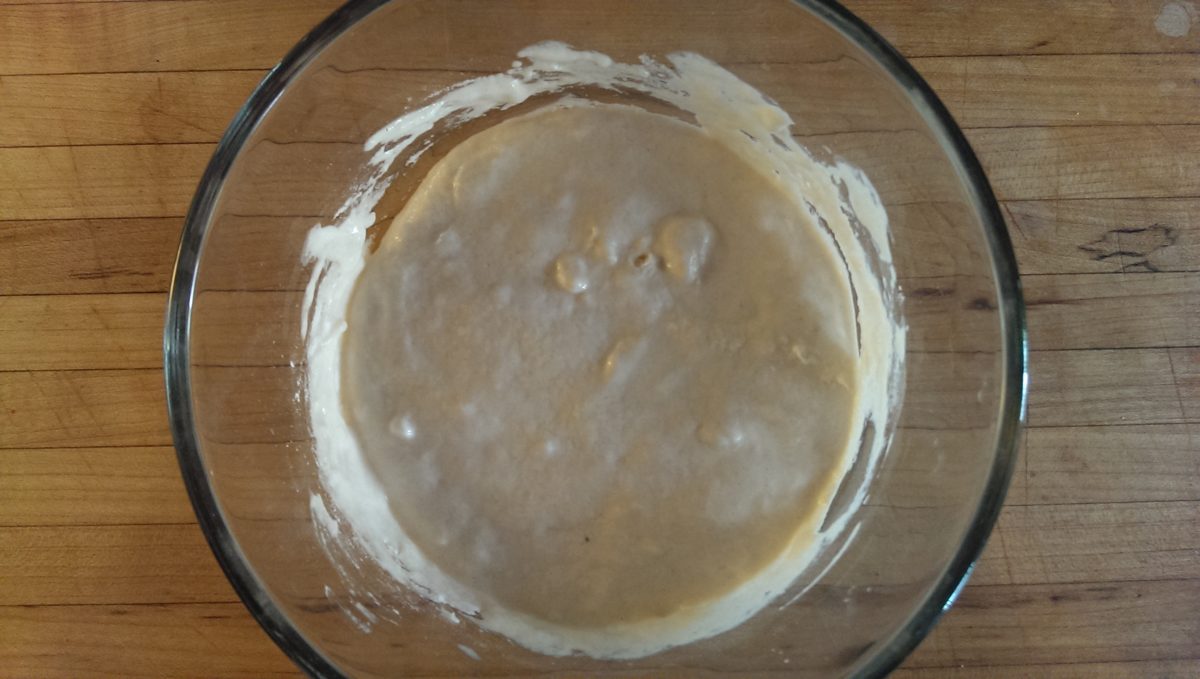
- Add the remainder of the water and mix until you have a moist mass that cleans the side of the mixer bowl
- Add the malted barley and mix until incorporated
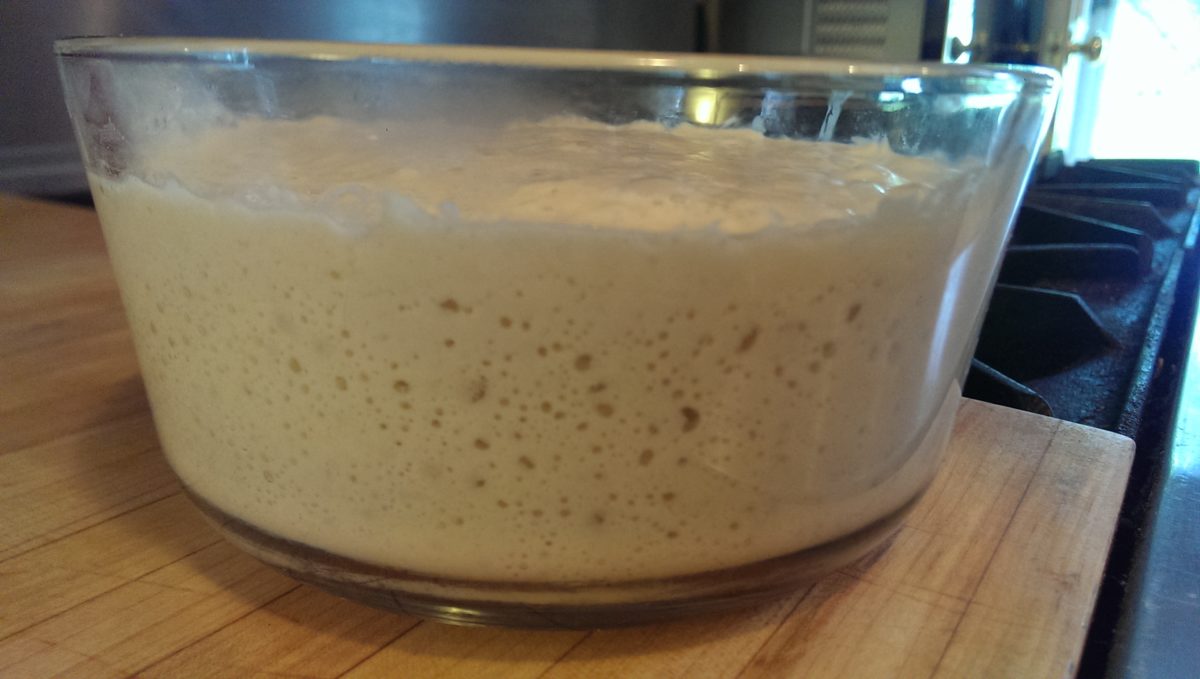
- Turn out the dough on to an oiled bowl and let it rise until doubled in size, roughly an hour.
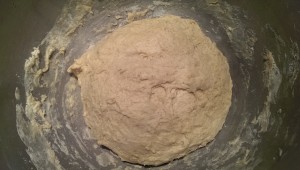
- After an hour, turn out the dough on to a lightly floured surface and degas.
- Preshape the miche divide the loaf and preshape them at this time
- Shape the final loaf and transfer to your proofing baskets for another hour
- Preheat oven to 425F with your Cloche or other steam aiding devices
- Put the loaf in your Cloche and cook for 15 minutes with the lid, and for 25 minutes without
- Remove from the oven once the loaf (or loaves) are nicely browned and sound hollow when you tap the bottom
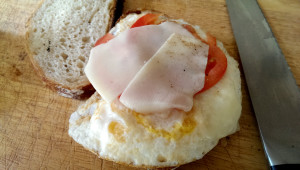
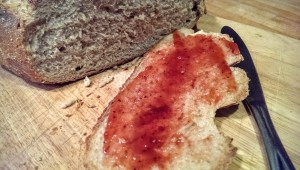
- Cool, cut, and enjoy!
 For this inaugural post, I thought it would be fitting to share with you something that is a little bit of me. I have worked on this bread formula for a little while and at this moment in time, is my ‘go-to’ bread. I make it often and the family loves it, so it this post is about my 15% whole wheat sourdough table loaf.