 Since this is the year of the babka, I have taken it upon myself to discover new ways of enjoying this wonderful treat. Last time, the cinnamon bun babka was so good it didn’t last more than a day. This one didn’t last too much longer before it was all gone! This recipe makes 2 babkas, one for you and
 another one for you one to share.
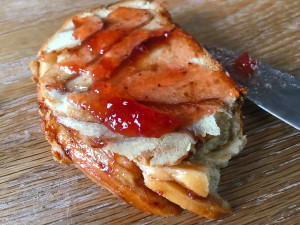
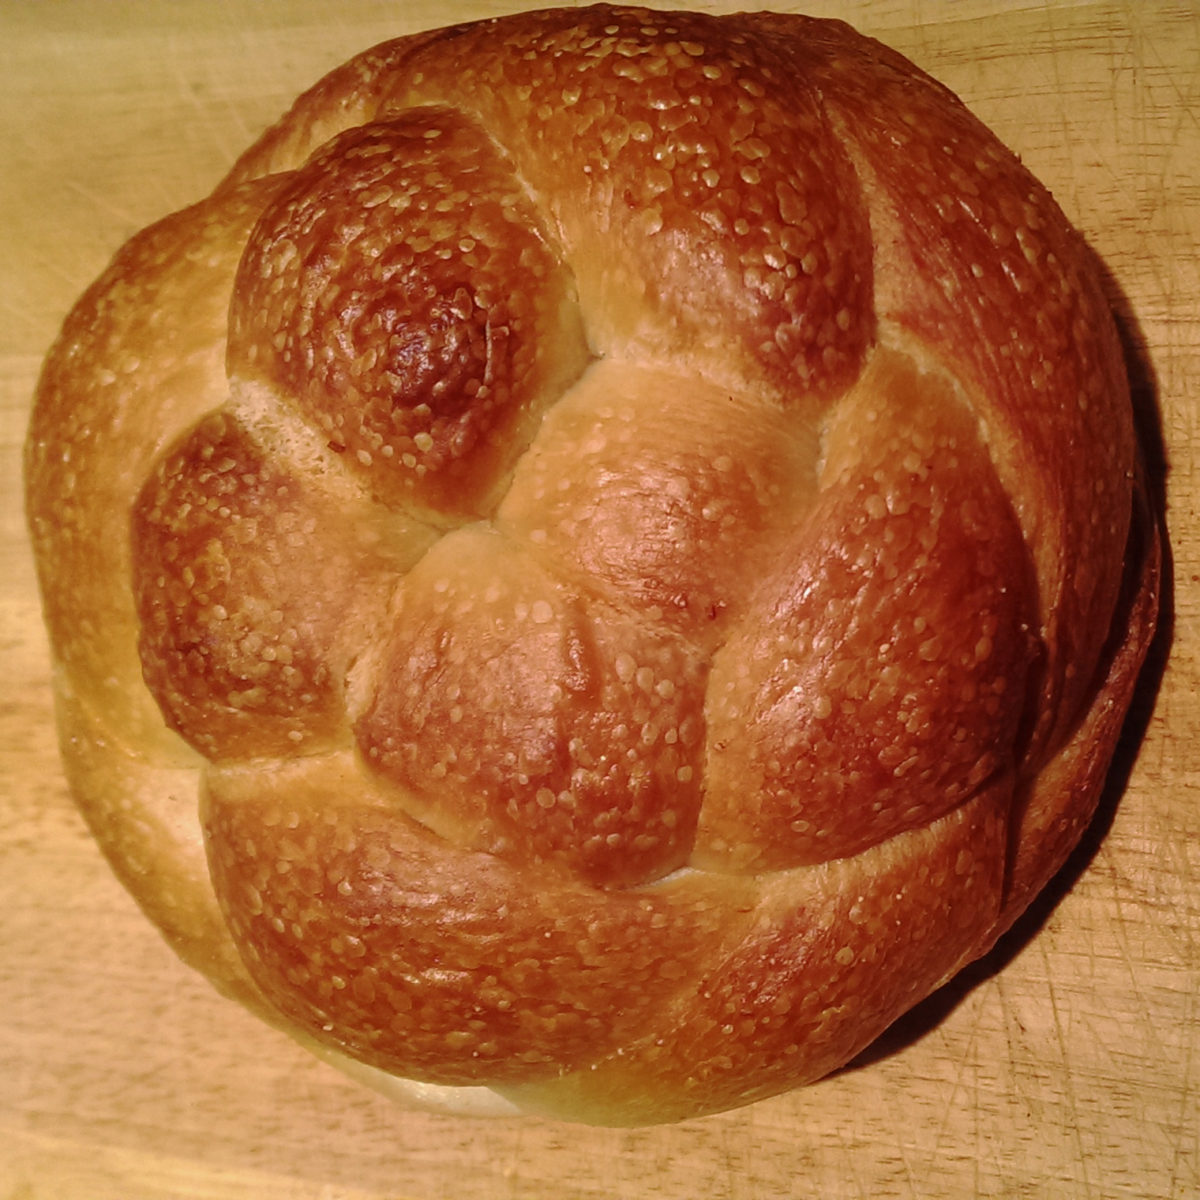
Most of the time for me, it’s all about the process. The babka making process is fairly therapeutic. The dough is easy to work, it’s easy to shape, it’s just a stress-free pleasure trip. This babka is the epitome of a comfort food. It has the PB&J flavor while not being overly sweet. If, for some reason, the babka ends up at room temp put it in the toaster for a reheat and enjoy!
[ezcol_1third]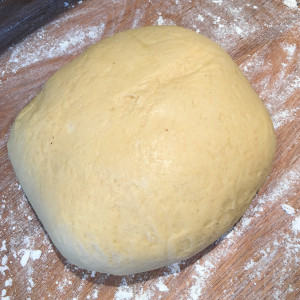 [/ezcol_1third] [ezcol_1third]
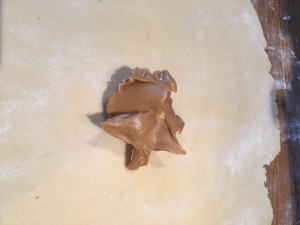 [/ezcol_1third] [ezcol_1third_end]
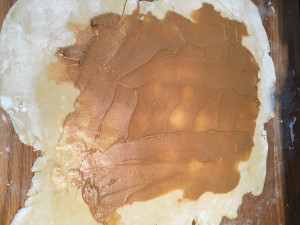 [/ezcol_1third_end]
This recipe yields two 9 inch Babka’s and is best done in a two step process. The first step is to make the dough, then it goes in the fridge for a few hours so that it is easier to roll and cut once it’s filled.
Dough
[table id=1 /]
Filling
[table id=2 /]
Glaze
[table id=3 /]
[ezcol_1third]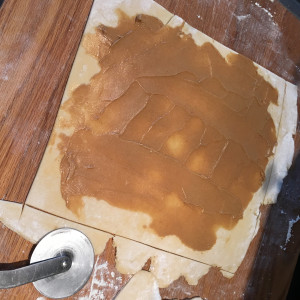 [/ezcol_1third] [ezcol_1third]
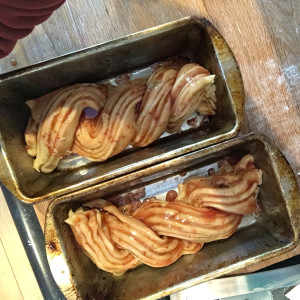 [/ezcol_1third] [ezcol_1third_end]
 [/ezcol_1third_end]
Process
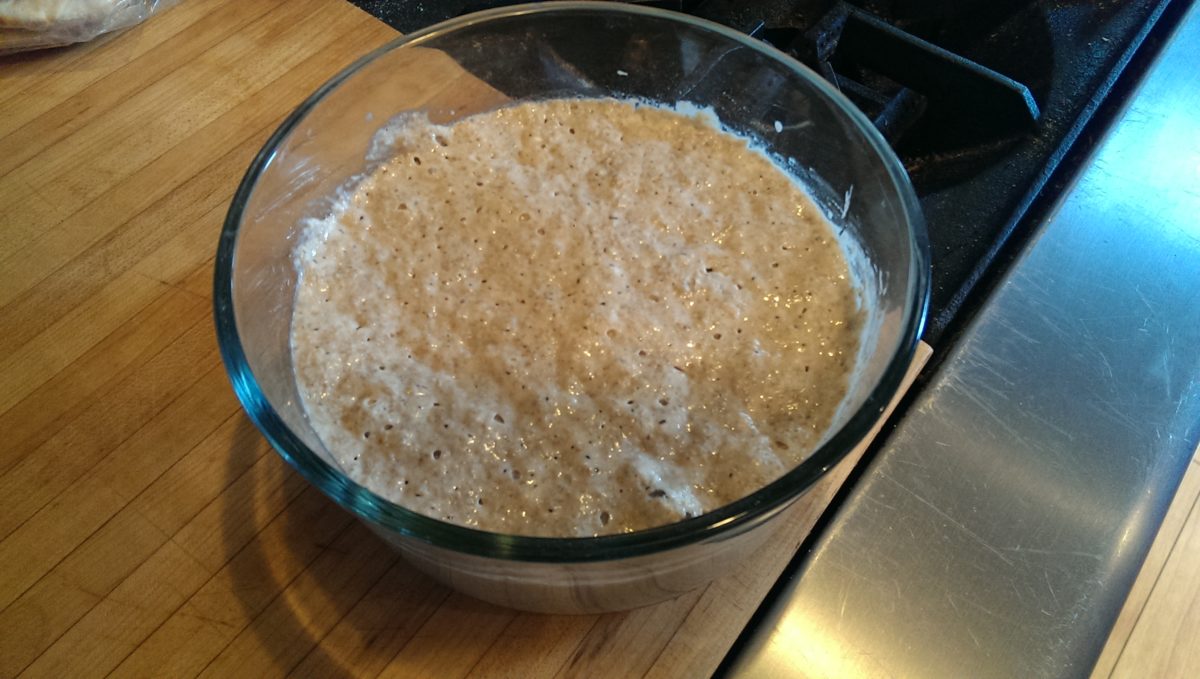
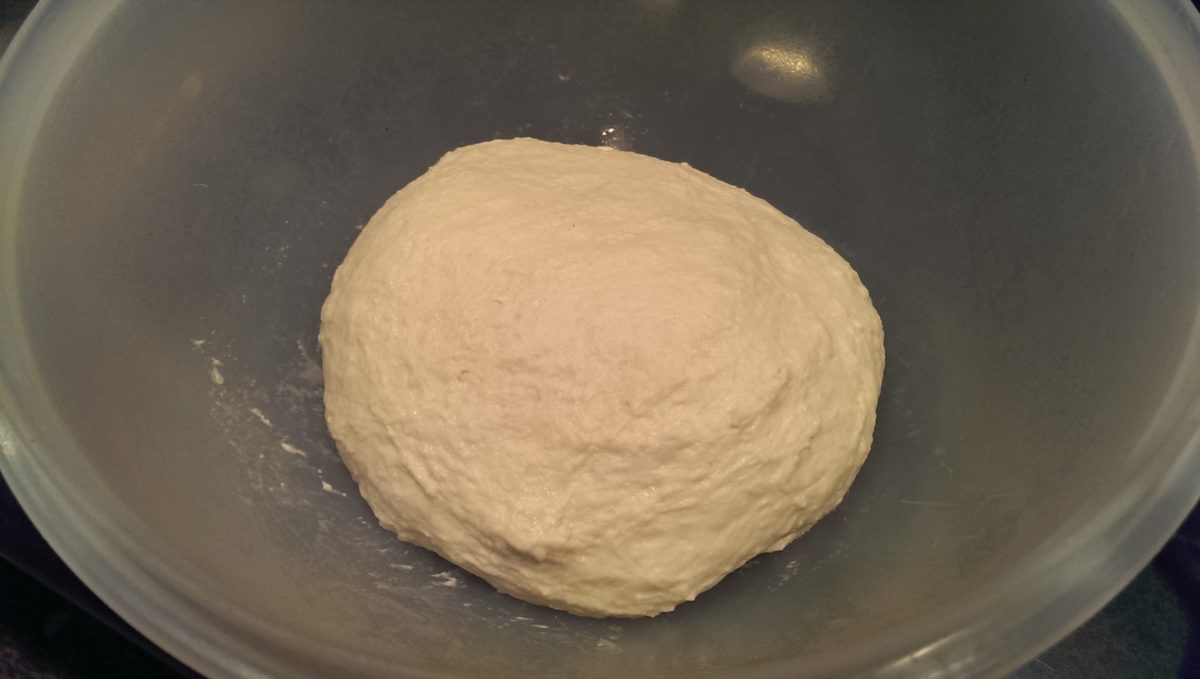
In a stand mixer fitted with a dough hook, add all the dry ingredients. Heat milk to 100˚F and add to the mixer and stir gently. Add the yeast and stir until it’s incorporated as much as possible. Add the melted butter and the two eggs and mix gently until it’s a nice smooth ball, maybe 5 minutes tops.
Cover the mixing bowl with plastic and let it proof, undisturbed, for about an hour to 90 minutes.
Quickly turn the dough in to a ball and cover with plastic wrap that’s been sprayed with non-stick cooking spray.
Place in the fridge for up to 48 hours.
When you are ready to cook, get your baking pans ready and spray with non-stick cooking spray and pre-heat oven to 400˚F.
Make your glaze:
Put jelly and water in a small saucepan and bring to a low boil. Mix the water and the jelly and add the sugar. Boil until sugar is fully dissolved. Let it simmer for 5 minutes. Remove from heat and transfer to another container where it can cool for about 20 minutes.
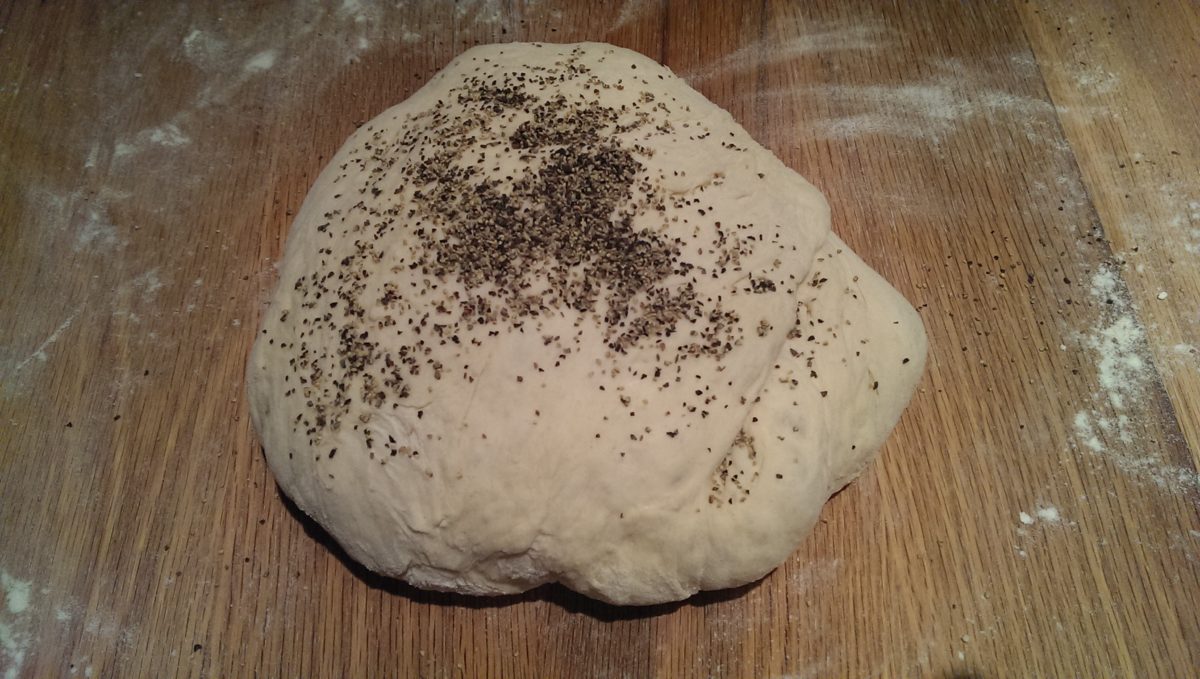
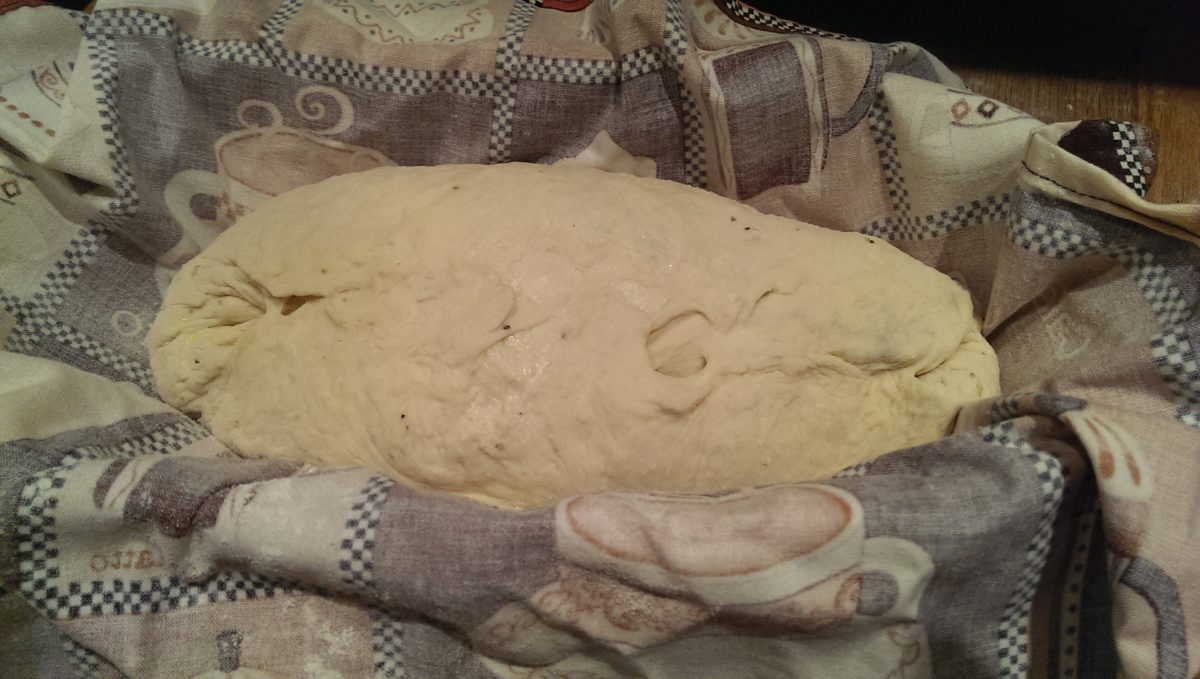
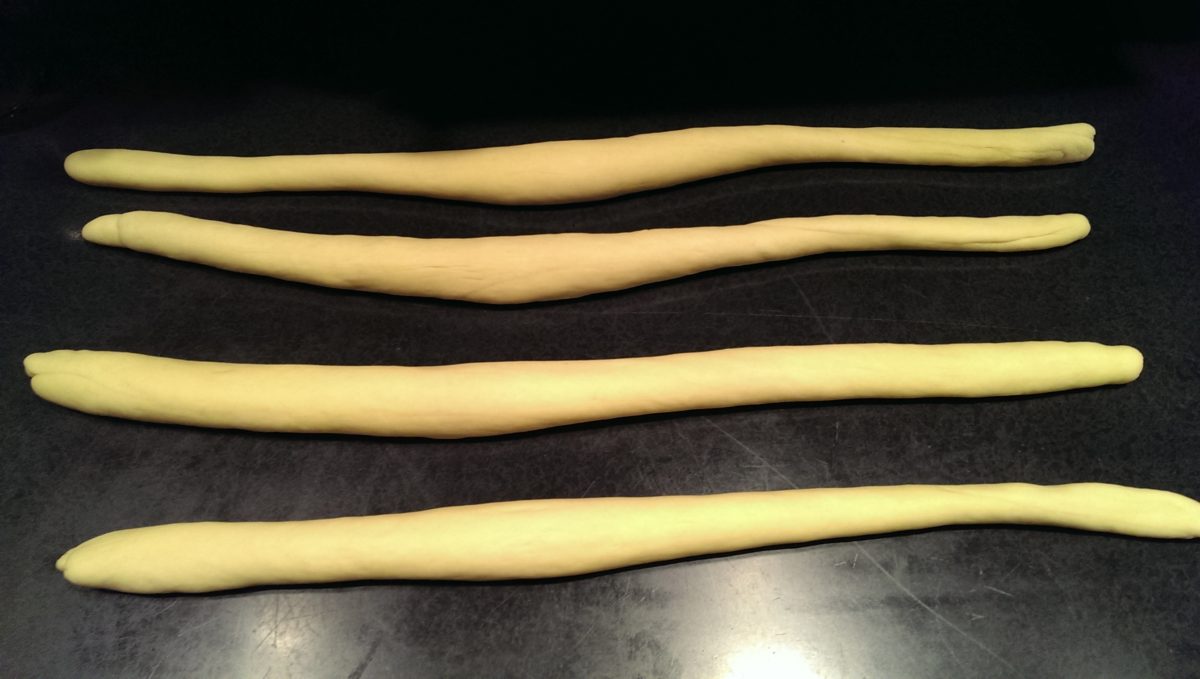
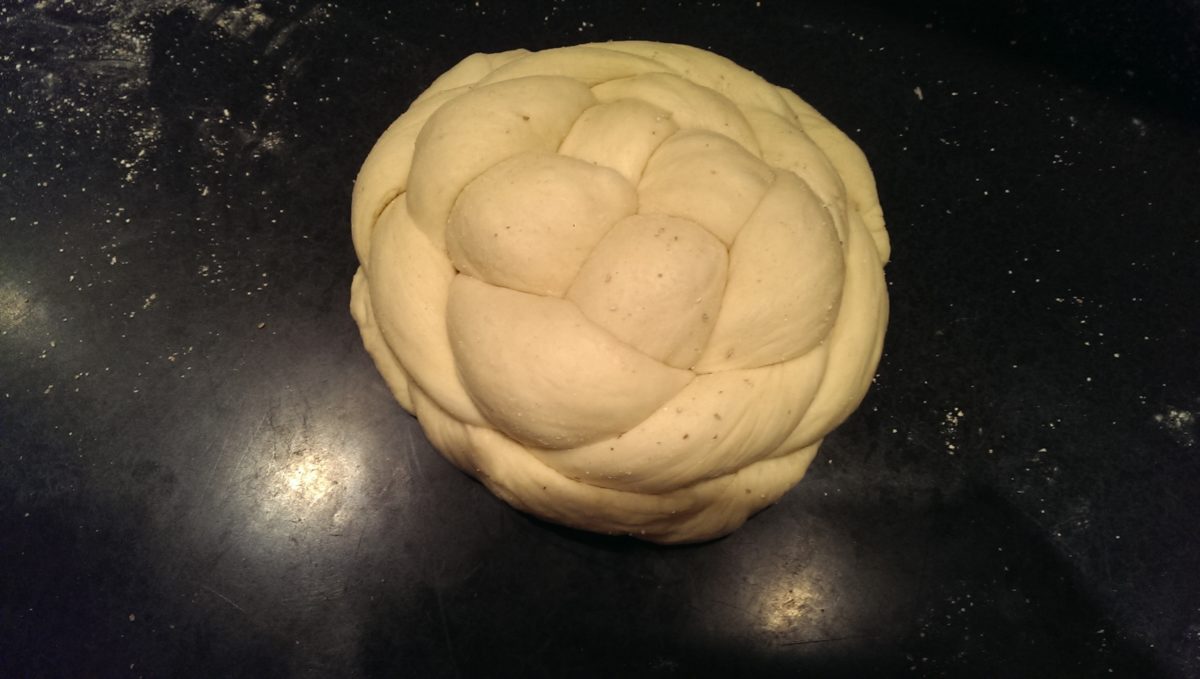
Remove the dough from the fridge. On a lightly floured surface divide your dough in two. Roll our the dough in to a large rectangle that’s just slightly longer than your baking pan. Spread the peanut butter all over the dough, leaving a small margin. Tightly roll your dough and cut the babka down the middle. Twist and braid the babka and transfer to your baking pan. See the video to see how I do it.
Once both babkas are ready to bake, use a pastry brush and generously spread the jelly glaze all over the tops of your babkas.
Place in the oven in the middle rack and cook for 40-50 minutes, rotating the babkas every 15 minutes to promote even cooking.
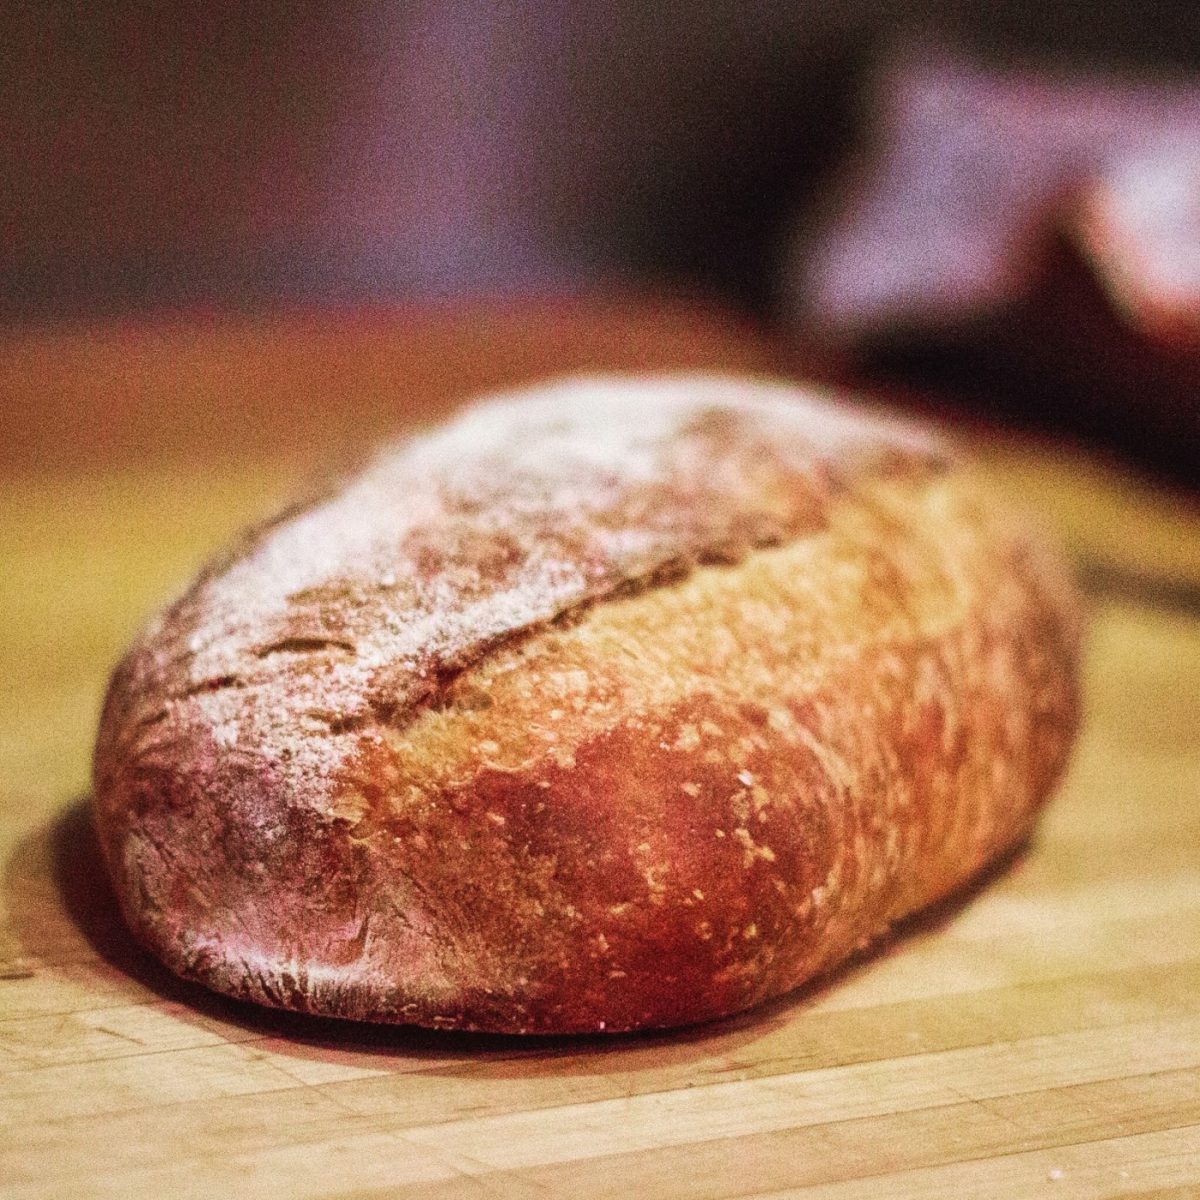

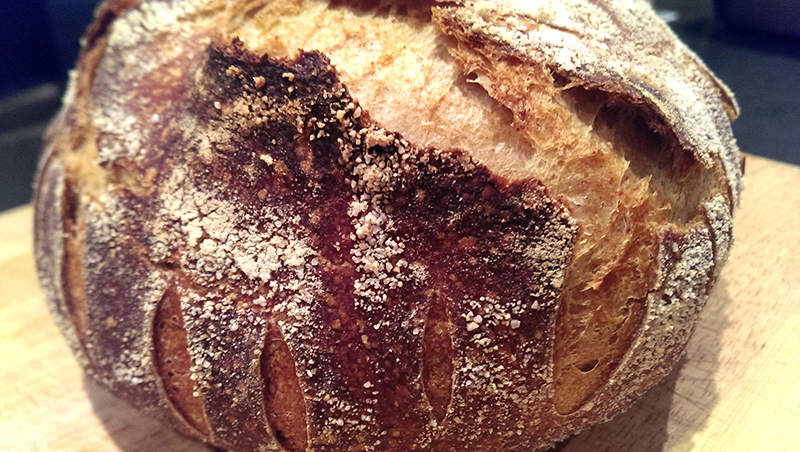
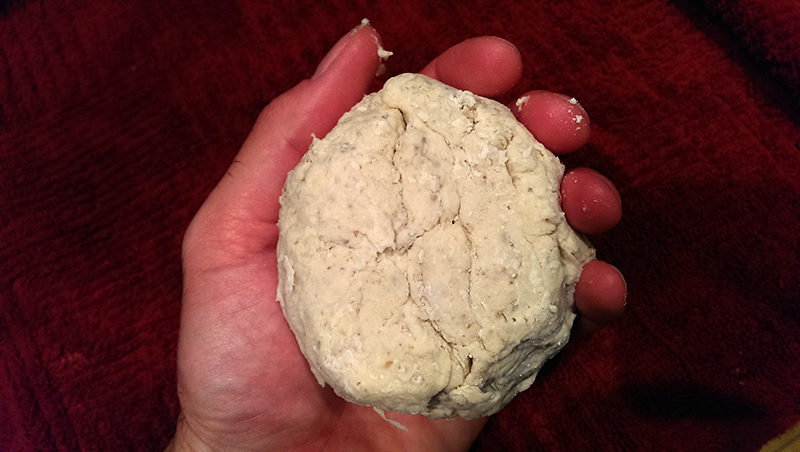
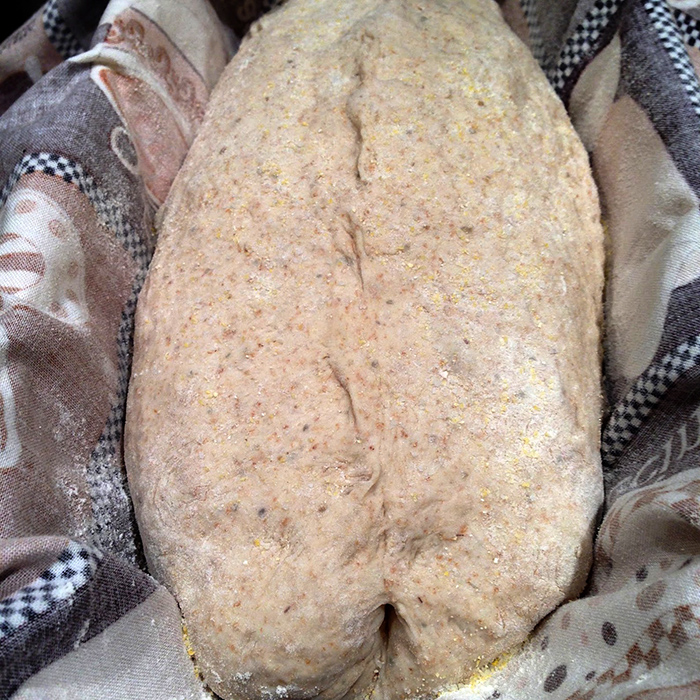
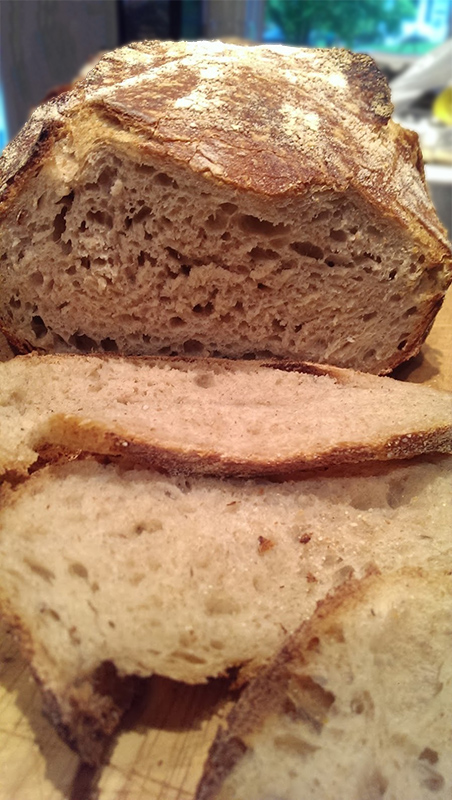
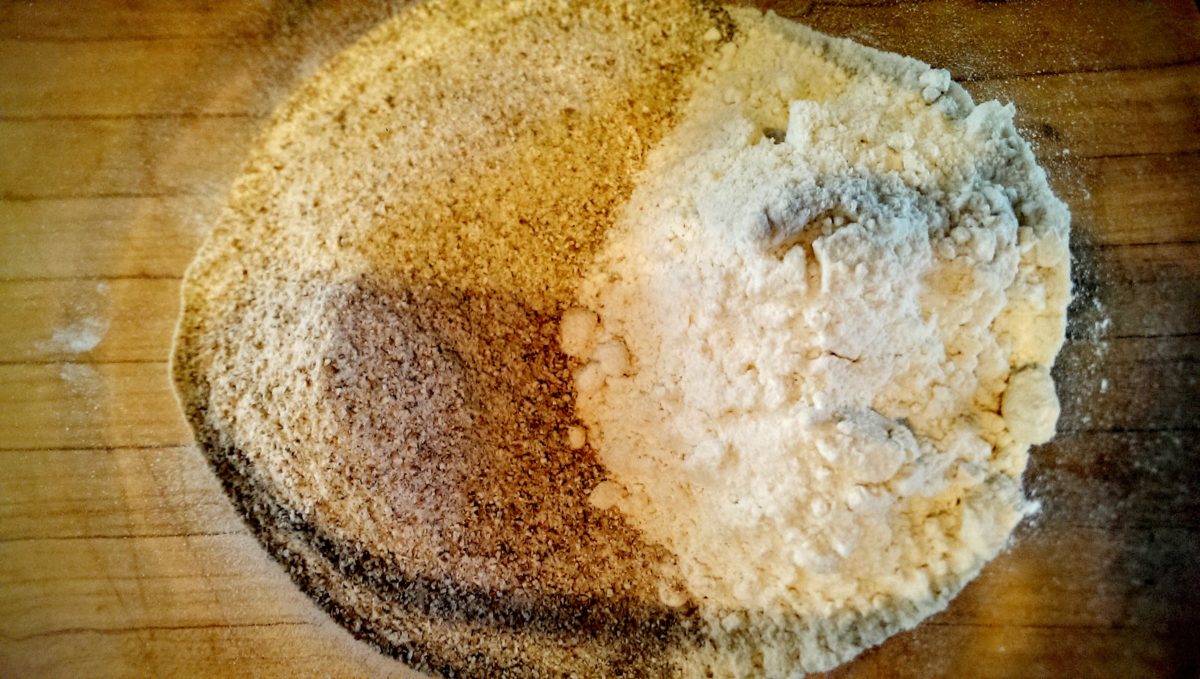
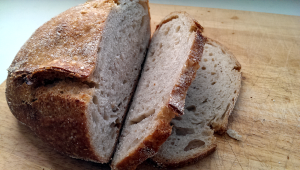 It’s been warm here in Central PA for the last few weeks so it’s a wonder that I concocted this recipe. Oatmeal and Rye make me think that it would pair well with hearty soups or stews but, as it turns out, this light and tangy bread is a nice companion to PB&J, butter, eggs, or just about anything else. The flavors are pretty subtle but definitely there. It’s certainly a bread whose recipe I’ll keep around and I’ll probably try it again this winter, maybe with a hearty soup!