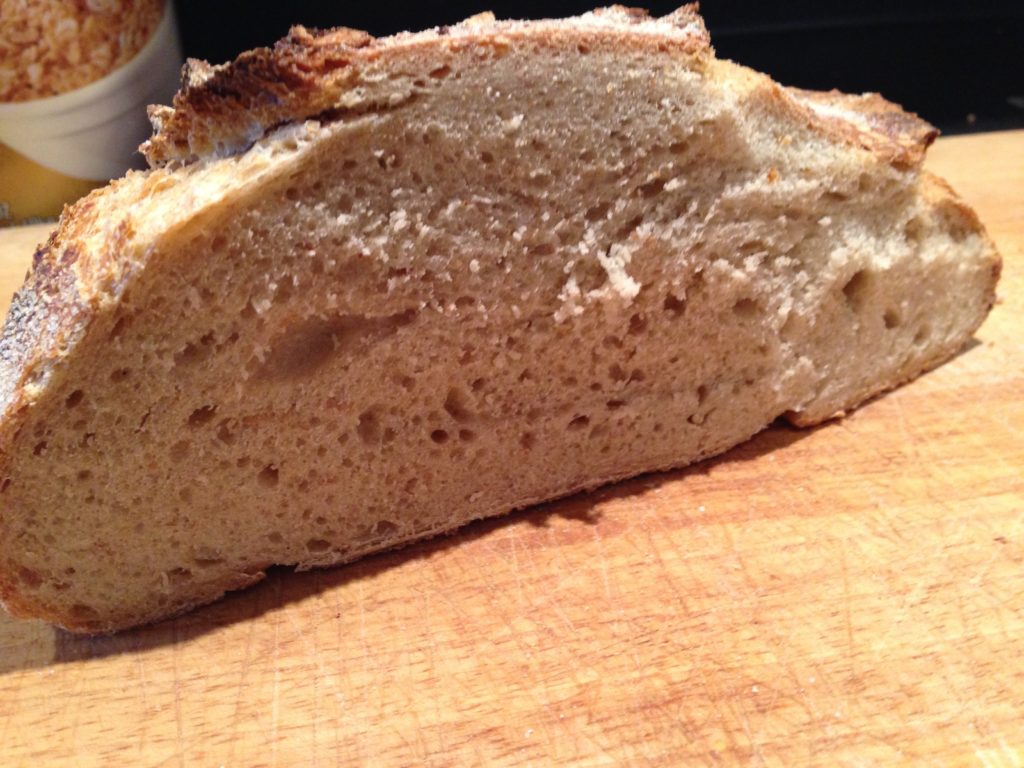
One of the things I want to do on this site is to share with you the (many) mistakes that I make as a home baker. Not all breads are beautiful, not all loaves are perfect. For one reason or another, I often mess up and want to use this space to share with you pitfalls you will likely face when baking in your own kitchen.
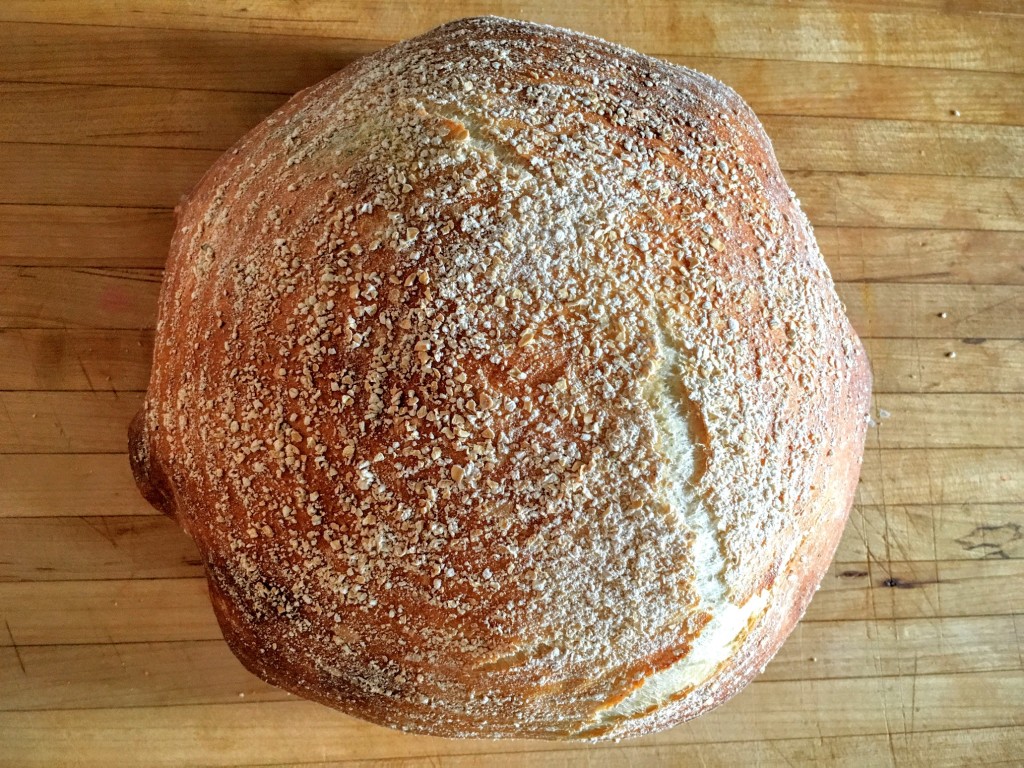 When I started baking about 10 years ago, I really didn’t know what I was doing nor what I was trying to do. I was so excited about making bread at home that whatever happened to come out of the oven was a tasty surprise. One day, my neighbor Dave introduced me to what is now one of my favorite bread books of all time, Bernard Clayton’s “

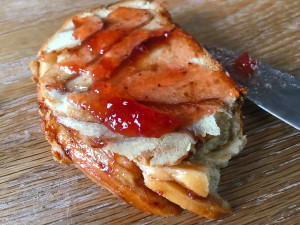 Since this is the year of the babka, I have taken it upon myself to discover new ways of enjoying this wonderful treat. Last time, the
  [/ezcol_1third] [ezcol_1third]
 [/ezcol_1third] [ezcol_1third_end]
 [/ezcol_1third_end]
 [/ezcol_1third] [ezcol_1third]
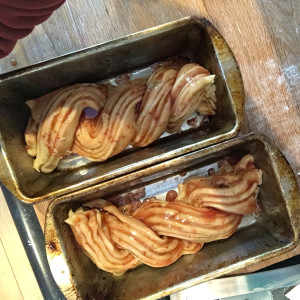 [/ezcol_1third] [ezcol_1third_end]
 [/ezcol_1third_end]