• Skip to main content

Make Bread

A bread blog for home bakers

  • Bread
  • Pizza

home made bread

14.02.20 By nick

Classic French Bread Recipe: Pain Ordinaire Careme

Making a 225 year old bread
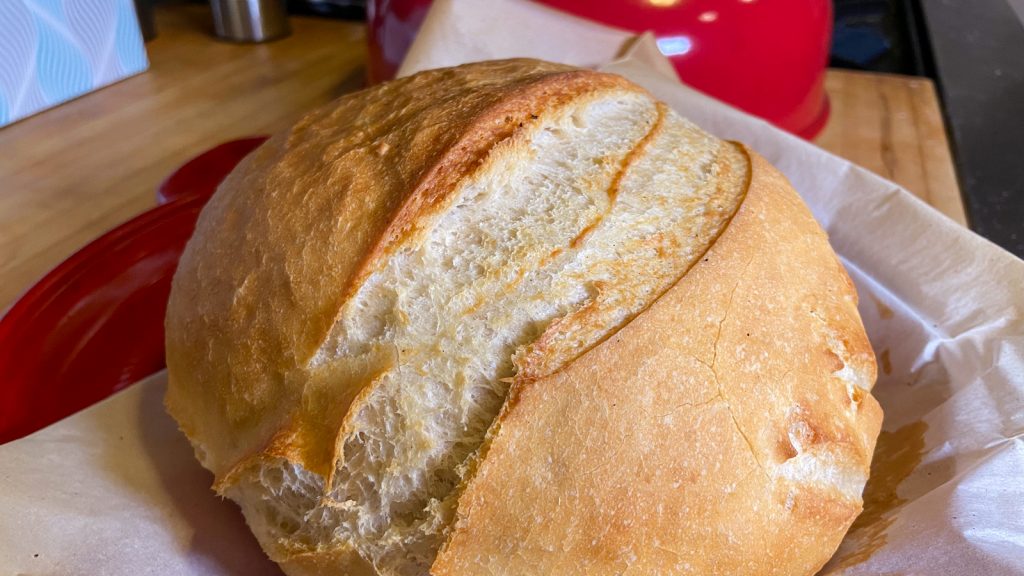
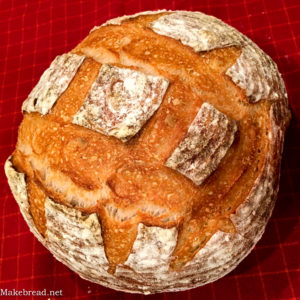
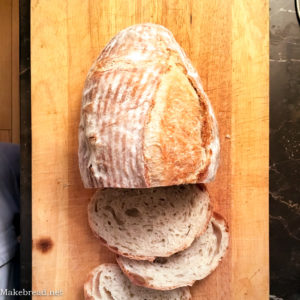
French bread fresh from the oven

When I started baking homemade bread some 15 years ago, my “go to” bread book was “The Complete Book of Breads” by Bernard Clayton. This book still holds up and I encourage any baker to pick it up and try his recipes. The breads in the book have easy to follow recipes and have a nice background story on why each bread was selected. For today in particular, this book has a recipe for an old french bread daily loaf (Pain Ordinaire) from a baker named Antonin Careme, who was known as the “cook of kings and the king of cooks”. Careme said that this bread recipe pleased kings and nobles wherever he went and that anyone could make this bread, anywhere, with pleasing results that are easy to achieve.
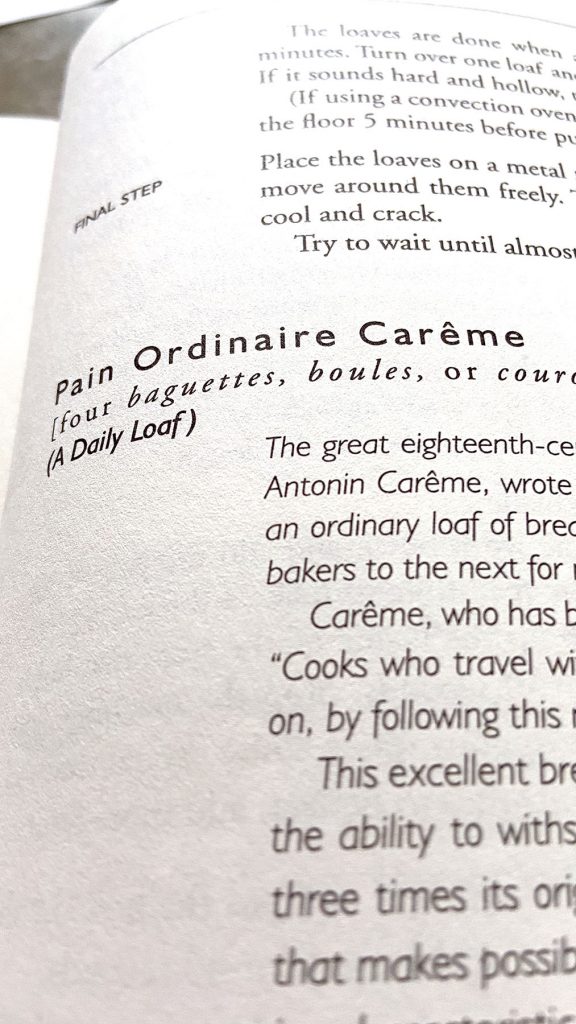
Page from Bernard Clayton's book

It turns out that Careme was one of the original “celebrity chefs” while he lived in 18th and 19th centuries so it’s no wonder that Clayton included this formula in his book. It’s also then not very surprising that this formula makes an amazing loaf of homemade bread, even 225 years later.

*as a side note on Antonin Careme, he is credited for being a major component of the French cooking revolution “Grande Cousine” or Haute Cuisine, where fancy platings and different flavor profiles are layered on one another. He is also credited for creating the now traditional “chef’s hat”. This guy was no slouch!

The bread made by this old bread recipe has a soft crust like you would find on a baguette, and a soft crumb like you would find on a sandwich loaf. This is certainly a good analog to the soft Hokkaido Milk Bread we’ve made in the past and can show you how a little different technique and ingredients can change the final bread! It’s a great all around French bread and really think you’ll enjoy making and eating it.
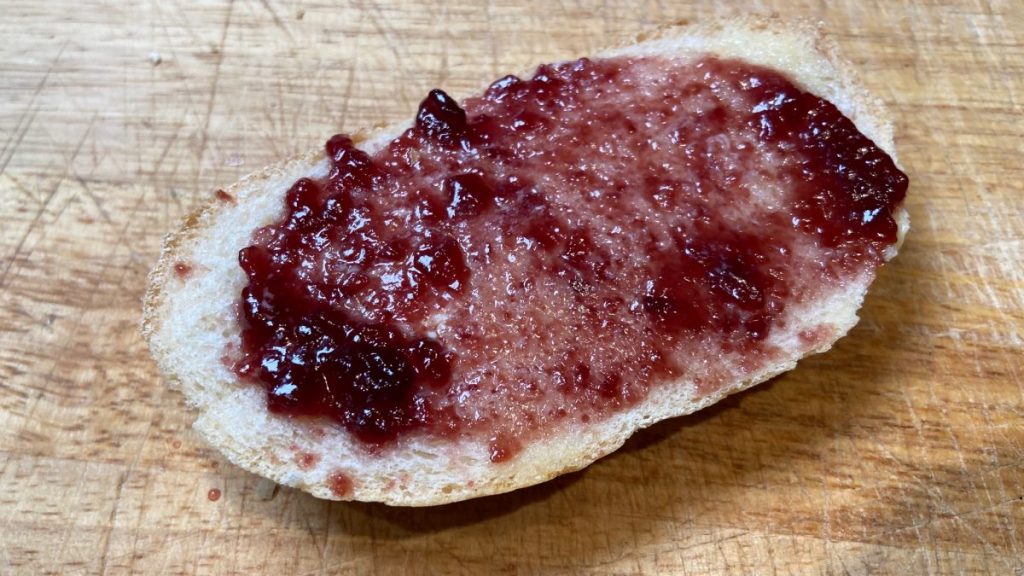
Homemade French bread with jam

Making This Homemade Bread

While I’ve followed the original recipe as closely as possible, I did take a couple of small liberties in the baking process. Firstly, the recipe would make two large boules so I scaled it down to make just one. Also, while Clayton instructs readers to bake the bread directly on a baking sheet, I decided to use my Emile Henry bread cloche to give the bread a better crust due to the steaming that the cloche promotes. The cloche will help your bread achieve a great crust!

Another slight modification from the original is that I added 2 teaspoons of salt instead of the recipe’s instructions to use just 1. I tasted the dough after kneading and felt that the flavor was lacking so I added another little bit of salt and that seemed to do the trick.

One thing that’s slightly different about this recipe that I’d forgotten about was the wet autolyse mixing. The recipe calls for all the water and yeast, and only half of the flour to be mixed for the first 10 minutes. This creates a wet batter-like mixture that kicks off the gluten development in what I’ll call a “dynamic autolyse”. When we do an autolyse period for sourdough or other types of breads, it’s a pretty static process in that we mix the water and flour and yeast and let things sit. With this recipe you take just half the flour and start the autolyse period during mixing for 10 minutes.

View post on imgur.com

After the initial 10 minute period, the rest of the flour and all the salt is added while the dough is kneaded. From there you let the dough rest and bulk ferment for 2 hours. During this time, the bread will more than double before it gets shaped and goes to the final rise and then finally to the oven for the bake.
Keep in mind that this recipe is fairly old and also very simple, so this bread can be made by bakers of all stripes and in almost any condition. If you go away on vacation you can pull this up on your phone and impress your family with an easy to make fresh baked loaf of bread in the mornings!

Bread Recipe

Pain Ordinaire Careme

This recipe was originally created some 225 years ago by celebrity chef Antonin Careme and can be found in Bernard Clayton's book "The Complete Book of Breads".

It is a very straightforward, easy to make recipe that anyone can make without much preparation or drama.

  • 500 G King Arthur All Purpose Flour
  • 300 Ml Water (Warm)
  • 2 tsp Salt
  • 1 pack Yeast

Mixing and Kneading

  1. Add half of the flour, all of the water, and all of the yeast in to the mixer bowl and mix with the flat beater for 10 minutes

  2. Switch to the dough hook

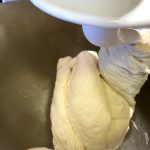
  3. Incorporate the rest of the flour and all of the salt in to the mixture and knead for 10 minutes

  4. The dough should be soft, smooth, and clean the sides of the bowl.


Bulk Fermentation

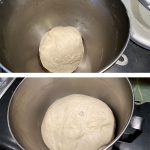
  1. Cover the bowl and let the dough rise for 2 hours. It will more than double during this time.


Shaping and Final Proof

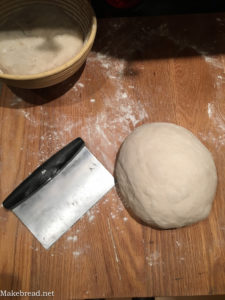
  1. On a very lightly floured surface, turn the dough and shape to your desired loaf.

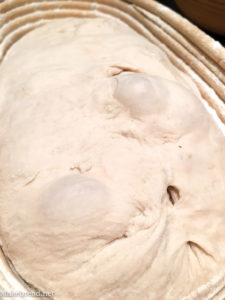
  2. Place the shaped dough in to a proofing basket and cover with plastic

Baking

  1. Preheat the oven to 425˚F with the bread cloche

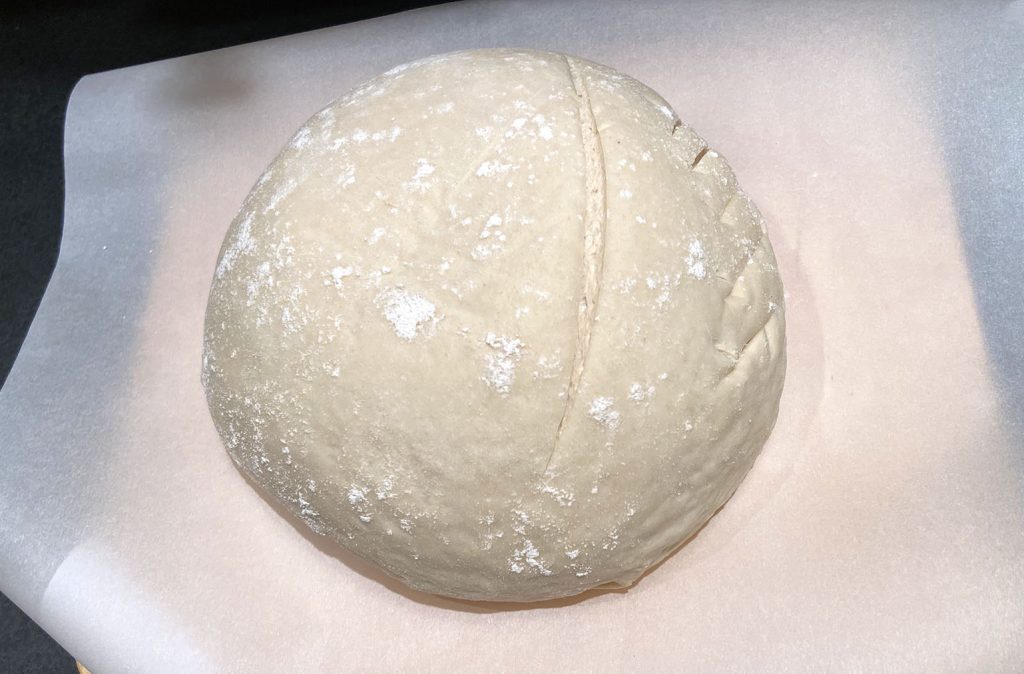
  2. Remove the bread from the proofing basket and place it on a sheet of parchment paper

  3. Score the bread with a lame or sharp knife to avoid "blowouts"

  4. Load the bread in to the cloche and bake for 15 minutes with the lid

  5. Remove the lid and finish baking for another 15 minutes or until the crust is nicely browned

  6. Remove from the oven and let it cool before enjoying, about 10 minutes

These tools, found online, will help you bake bread at home just like the one I made here. If you follow these links and buy something, I will receive a small percentage to encourage me to keep baking and sharing with you!
  • Kitchenaid Stand Mixer
  • Emile Henry Bread Cloche
  • Proofing Basket Banneton
  • Bread Lame for scoring
  • Serrated Bread Knife

Filed Under: Homemade Bread Tagged With: basic bread recipe, beginner bread recipe, bread, bread crust, classic french bread, easy bread recipe, easy homemade bread, french bread, home made bread, homemade bread, old bread recipe, oven steaming

15.12.16 By nick Leave a Comment

How to make good bread? Practice!

make bread at home

As this year starts to wind down, I wanted to share with you a quick picture to encourage you to keep baking and never stop experimenting!

Not all of my bakes are home runs, not all of them are delicious, and certainly not all of them are blog worthy!  I probably experiment with my baking more than most and the picture above proves it.

Here are a few of my key takeaways for this year:

  • Keep a baking journal.  I started doing this last year to keep track of my bakes, especially if I’m trying out a new formula or using new ingredients.  This can be on your phone/tablet like the ones on black friday 2022, or a text document on your computer, or even the old fashioned spiral bound notebook.  Whatever it is, use it!  It helps you look back after a bake and critique yourself.  Should you have let the dough proof longer?  Note it!  Should you have used less yeast? More water? More salt? Note it down and try again with your new ideas!
  • Pay attention to the temperature.  After you’re done mixing your dough, take a probe thermometer and note down the final dough temperature (FDT).  Next time you bake, use colder water and see that it will take longer for the dough to proof.  Then the time after that, use warmer water to see that the dough proofs faster.  Find a temperature that fits your schedule and run with it.
  • Preheat your oven.  I usually time my bakes so that I’m loading the loaves in the oven after the kids have gone to bed and I’ve had a chance to finish up my to-do’s.  This ends up being around 9pm.  Sometimes I get a late start and it’s tempting to put the bread in the oven before it’s fully ready.  This compromises the final product and all the effort you put in to making the bread.  Always preheat your oven and make sure things are good and stable! Visit appliancehunter.co.uk for oven recommendations. If your oven is drafty like mine, use a dutch oven or a le cloche to provide a more stable environment for the bread. This is what they usually use at a bakery.
  • Have fun!  By far the biggest reason why I bake is because I think it’s so fun to just make something so delicious at home.  Next time you’ve loaded your loaves in the oven, wait 10 minutes and step outside for 5 minutes.  Come back in your house and smell that delicious bakery smell right in your own home.  You’ll be amazed, surprised, and even encouraged to keep at it.  Get dirty, make bread, and have fun!

Filed Under: Bread Tutorials Tagged With: artisan bread, bread inspiration, bread progress, bread tutorial, home made bread, yeasted bread

7.10.16 By nick Leave a Comment

Infused Yeast Water Bread

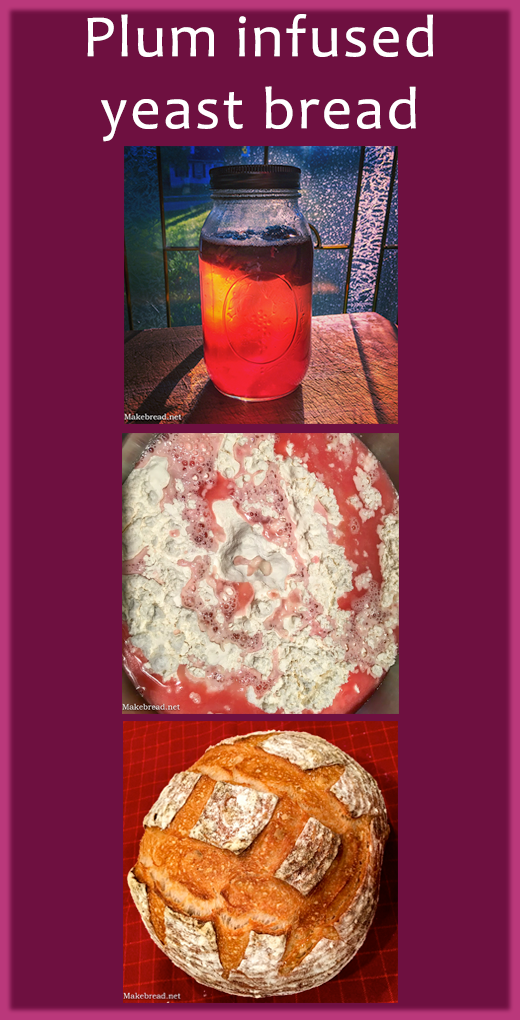
plum infused yeast water

Fall is here and one of my favorite end-of-summer/start-of-fall fruits is the prune plum. I was always a plum fan but what really makes me love them is the fun memories they bring back. One day while visiting family in Seattle’s Madison Park neighborhood I noticed how there were plum trees everywhere! My daughter was 3 at the time and we went out for an evening stroll when all of the sudden, a plum fell right on her head! Oh how we laughed at that! She ate that plum and we picked a few more along our route to be sure. We bonded over plums and I guess I’ve always loved them even more since that day.


Now that season is here again and I bought a huge quantity at our local fruit farm. Try as we might to eat them all, we weren’t able to. We even gave a third to our neighbors and still had some left over after 2 weeks! So, instead of baking a pie (which I really wanted to do!) I decided to make some yeasted water with the plums to try to make bread. I also harvested several seeds and will try to plant plum trees in our yard. If anyone has any insight on planting plum trees from seeds, connect with me via Facebook!

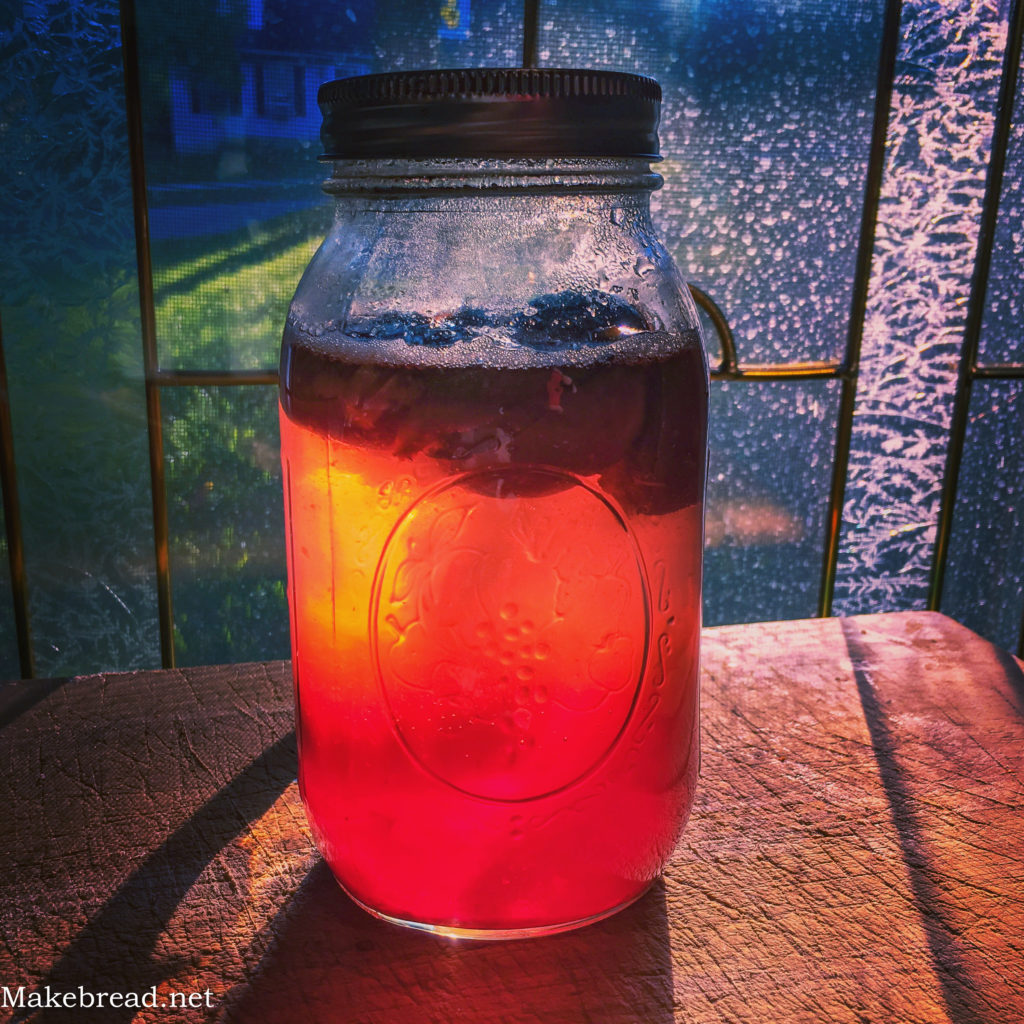
If you’ve never heard of yeasted water, it’s kind of magical.  You get a mason jar, fill it with about 2/3 water, and add your fruit of choice to the water.  I just pitted about 3 plums and lightly smooshed them in the jar.  I then put the lid on tightly and put the jar in a cool darkish place for a week.

[ezcol_1third]plum infused yeast water bread[/ezcol_1third] [ezcol_1third]plum infused yeast water bread[/ezcol_1third] [ezcol_1third_end]plum infused yeast water bread[/ezcol_1third_end]

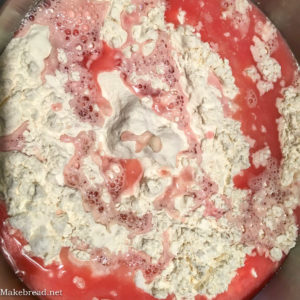
Checking on it every few days I could see the magic start to happen.  Bubbles were forming and I took the sniff test each time to make note of the sweet smell and to hear the bubbles fizz.  After a week’s time the plums had all floated to the surface and the water had gone from clear to “plum” color – a beautiful dark rose/light purple hue.  It also smelled very sweet.  I almost took a swig to taste it but decided to save every drop for a double batch of bread.

[ezcol_1half]plum infused yeast water[/ezcol_1half] [ezcol_1half_end]plum infused yeast water bread[/ezcol_1half_end]

So, “how do you use yeast water to make bread?” you may ask.  It’s really quite simple.  Instead of adding any yeast, you just use the water.  Does it work?  You betcha!  I got my inspiration from this post about a year ago and tried it, and have used this method a few times since.  The tricky part is figuring out how much water to use in order to replace your yeast.  Since I didn’t want it to fail I used all of the water and cheated by spiking the bread with just 1 gram of yeast.  Turns out I really didn’t need this extra yeast as the dough was super active after a few hours on the bench.

[table id=14 /]

Process

  • Weigh the flour and add to a large mixing bowl
  • Add the other dry ingredients to the mix
  • Add the water to the mix, removing the fruit while doing so.  You could probably leave it in but I didn’t want chunks in these breads.
  • Mix by hand or mixer until the dough mass just comes together.  Cover with a lid and let sit for 30 minutes.
  • Mix by hand for another 5 minutes, and cover again for about 30 minutes.
  • Do 4 stretch and folds at 30 minute intervals.  At the end of this cycle I saw bubbles indicating that the yeast was thriving and helping the bread to rise.  My dough was really wonderful to work with at this point.
  • Let it sit and rest for about another 90 minutes.
  • After the dough has risen nicely, dump it out on a floured surface and divide in two.  Pre-shape in to balls and let them rest for 5-10 minutes.
  • Shape your dough as desired and place in to proofing baskets.
  • Final proof for about an hour.
  • Put your bread cloche in the oven and pre-heat it to 425˚F.
  • Cut off a piece of parchment paper and put it on your baking peel.  With oven gloves, carefully slide the bread in to the cloche and cover with the lid.
  • Bake with the lid for 15 minutes and remove it.
  • Bake the bread for another 15-20 minutes and remove once the bread is done.
  • Let it cool and enjoy!

infused-bread

Filed Under: Bread Tutorials Tagged With: all natural bread, bread, bread tutorial, healthy bread, home made bread, homemade bread, infused yeast water, natural bread, plum bread, plum water bread

23.03.16 By nick 1 Comment

24 Hour Ciabatta

ciabatta

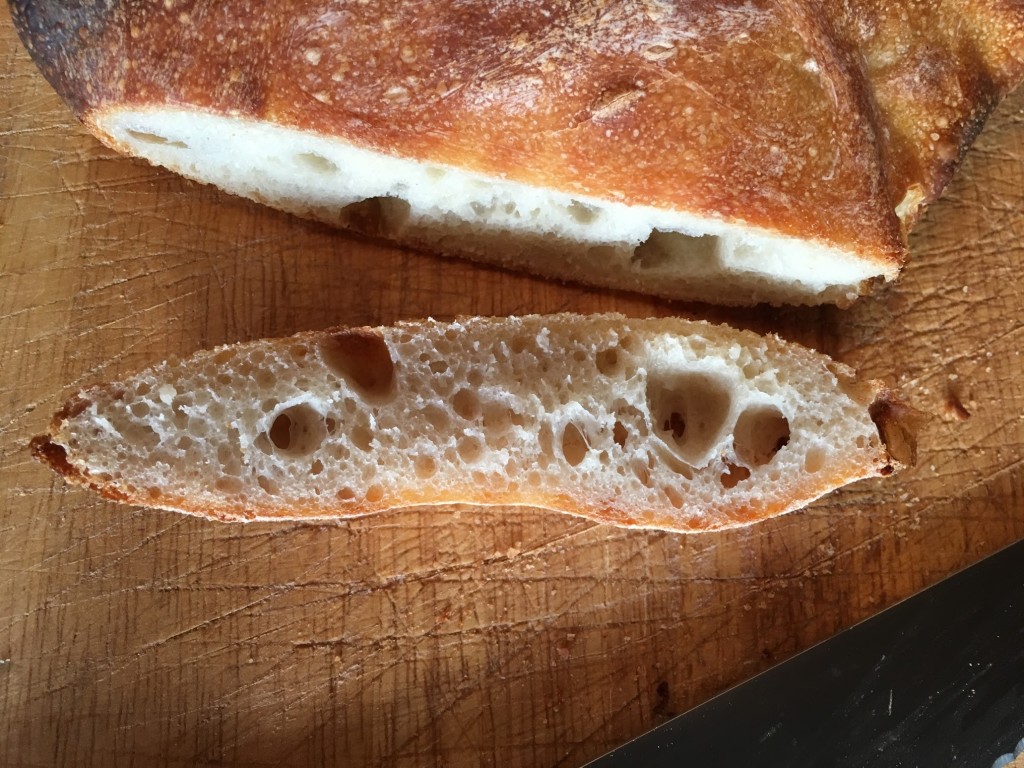
Ciabatta is one of those breads that go well with just about anything. It can stand up on its own or, as is most commonly done, be served as the vehicle for olive oil as a light hors d’oeuvre. As ubiquitous as Ciabatta is at restaurants, believe it or not it is a relatively new type of bread. Developed in 1976 by a baker in Verona as a response to French baguettes, the Ciabatta is an elongated flat loaf characterized by its many holes and light texture. It was only brought to the US in 1987![1]


[Read more…] about 24 Hour Ciabatta

Filed Under: Bread, Bread Tutorials Tagged With: bread baking, bread tutorial, ciabatta, home made bread, pao caseiro, realbread, sourdough, sourdough ciabatta, wild yeast

9.02.16 By nick Leave a Comment

No Fail Homemade Bread

no fail breadHomemade bread, fresh out of the oven, is one of the easiest ways to get the family together. The smell alone is intoxicating. Add a little bit of butter to the mix and you are ready to enjoy one of the best rewards that baking has to offer. Soft crumb, nice crust, great chew…need I say more?

This is the first part of my bread baking tutorial.  We’ll start with this no fail homemade bread recipe. This bread is surprisingly easy to make and is a great recipe to master as you can use it with little or no modifications and make amazing pizza dough, pretzels, bagels, and more.  It is one of my favorite homemade breads to make and the kids always ask me to make more.  This recipe is really easy to pull off and make, but don’t be fooled, the homemade bread that it makes is a crowd pleaser. Whether you are a new baker or an experienced bread maker, this bread formula is no fail. The hardest part about the whole thing is waiting for it to cool you remove it from the oven before eating!

This bread is a great bread to make if this is your first time baking.  The ingredients are very basic and the process is quite straightforward.  The only piece of machinery that I use is a stand mixer but you can also use a food processor (really, try it!) or your hands.  For your very first time making homemade bread, I would recommend using your hands and big bowl so you get to know what the dough feels like at different stages, but if you don’t want to deal with dirty hands then the mixer or processor will do just fine.


[Read more…] about No Fail Homemade Bread

Filed Under: Bread Tutorials Tagged With: baking bread, baking bread at home, bread tutorial, easiest bread, easy bread, home made bread, homemade bread, homemade bread tutorial, how to make bread, how to make bread at home, no fail bread, quick bread

Copyright 2015-2021 Makebread.net