• Skip to main content

Make Bread

A bread blog for home bakers

  • Bread
  • Pizza

sourdough

3.08.15 By nick Leave a Comment

Oatmeal and Rye Sourdough

oatmeal and rye
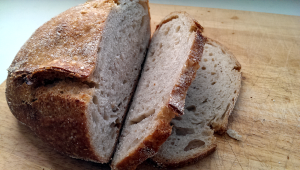
It’s been warm here in Central PA for the last few weeks so it’s a wonder that I concocted this recipe.  Oatmeal and Rye make me think that it would pair well with hearty soups or stews but, as it turns out, this light and tangy bread is a nice companion to PB&J, butter, eggs, or just about anything else.  The flavors are pretty subtle but definitely there.  It’s certainly a bread whose recipe I’ll keep around and I’ll probably try it again this winter, maybe with a hearty soup!

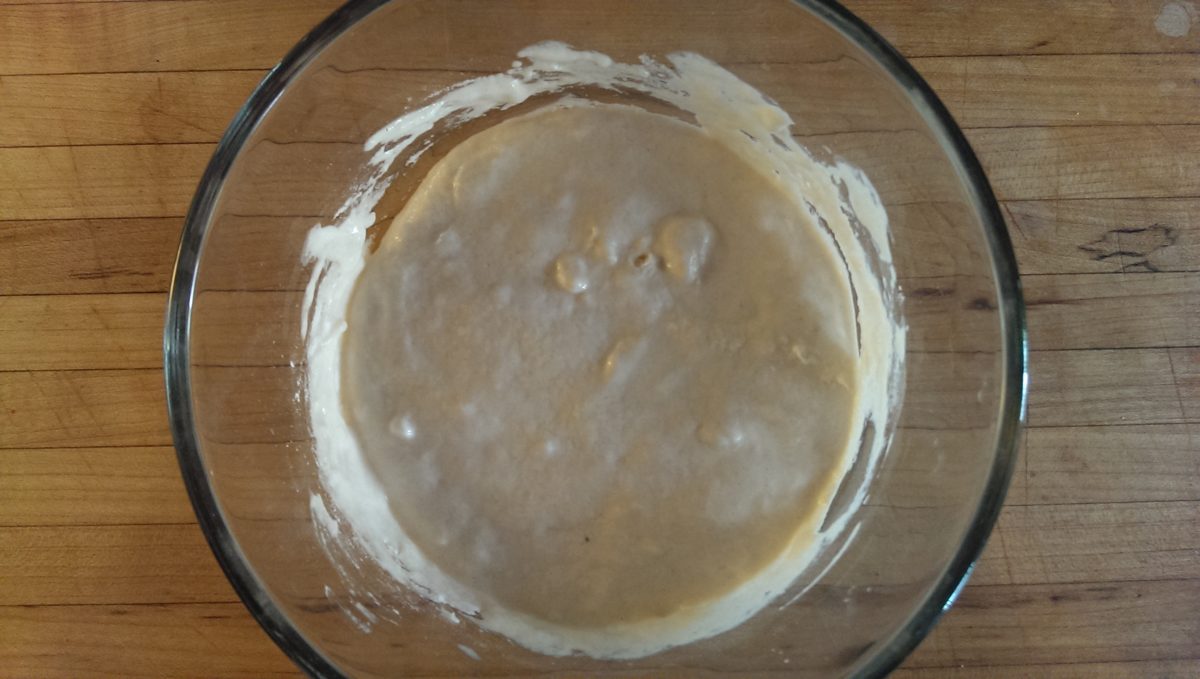
To make this loaf, I started with my mature levain, which is just a 100% hydration AP flour starter.  I added 25g of it to 100g of rye flour and 100g of King Arthur AP flour, resulting in what I dub the yin-yang starter for the weak AP flour and the strong rye.

starter

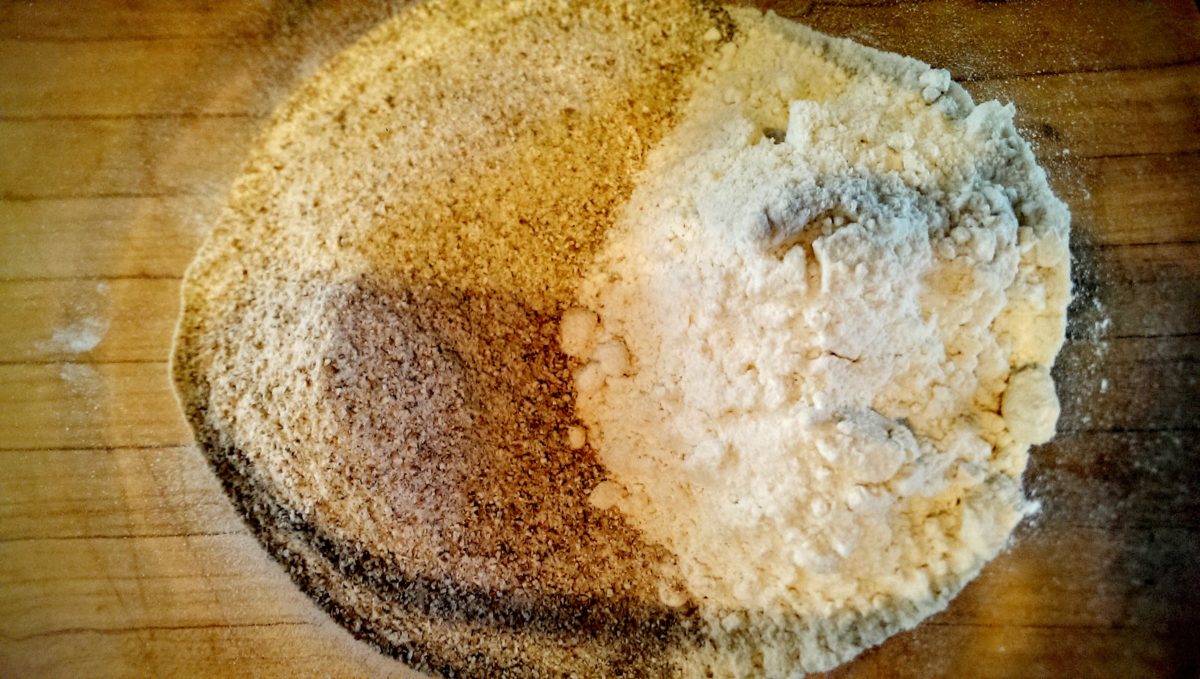
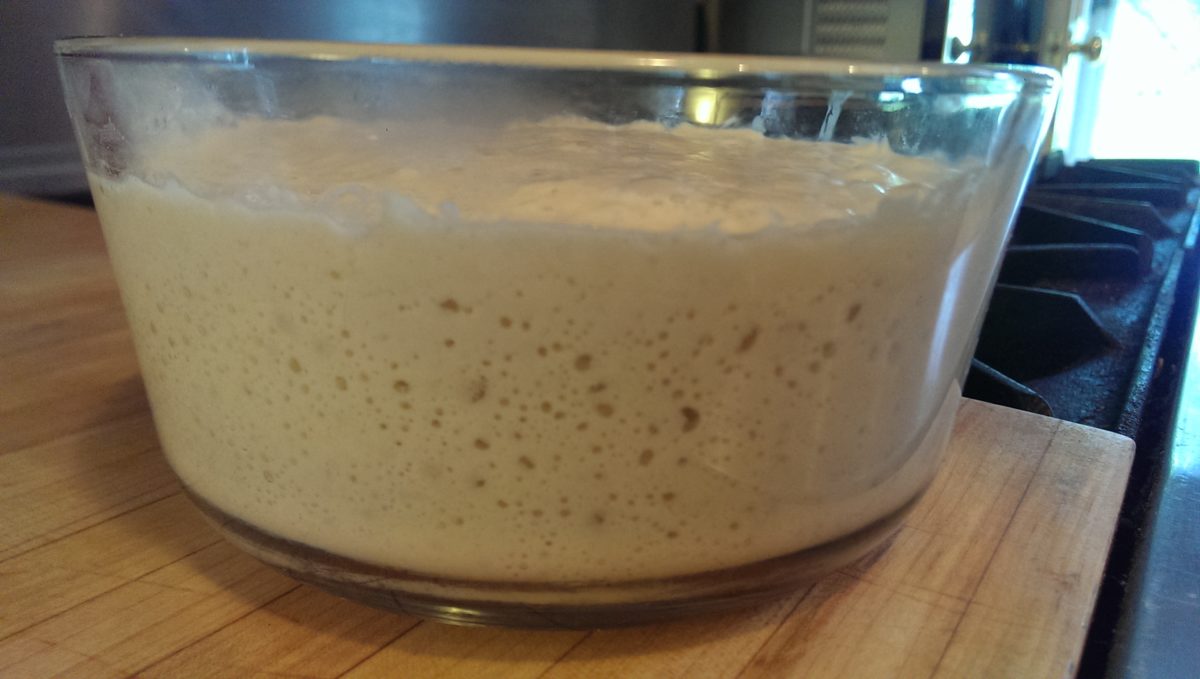
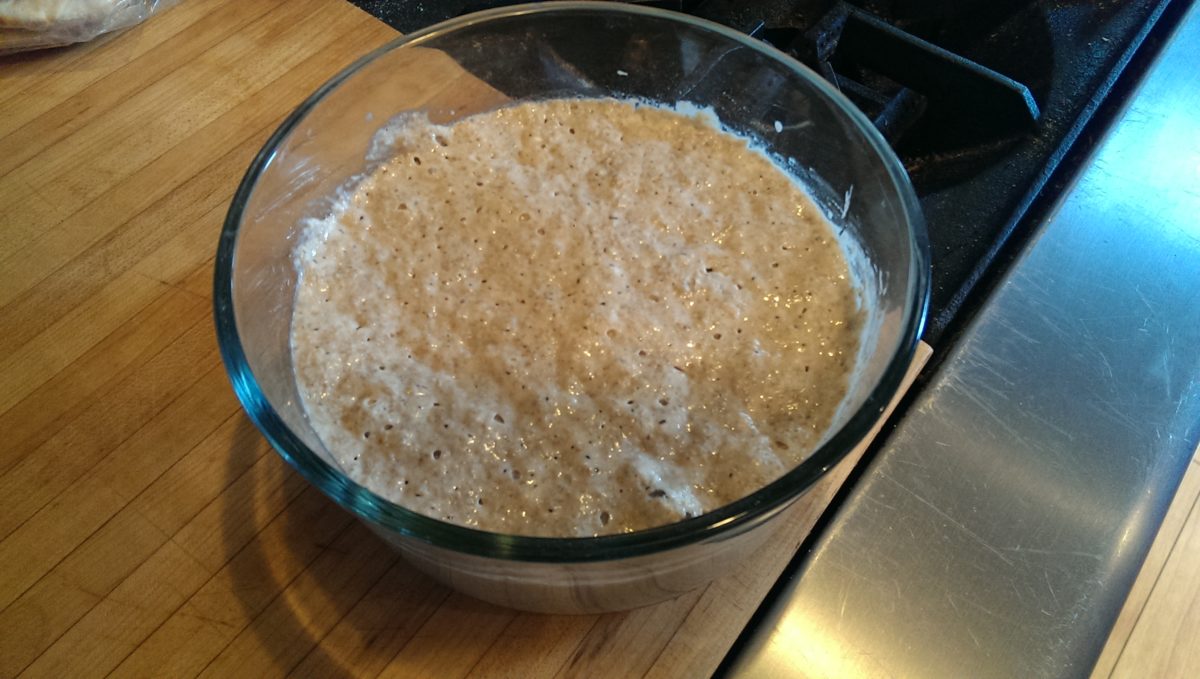
I then added enough water to make it a 100% hydration starter, or 225g.  After about 10 hours my starter was alive, bubbly, smelling healthy, and looking good!

rye starter

I then proceeded as follows.
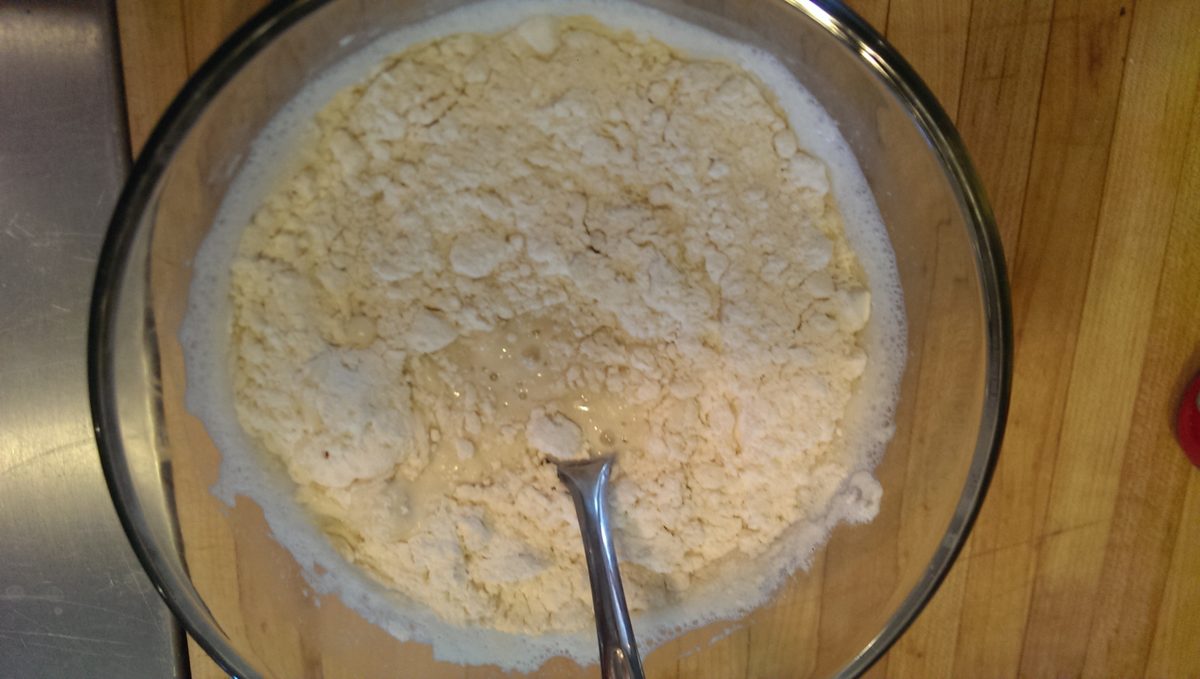
  • 350g of the starter
  • 600g of KA AP flour
  • 100g of freshly milled oat flour
  • 425g of water
  • 25g of salt

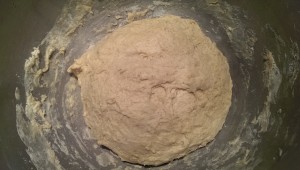
Mix all the ingredients together and let sit for 30 minutes.  Stretch and fold every 30 minutes for the first 3 hours per the Tartine book method.  After the last stretch and fold, divide the dough and preshape.  Let the dough relax and shape, then place in your proofing basket.  I put my loaves in the refrigerator overnight but you could let it rise for another 2-3 hours and bake right away.  It was hot in our kitchen so I decided to wait until it was a bit cooler the next day.

  • Preheat your oven to 450°F.
  • Turn your proofed loaf on to a peel and slash the bread as desired.
  • Cook under steam for the first 15 minutes and complete without steam until done, roughly 30 minutes more.


Filed Under: Bread Tutorials Tagged With: baking, bread, cheese tray breads, oat flour bread, oat flour sourdough, oatmeal bread, recipe, rye, rye batard, rye sourdough, sourdough, wild yeast

12.06.15 By nick

15% Whole Wheat Sourdough Table Loaf

whole wheat table loafFor this inaugural post, I thought it would be fitting to share with you something that is a little bit of me.  I have worked on this bread formula for a little while and at this moment in time, is my ‘go-to’ bread.  I make it often and the family loves it, so it this post is about my 15% whole wheat sourdough table loaf.

In future posts I will talk about creating and maintaining your own sourdough starter if you don’t already have one (you should!) but this assumes you already have a starter.

I am not great at master formulas yet so this post will be elementary in nature.  The more I write the more I’ll challenge myself to be more formal with bread recipes in these tutorials but for now, this will work.

I keep my starter in the fridge so the morning before I want to use it, I take it out and give it a feeding.  I’ll go to work and sometime that evening I’ll feed it again before going to bed.  The next morning I’ll give it one more feeding and to make sure I have enough starter for the bake and head off to work.

When I come home and the kids are all settled I’ll get my act together and mix things together and start the making process.

[ezcol_1third]First Feeding[/ezcol_1third] [ezcol_1third]Second feeding of sourdough starter[/ezcol_1third] [ezcol_1third_end]Dough is ready to go after 2 feedings![/ezcol_1third_end]

This is what my process is like for making two 750g loaves of 15% whole wheat sourdough at 70% hydration.

  1. Weigh out 250g of starter on to a big bowl
  2. Add about 100ml of water and dissolve the starter
  3. Add 615g of King Arthur all purpose flour
  4. Add 130g of Whole Wheat flour
  5. Add remainder of water, roughly 380ml and stir until everything is wet and you can’t stir with a wooden spoon
  6. Use your hands and make sure everything is mixed and happy, then cover with a dish towel and let it get happy (i.e. autolyse) for about 30-45 minutes.
  7. After the autolyse, add 25g of salt and mix with your hands until you can feel the salt granules become saturated and absorbed by the dough.
  8. Pick the mass up with both hands and stretch it, knead it on the counter, and repeat for just a minute or two until you can form it in to a rough ball like this:Rough ball of dough
  9. Cover it and let it sit for 30 minutes.
  10. For the next hour and a half, remove the cover and do a series of “stretch and folds” every half hour so the dough develops a good amount of strength.  After the first hour and a half, I cover the dough and put it in the fridge until the next day.  If you plan to bake same night, let it proof for another hour and a half before dividing the dough and shaping.
  11. My procedure is to let the dough proof overnight.  The following day I will divide and shape the dough and put it back in the fridge until an hour before I bake them.
  12. About an hour before baking, remove the bread from the fridge and let it come up to room temp.  At the same time, turn on your oven to 500F and put in a baking stone.
  13. When the oven is good and hot and you’re ready to bake, turn the bread out on to a floured peel and slash the bread.  Slide it on to the hot stone, spray some water on it, and cover it.  I use either a big aluminum bowl I got from Sam’s club or a heavy clay lid from my le cloche.
  14. Let it bake with the lid for about 15-20 minutes and remove the lid for the remaining 15-20 minutes.

Your finished product is a hearty hearth bread, made with 15% whole wheat and 70% hydration! Let it cool and enjoy!

[ezcol_1half]whole wheat table loaf[/ezcol_1half] [ezcol_1half_end]

sourdough egg sandwich

[/ezcol_1half_end]

Filed Under: Bread Tutorials Tagged With: baking, bread, le cloche, sourdough, whole wheat, wild yeast

  • « Go to Previous Page
  • Go to page 1
  • Go to page 2
  • Go to page 3

Copyright 2015-2021 Makebread.net