• Skip to main content

Make Bread

A bread blog for home bakers

  • Bread
  • Pizza

14.02.20 By nick

Classic French Bread Recipe: Pain Ordinaire Careme

Making a 225 year old bread

French bread fresh from the oven

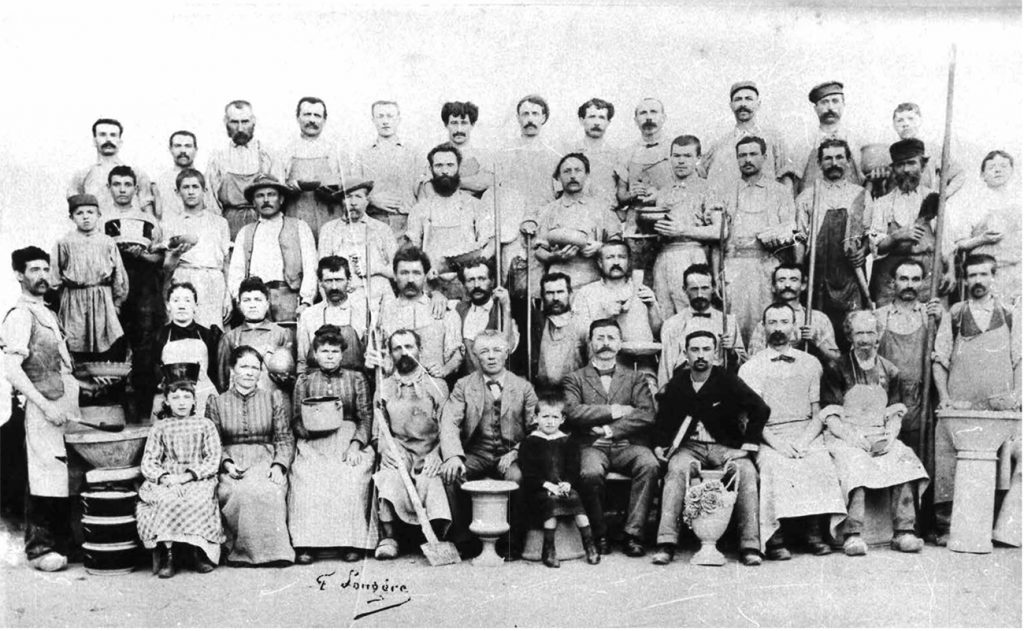
When I started baking homemade bread some 15 years ago, my “go to” bread book was “The Complete Book of Breads” by Bernard Clayton. This book still holds up and I encourage any baker to pick it up and try his recipes. The breads in the book have easy to follow recipes and have a nice background story on why each bread was selected. For today in particular, this book has a recipe for an old french bread daily loaf (Pain Ordinaire) from a baker named Antonin Careme, who was known as the “cook of kings and the king of cooks”. Careme said that this bread recipe pleased kings and nobles wherever he went and that anyone could make this bread, anywhere, with pleasing results that are easy to achieve.

Page from Bernard Clayton's book

It turns out that Careme was one of the original “celebrity chefs” while he lived in 18th and 19th centuries so it’s no wonder that Clayton included this formula in his book. It’s also then not very surprising that this formula makes an amazing loaf of homemade bread, even 225 years later.

*as a side note on Antonin Careme, he is credited for being a major component of the French cooking revolution “Grande Cousine” or Haute Cuisine, where fancy platings and different flavor profiles are layered on one another. He is also credited for creating the now traditional “chef’s hat”. This guy was no slouch!

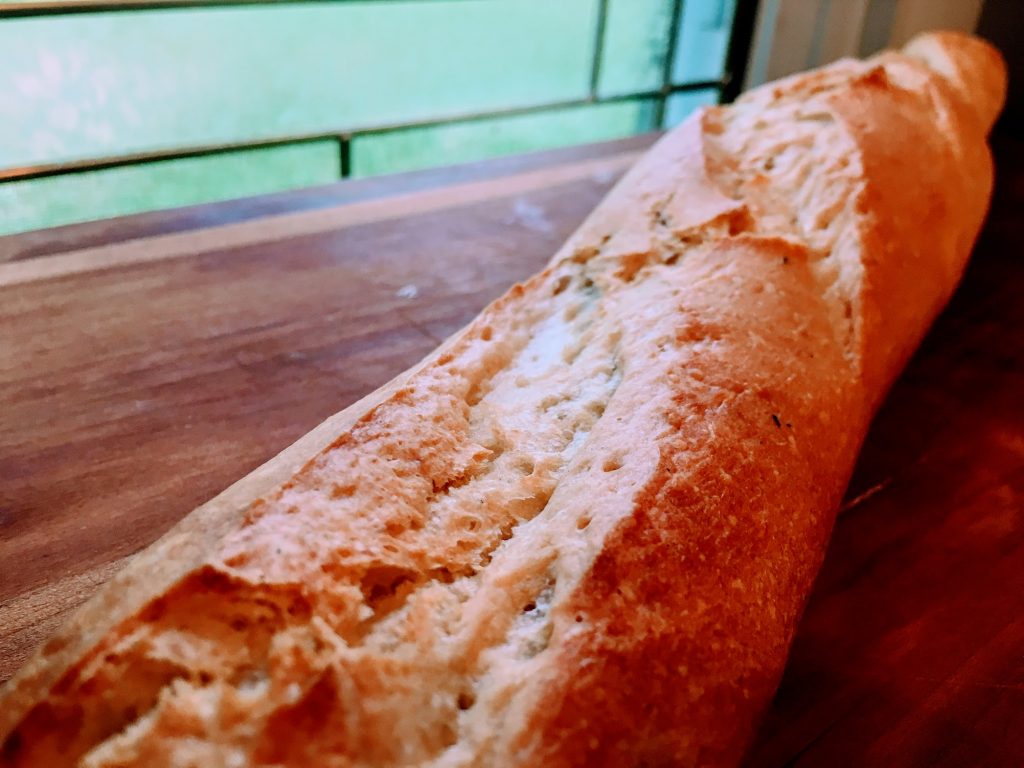
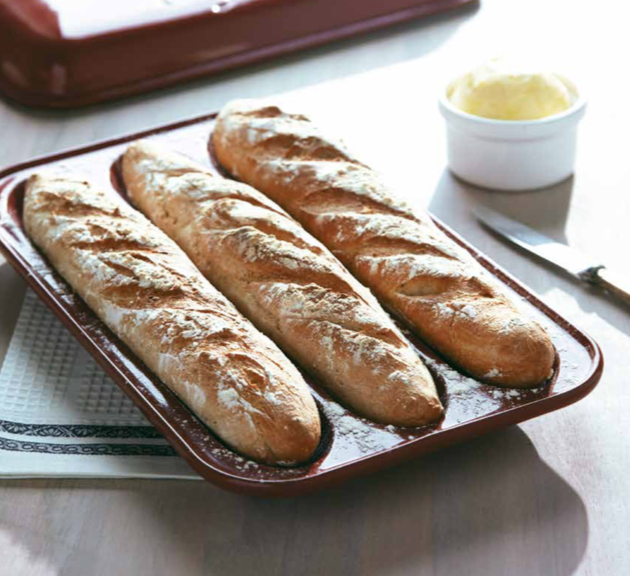
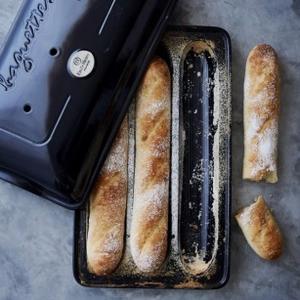
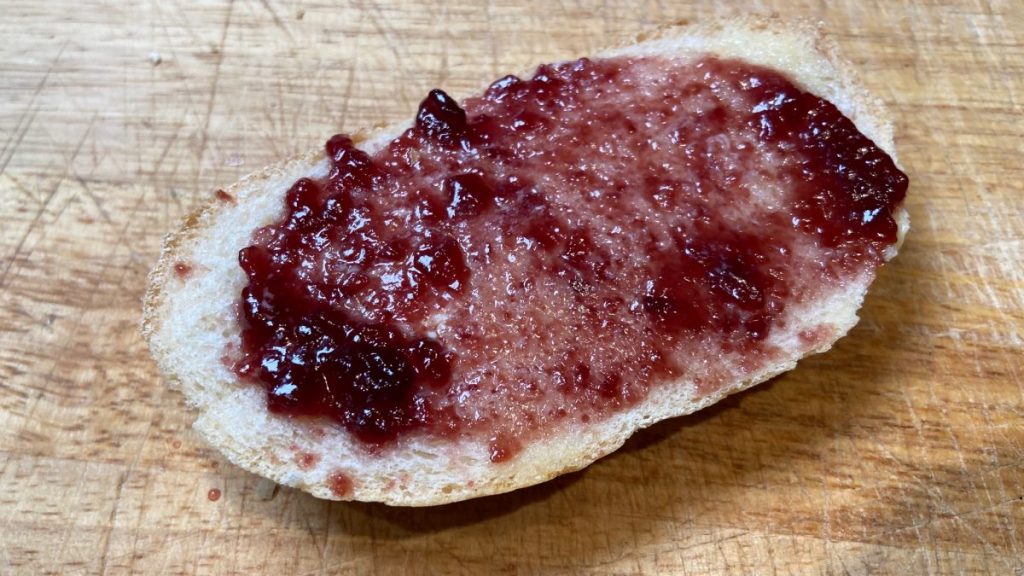
The bread made by this old bread recipe has a soft crust like you would find on a baguette, and a soft crumb like you would find on a sandwich loaf. This is certainly a good analog to the soft Hokkaido Milk Bread we’ve made in the past and can show you how a little different technique and ingredients can change the final bread! It’s a great all around French bread and really think you’ll enjoy making and eating it.

Homemade French bread with jam

Making This Homemade Bread

While I’ve followed the original recipe as closely as possible, I did take a couple of small liberties in the baking process. Firstly, the recipe would make two large boules so I scaled it down to make just one. Also, while Clayton instructs readers to bake the bread directly on a baking sheet, I decided to use my Emile Henry bread cloche to give the bread a better crust due to the steaming that the cloche promotes. The cloche will help your bread achieve a great crust!

Another slight modification from the original is that I added 2 teaspoons of salt instead of the recipe’s instructions to use just 1. I tasted the dough after kneading and felt that the flavor was lacking so I added another little bit of salt and that seemed to do the trick.

One thing that’s slightly different about this recipe that I’d forgotten about was the wet autolyse mixing. The recipe calls for all the water and yeast, and only half of the flour to be mixed for the first 10 minutes. This creates a wet batter-like mixture that kicks off the gluten development in what I’ll call a “dynamic autolyse”. When we do an autolyse period for sourdough or other types of breads, it’s a pretty static process in that we mix the water and flour and yeast and let things sit. With this recipe you take just half the flour and start the autolyse period during mixing for 10 minutes.

View post on imgur.com

After the initial 10 minute period, the rest of the flour and all the salt is added while the dough is kneaded. From there you let the dough rest and bulk ferment for 2 hours. During this time, the bread will more than double before it gets shaped and goes to the final rise and then finally to the oven for the bake.

Keep in mind that this recipe is fairly old and also very simple, so this bread can be made by bakers of all stripes and in almost any condition. If you go away on vacation you can pull this up on your phone and impress your family with an easy to make fresh baked loaf of bread in the mornings!

Bread Recipe

Pain Ordinaire Careme

This recipe was originally created some 225 years ago by celebrity chef Antonin Careme and can be found in Bernard Clayton's book "The Complete Book of Breads".

It is a very straightforward, easy to make recipe that anyone can make without much preparation or drama.

  • 500 G King Arthur All Purpose Flour
  • 300 Ml Water (Warm)
  • 2 tsp Salt
  • 1 pack Yeast

Mixing and Kneading

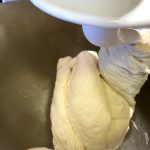
  1. Add half of the flour, all of the water, and all of the yeast in to the mixer bowl and mix with the flat beater for 10 minutes

  2. Switch to the dough hook

  3. Incorporate the rest of the flour and all of the salt in to the mixture and knead for 10 minutes

  4. The dough should be soft, smooth, and clean the sides of the bowl.
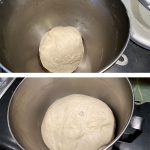


Bulk Fermentation

  1. Cover the bowl and let the dough rise for 2 hours. It will more than double during this time.


Shaping and Final Proof

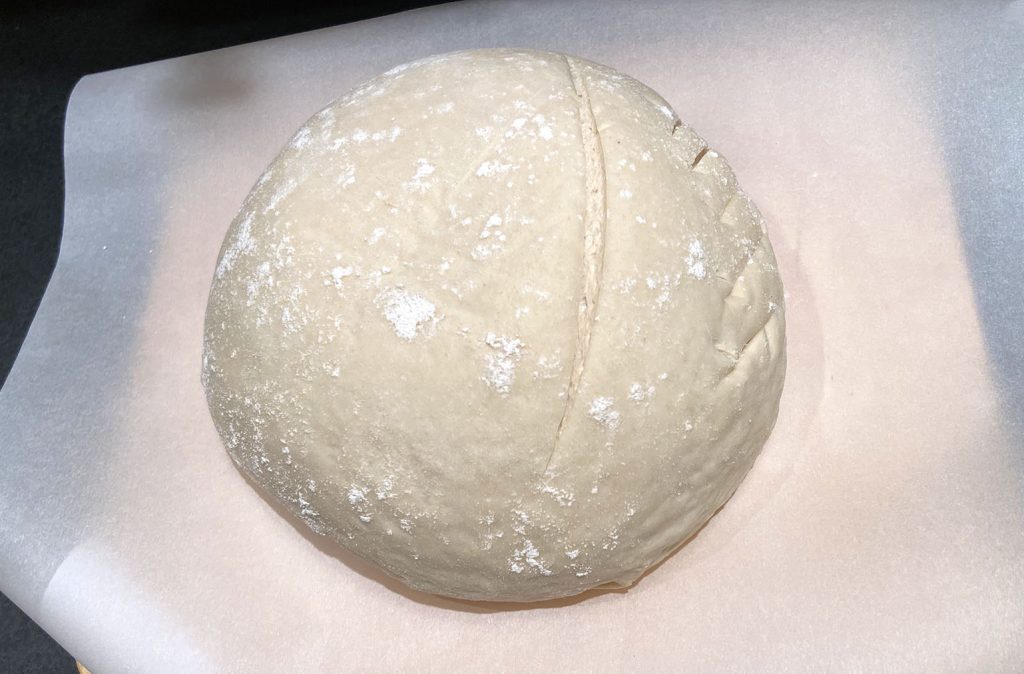
  1. On a very lightly floured surface, turn the dough and shape to your desired loaf.

  2. Place the shaped dough in to a proofing basket and cover with plastic

Baking

  1. Preheat the oven to 425˚F with the bread cloche

  2. Remove the bread from the proofing basket and place it on a sheet of parchment paper

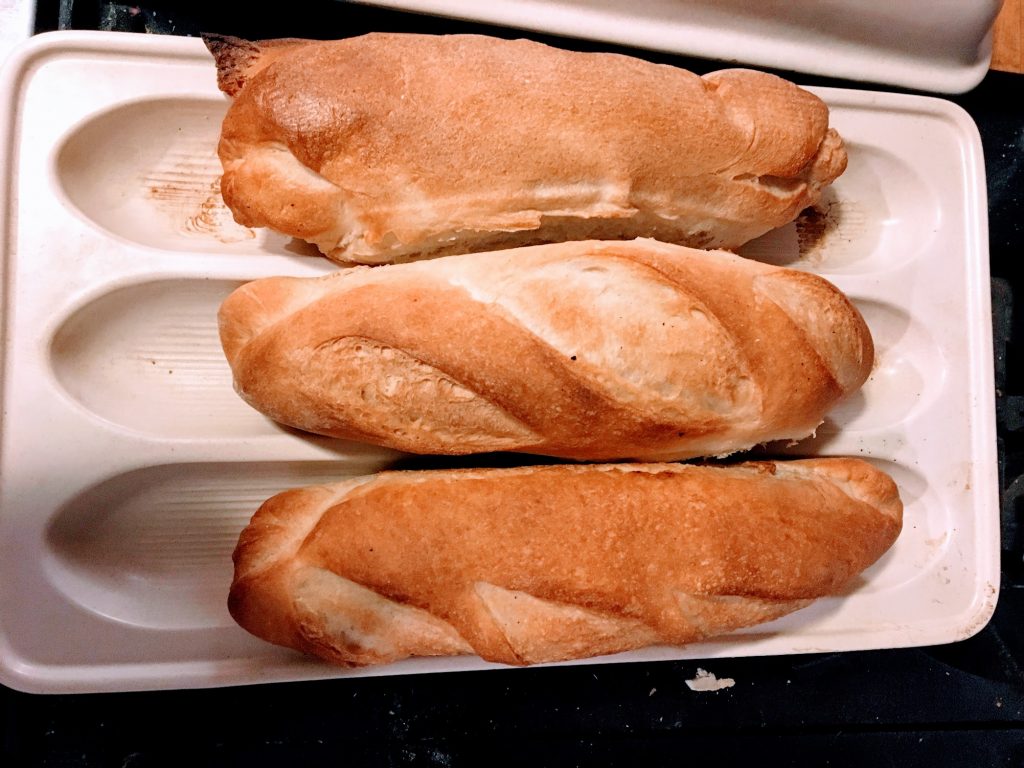
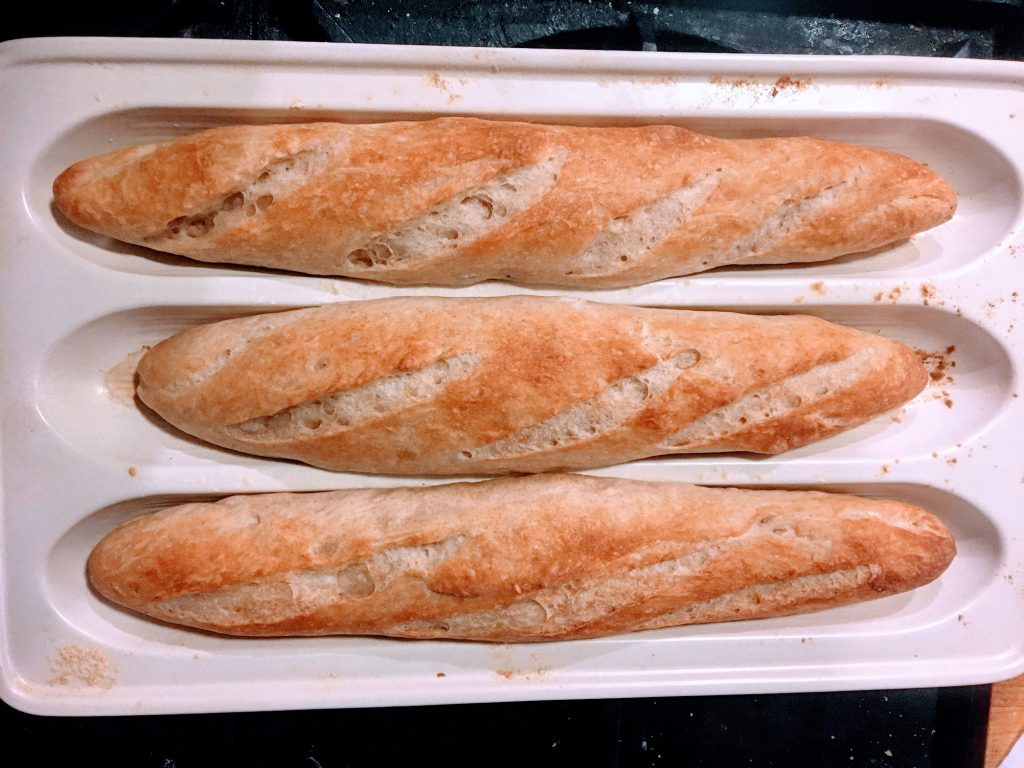
  3. Score the bread with a lame or sharp knife to avoid "blowouts"

  4. Load the bread in to the cloche and bake for 15 minutes with the lid

  5. Remove the lid and finish baking for another 15 minutes or until the crust is nicely browned

  6. Remove from the oven and let it cool before enjoying, about 10 minutes

These tools, found online, will help you bake bread at home just like the one I made here. If you follow these links and buy something, I will receive a small percentage to encourage me to keep baking and sharing with you!

  • Kitchenaid Stand Mixer
  • Emile Henry Bread Cloche
  • Proofing Basket Banneton
  • Bread Lame for scoring
  • Serrated Bread Knife

Filed Under: Homemade Bread Tagged With: basic bread recipe, beginner bread recipe, bread, bread crust, classic french bread, easy bread recipe, easy homemade bread, french bread, home made bread, homemade bread, old bread recipe, oven steaming

24.04.19 By nick Leave a Comment

Cinnamon Morning Buns with Cardamom

cinnamon rolls morning buns

Some mornings call for something different, something special. This week, a particular morning was just one of those where the kids didn’t have school and I had the day off work. Wanting to make something special for the kiddos (or was it really for me?) I decided to try a creative spin on one of their favorites, the cinnamon roll and ended up making the Best Cinnamon Rolls Ever.

It seems like the cinnamon roll is almost perfect for any occasion and I set out to the pantry to get the ingredients for another batch of the rolls (which reminds me…I haven’t posted a recipe for those yet…but I’ll fix that soon!) when I remembered having read about these fancy looking Swedish Kanelbullar breakfast sweets. I did some searching and found a really good video on YouTube and bingo, that was my inspiration.

While these are neither true cinnamon rolls nor are they real Kanelbullars, I think they represent a happy balance between them. I imagine the Kanelbullar to be a little more dense than a cinnamon roll, so these are not quite as fluffy as a cinnamon roll. The cardamom that is used in the Kanelbullar knots was just the ticket for these and I bet they’ll be an amazing addition to regular cinnamon rolls. Not only were these morning buns pleasing to look at, they were also so aromatic! I loved the smell and even after a couple of days, when re-heating in the oven for a morning’s breakfast, the aroma was still amazing!

Suffice to say that I’ll be making these knots more often and will certainly be using freshly ground cardamom in more sweet enriched doughs in the future.

Cinnamon Morning Buns with Cardamom

These aromatic and delicious rolls are a mix between a Swedish Kanelbullar and a traditional Cinnamon Roll

Dough

  • 350 Grams Flour (All Purpose)
  • 150 Grams Flour (Whle Wheat)
  • 4 Medium Egg Yolks
  • 3 Medium Egg Whites
  • 50-100 Ml Warm Milk
  • 1 Stick Butter (Unsalted)
  • 1/2 Cup Sugar
  • 1 Tbsp Salt
  • 1 Tsp Freshly Ground Cardamom
  • 1 Packet Yeast

Filling

  • 2 Tbsp Butter (Softened/Room Temperature)
  • 1/2 Cup Brown Sugar
  • 1 Splash Milk

Shiny Finish

  • 1/4 Cup Simple Syrup

To make the Dough

  1. In one small bowl, soften the butter in the microwave.

  2. In a medium sized bowl (or the bowl of a stand mixer), add the flour, sugar, salt, cardamom, and yeast and gentry stir to combine.
  3. Separate the eggs and add the yolks and the whites to the bowl

  4. Add the butter to the party and start stirring to combine.

  5. Slowly add some of the warm milk to the mixture until the dough starts coming together.  You may not need much but this will depend on the size of your eggs.

  6. Knead the dough together until a smooth ball forms and it can clean the side of the bowl if using a stand mixer.

  7. Cover with a tea towel or plastic for about 90 minutes or until the dough has nearly doubled in size.

To Make the Filling

  1. Mix the butter, brown sugar, and milk in a small bowl to combine.  The end result should be a slightly runny filling.

To make the Morning Buns

  1. Move your dough to a lightly floured surface, and shape by hand in to a rough, rectangular shape.

  2. Using a rolling pin, roll the dough out until it is about 14 inches long and 8 inches wide, about 1/4 of an inch thick.

  3. Using an offset spatula, spoon, or other device, spread your filling over the entire dough, from edge to edge.

  4. Tightly roll your dough from the long side and cover with plastic.

  5. Put the dough in the fridge to chill for about 15 minutes to make it easier to cut.

  6. Cut your dough in to 12 even slices.

  7. Transfer the slices to a well oiled muffin tin.

  8. Cover loosely for about an hour.

  9. Transfer the tin to a preheated oven at 350˚F and bake for approximately 25 minutes, turning along to the way for even cooking.

Finishing Touches

  1. After you pull the muffin tin from the oven, brush the tops of the morning buns with simple syrup.

I’ve listed some equipment below that may help lead you to a successful bake! If you decide to buy anything directly from the links, the website will get a small percentage of your purchase and it encourages me to keep posting!

  • Kitchenaid Classic Stand Mixer
  • OXO Offset Spatula
  • Cuisinart Spice Grinder
  • OXO Rolling Pin
  • Nesting Mixing Bowls

Filed Under: Bread Tagged With: best cinnamon roll, best morning buns, breakfast food, breakfast treat, cardamom, cardamom cinnamon roll, cinnamon roll, cinnamon rolls, kanelbullar, morning buns, sweedish cinnamon roll

3.04.19 By nick Leave a Comment

Review: Emile Henry Baguette Baker

This one wasn’t terrible

The allure of a homemade baguette is enough to inspire and frustrate me. To no end, sometimes this simple bread drives me to madness while at the same time making me think that I sometimes just may know what I’m doing. To me, the simple breads can be the hardest to master and the baguette is my equivalent of Ahab’s White Whale. Sometimes I believe that a good result is imminent and then something happens to dash my hopes, like bread stuck to the pan or bread that didn’t get enough steam or a loaf that would be otherwise good except for the fact that it burnt. Ugh!!

Don’t get me wrong, most of my baguette experiments (and I’ll call them experiments until I can get them consistently right) taste good. On occasion they taste very good, but the overall appearance is lackluster. To me, a baguette has to be crispy and have a blistery crust with a golden hue, and the crumb of the bread should have enough holes to absorb the generous amount of butter or jam that ends up getting smeared over it but not so much as to lose its contents.

Of all of those things, the crust is probably my biggest problem due to my oven. I’ve talked about the beast before but, if you’re a first time reader here, I’ll rehash. The Beast is what I call my oven. It’s probably the sole reason my wife and I bought our house and it continues to amaze us that we actually get to use it. It’s a 60” commercial grade oven made by a company no longer in existence (or rebranded) called “US Range”. It features 6 burners and 2 ovens in addition to a very cool griddle that we use to hammer out some tasty treats for family and friends on special occasions. It’s not a very beautiful oven but it is pretty awesome. The one exception to its awesomeness may be the industrial build of The Beast. The oven is very drafty and the temperature is not very accurate. In one corner we may have 475˚F while on the other we may have 400˚F. It is also a mystery to me how but the oven chamber is drafty, which makes it very hard to steam breads in the oven.

Emile Henry Baguette Baker to the Rescue

You may recall the a while a go I reviewed the Emile Henry Bread Cloche. For the reasons noted in that post I love that cloche and with it, my breads come out beautiful every time. That’s why I was so excited to receive a demo of their beautiful baguette baking pan. Their beautiful baguette baking pan is “crafted from Emile Henry’s innovative refractory ceramic” which I must say is really quite nice. The baker and the cloche have a very nice feel to them and are actually lighter than they may look, yet they retain their heat very well. “The Emile Henry baguette pan assures delicious results and a beautiful presentation” which I do agree with.

After using the Emile Henry Baguette Baker several times, I have become used to how it behaves and know what I can expect to get from it given my skill set and limitations. I love the way the baguettes get baked thoroughly while at the same time having a nice crust on the outside and delicious flavor on the inside.

Emile Henry


Started in the mid 1800’s, the Emile Henry company has been producing quality earthenware for quite some time. Started in Burgundy, France by Jacques Henry, the Emile Henry brand is now present in over 50 countries. And still to this day, each piece of cookware is made by hand and if you look carefully at the bottom of your piece, you will see a stamp noting the artisan that made it for you!

Emile Henry doesn’t just make bread baking products. They have a whole catalog of housewares for your enjoyment. From plates and cups to oil dispensers and tajines, it seems like they make it all, including the Baguette Bread Baker dish.

The Baguette Baker

The Baguette Baker by Emile Henry is a covered clay tray with a lid that helps you bake good quality baguettes right in your home oven. Its tray has three wells so you can make up to 3 loaves at once. As I mentioned before, the baguette is a simple bread that is hard to get right, and the baguette baker is a great tool help you get it right.

Upon receiving the product, I didn’t even read the directions the first time I used it. And much to my surprise, I messed up and ended up with a misshapen lot!

First batch fail. I made the baguettes too fat and when I covered them with the lid, it pinched the sides of both loaves on the ends.

Disheartened but determined, I read the directions and suggestions, and when I used it I followed the directions to the T. Lo and behold, the breads came out just as advertised.

Second batch. Much better but still not not perfect!

Bread Baker Shortfalls

My biggest issue with the product is that that to successfully make bread in the pans, the breads end up being too small for my liking. They say that “you can bake up to 3 baguettes weighing up to 160g each” and in my opinion, they are quite small. I usually make my baguettes a little over 15 inches long and weighing about 320-360g, so these are less than half the size I’m used to. Another note is that the crust doesn’t really ever get very crispy. Since the breads rise in the pan and go directly in to the oven, you don’t really have the same effect on the crust as you do with the Emile Henry Bread Cloche or a cast iron pot where you’re loading a room temperature bread dough in to screaming container. While they claim that “the Baguette Baker maintains a perfect humidity rate during cooking”, I think that may depend on your oven and your mileage may vary so be prepared to add some extra steam to your oven if you want a crackly crust.

emile henry baguette baker
Emile Henry baguette baker

I have been using the baguette baker for about 3 months now and have made several batches of baguettes. While the bread loaves are quite small they are very satisfying. At a dinner party you can just slice the breads and put them on a nice cheese platter and nobody will now how big or small the breads were. However, the size of the baguette is my main issue with this device. Aside from that, I encourage you to snap one up on Amazon and give it a try! I think you’ll like it and it may just be the thing you need to take your baguettes from good to great!

Filed Under: Bread, Product Review Tagged With: baguette, baguette baking, bread steam, bread supplies, emile henry

21.01.19 By nick Leave a Comment

Cinnamon Roll Challah Bread aka ChanniyumRoll

cinnamon roll challah title image

A few weeks ago I was invited to participate in the National Festival of Breads baking contest that’s put on by the Kansas Wheat association and sponsored by King Arthur Flour and Red Star Yeast. I’ve never been invited to one of these things before so I was a little apprehensive about entering, but decided to give it a go.

After thinking long and hard about what type of bread I should make as my entry in to this contest, I decided to keep things simple but creative at the same time. I thought about the kinds of breads my family and friends enjoy, I thought about the foods that inspire me. My conclusion was that breakfast is my favorite meal to share with the kids, so taking some encouragement from them and inspiration from one of my favorite instagram superheroes (she has super challah powers!), I’m entering what is a blend of classic cinnamon roll and challah bread, which results in what I think is a delicious treat the whole family can enjoy.

Using King Arthur All-Purpose flour and Red Star Yeast for this recipe were no brainers. King Arthur’s flours produce the soft dough you want in a recipe like this and the Red Star Yeast provides an amazing rise for a super pillowy chew that you want in a cinnamon roll.

So, without further ado here is my entry in to this Festival. Making it is a very straight forward process and I’m sure you’ll have wonderful results at home! If you are new to baking, don’t be intimidated. This bread is simple to make, the dough is very forgiving, and you’ll enjoy making this for sure. I have listed all of the tools you may need to make this bread below the recipe too.

Helpful tools for making this bread

  • Stand Mixer
  • King Arthur Flour
  • Red Star Yeast
  • Bread baking pan
  • Large cutting board
  • Bread knife
  • Bread dough scraper

Filed Under: Bread, Bread Tutorials Tagged With: baking at home, bread baking, bread contest, bread making, challah, cinnamon roll, experimental bread, home baker, home baking, king arthur flour, make bread, red star yeast

16.12.18 By nick 1 Comment

Greek Feta Pull Apart Bread – Step By Step

This pullapart bread is so easy to make!  Once in a while you get a little creative in the kitchen.  Either because you’re short on time and just make things up as you go or because you don’t have the right ingredients so you just toss things in and hope things work out. But once in a while someone sends you a recipe tip that stirs up the imagination and you just go for it.

greek pull apart bread tutorial collage

This last scenario is what happened to me the other day when my wife sent me a link to this YouTube video showing Aki making a nice looking Greek appetizer.  The bread is basically a pull-apart loaf that has olive oil and is stuffed with spices and Feta cheese. 

The following items will help you to make this bread.  If you end up purchasing any of these items, the site will get a small portion and encourage us to keep going!

  • Kitchenaid Stand Mixer with Clear Bowl
  • Set of mixing bowls
  • Hand Blender / Immersion Blender
  • Extra large bread loaf pan (long)

Knowing that we were having a dinner party at our house the next evening, I thought I’d give this bread a try and see if I could make it as good as that video made it seem.  I did some research and it seems to be a fairly unique bread too.  And to top it off this bread seemed pretty easy to make so after we fed the kids I got to work in the kitchen to mix the dough. 

Soft, Chewy, And Delicious

This bread turned out way better than I expected.  First off, the smell throughout the house was amazing thanks to all the good ingredients that went in to it.  I was also pleasantly surprised that the mustard sauce topping wasn’t at all overpowering like I thought it would be.  Guests kept commenting on how good this bread turned out, so I guess it’s a winner and a repeat contender for sure!

The overview of this Greek feta bread goes something like this. For the dough, all you need are these ingredients: Flour, water, salt, yeast, sugar, eggs, and olive oil.  You mix it all up and let it rise, then you roll it and fill it.  For the filling, you mix mustard and olive oil and spread it around the dough, then top with rosemary and oregano.  I didn’t have any fresh so I used some dried herbs we had in a jar.  Then you crumble and sprinkle the Feta cheese.  From there you cut it in to rows, lay them on top of one another, then you cut the rows in to pieces, then lay them one on top of the other in an oiled bread pan.  After an hour of rising you bake it and voila!

Here are the steps in a little more detail.

Allow the bread to rest for about half an hour after baking or it could fall apart unexpectedly! 

Have some olives and olive oil available for dipping and this will be the hit of your dinner party!

Filed Under: Bread, Bread Pictures, Bread Tutorials, Bread Videos Tagged With: bread, cheese bread, cheese pullapart bread, feta bread, feta cheese, feta cheese bread, greek bread, greek festive bread, greek holiday bread, greek pullapart bread, holiday bread, pullapart bread

  • Go to page 1
  • Go to page 2
  • Go to page 3
  • Interim pages omitted …
  • Go to page 10
  • Go to Next Page »

Copyright 2015-2021 Makebread.net