 The appreciation and love for Pretzels runs deep in my family. Given the fact that I’m 50% German and have spent some time in Germany AND the fact that these things are easy to make and go well with just about anything, Pretzels are one of those treats I like to make on the regular. Whenever family comes in to town, pretzels. Whenever it’s cold and I have some time to spare during the day, pretzels. Whenever I want to make a special treat for the kids, pretzels. Catch my drift?
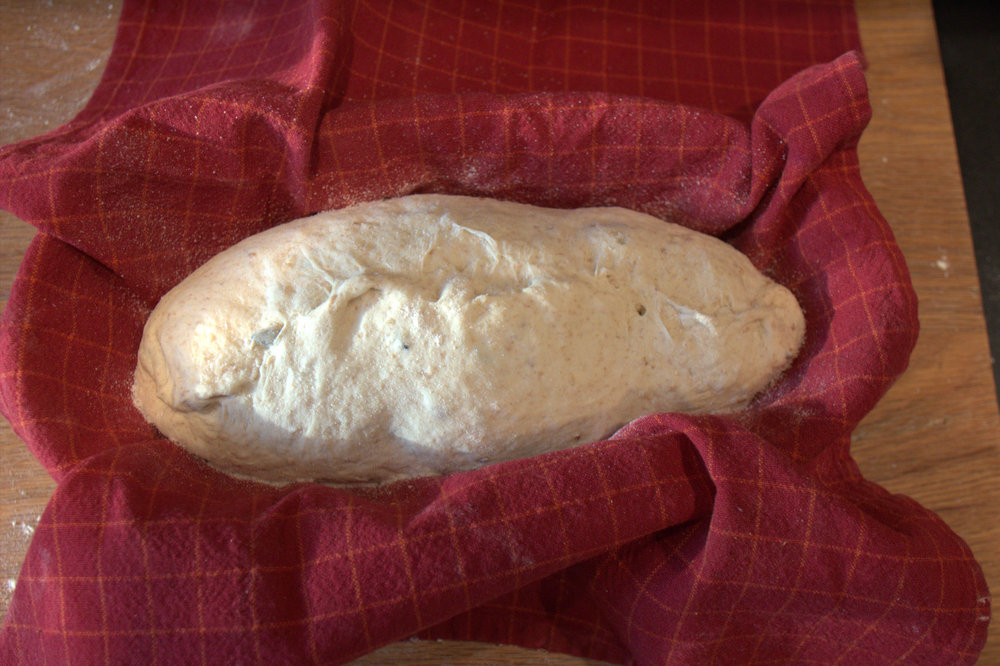
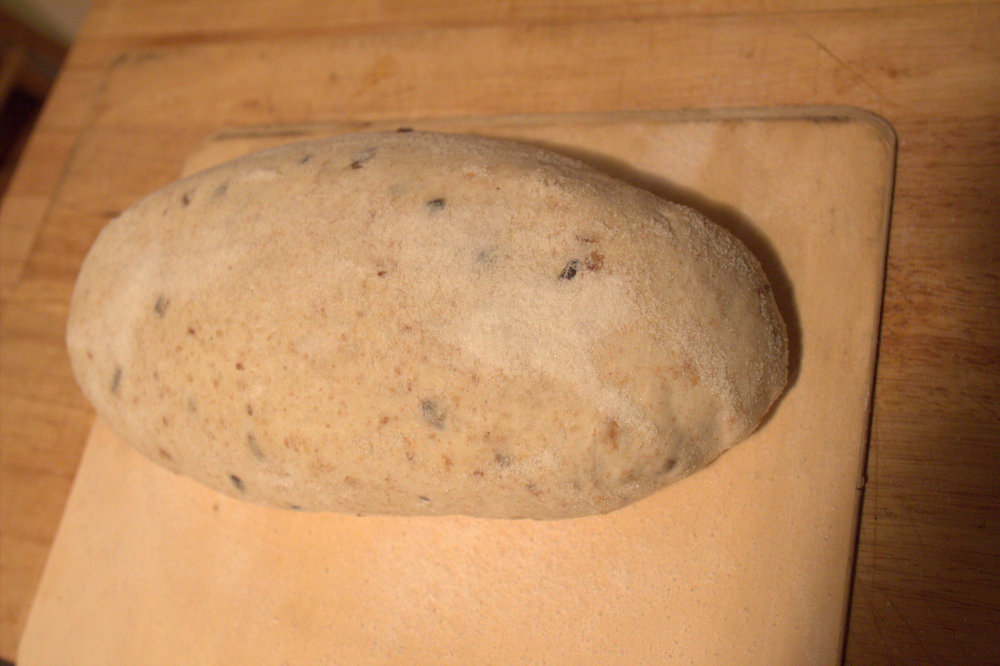
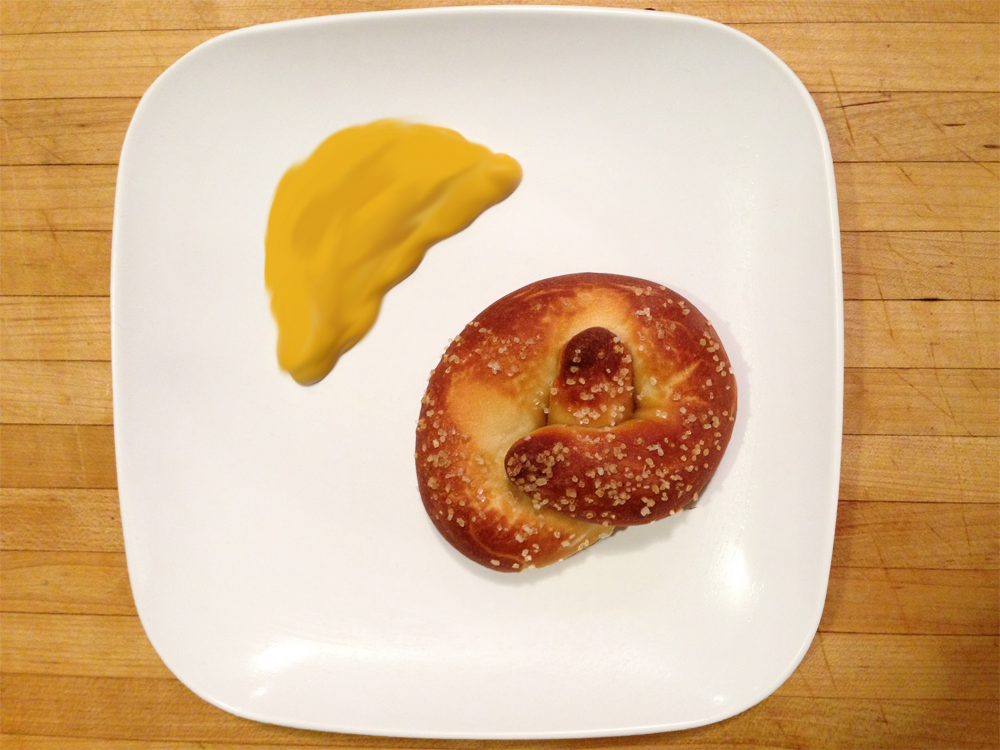
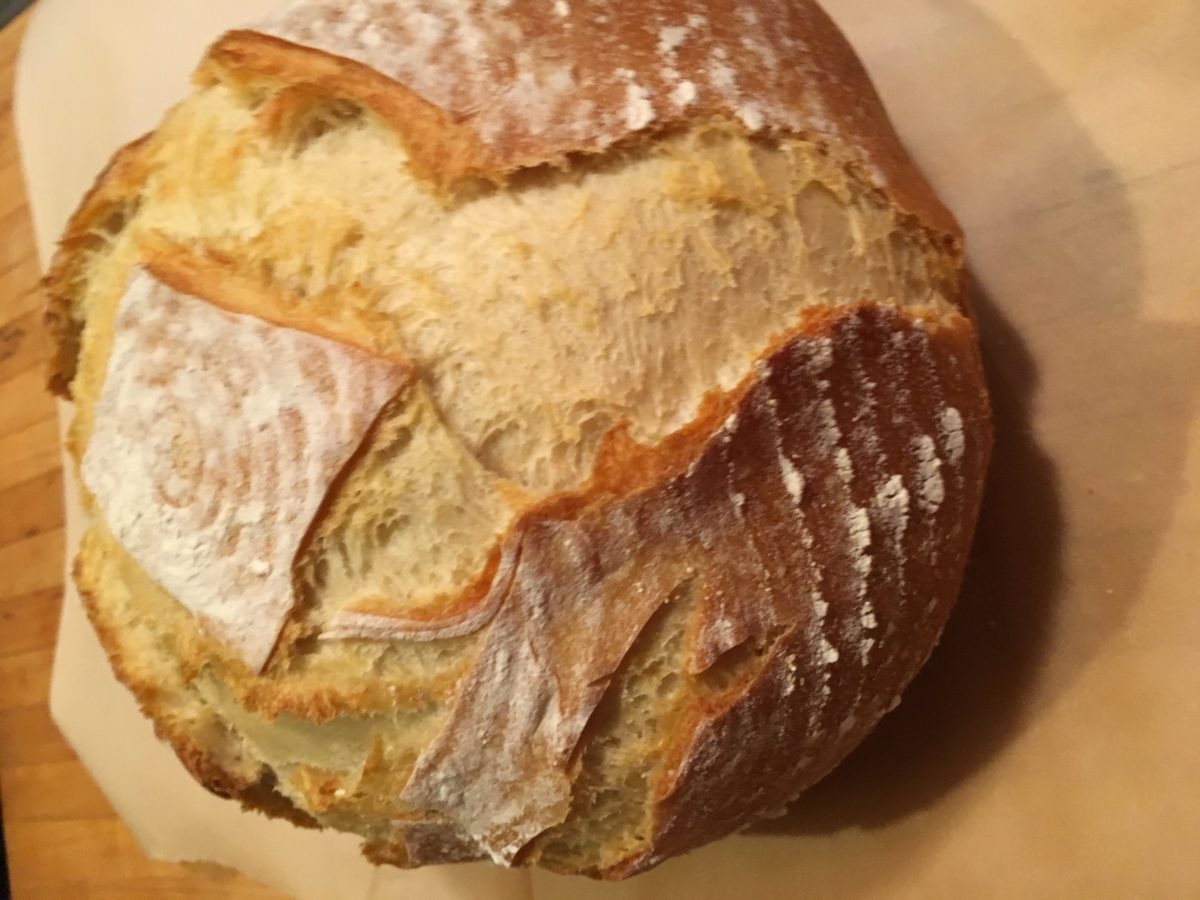
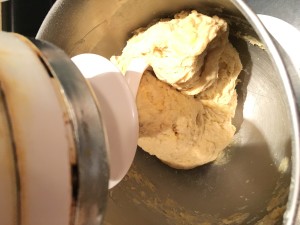
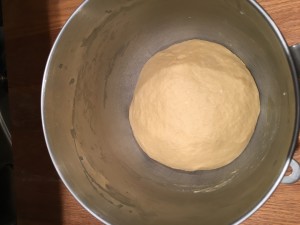
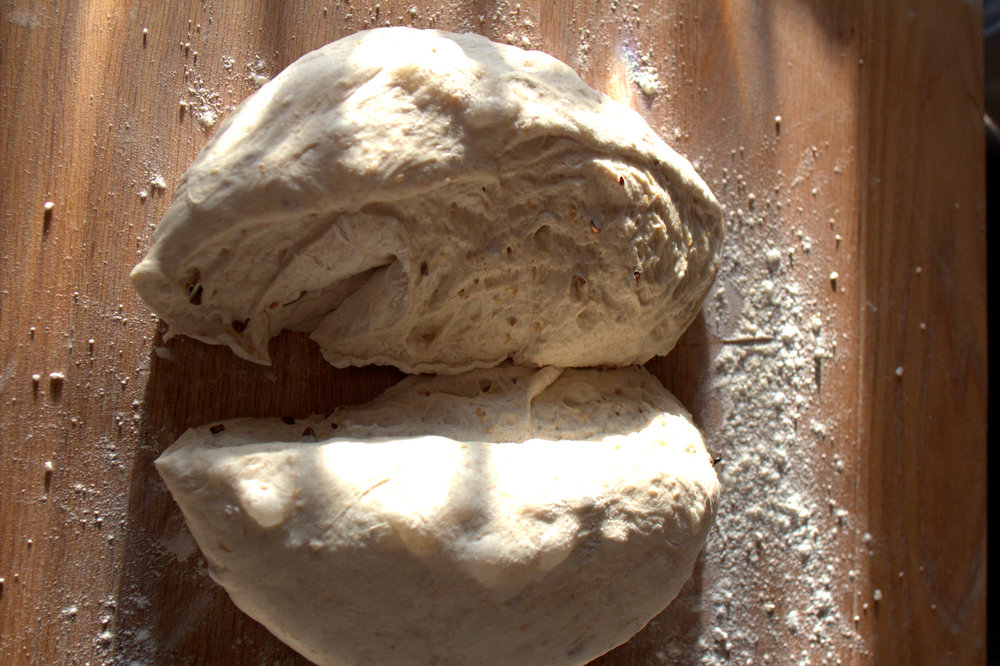
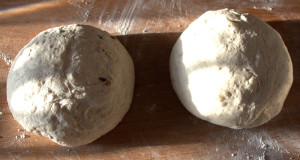
These particular pretzels are especially simple to make and they are made with my no fail bread dough, and then dipped in a lye solution to create that perfectly authentic Bavarian crust that we crave in a Pretzel. Sprinkle in a little sea salt or bonafide pretzel salt and you have yourself the real deal with no sweat.
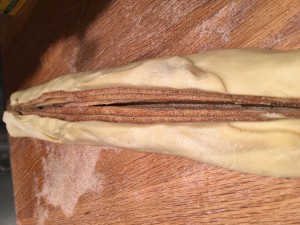
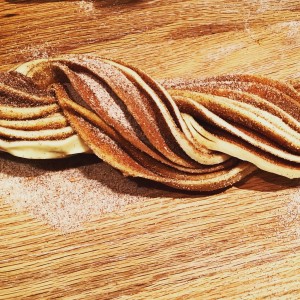
 Since this is the year of the babka, I have taken it upon myself to discover new ways of enjoying this wonderful treat. Last time, the
  [/ezcol_1third] [ezcol_1third]
 [/ezcol_1third] [ezcol_1third_end]
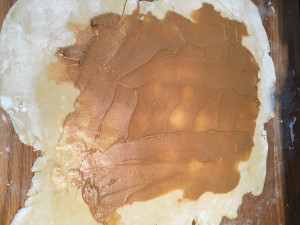 [/ezcol_1third_end]
 [/ezcol_1third] [ezcol_1third]
 [/ezcol_1third] [ezcol_1third_end]
 [/ezcol_1third_end]

 [/ezcol_1third] [ezcol_1third_end]
 [/ezcol_1third] [ezcol_1third]
 [/ezcol_1third] [ezcol_1third_end]
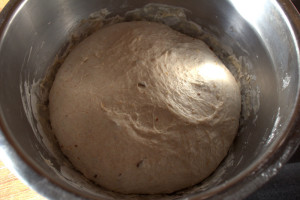 [/ezcol_1third_end]
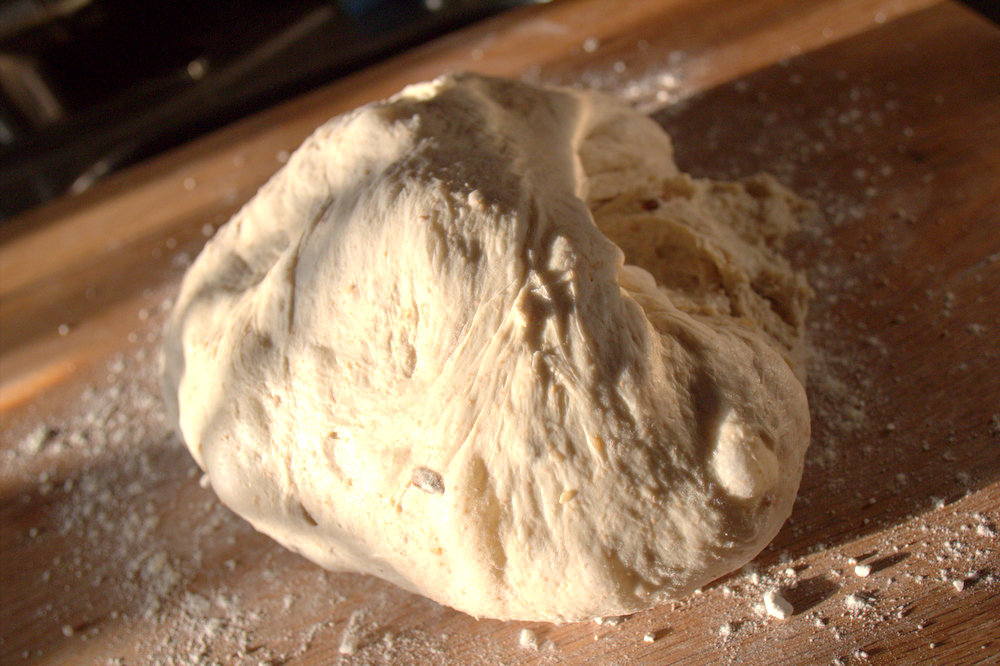
 [/ezcol_1quarter] [ezcol_1quarter_end]